A lot of hikers hit the same wall before a trip into bear country. The permit is booked, the route is set, and then the rules start piling up. Approved canister required. No food in tents. Some areas allow soft-sided storage, some do not. Every rule feels strict until the reason becomes clear.
Bear resistant food containers are not just another piece of gear on a packing list. They are one of the main tools land managers use to keep bears from learning that people mean food. That protects camps, trails, and parking areas, but it also protects the bears that live there.
Table of Contents
- How to Choose the Right Bear Container for Your Trip
- Maintenance Testing and When to Replace Your Container
Why Proper Food Storage is Essential in Bear Country
You finish dinner at dusk, zip the tent, and assume camp is squared away. A candy bar wrapper in a hipbelt pocket, lip balm in the tent, or a cooler latch left half-closed can be enough to pull a bear in. Once a bear gets a food reward from people, the problem rarely stays with one camp.
Land managers and park rangers emphasize food storage rules because consequences extend beyond a lost meal. A food-conditioned bear starts checking campsites, vehicles, picnic areas, and backpacks for calories. That puts hikers at risk and often leaves managers with bad options, including area closures, relocation, or killing the animal.

Why parks require containers
Parks do not require bear-resistant containers to make trips less convenient. They require them because reliable food storage changes bear behavior over time. In places with regular visitor use, a container removes the easy payoff that teaches a bear to investigate human spaces.
That point matters even more now because the rules are not uniform. One park may require a hard-sided canister. Another may allow certain certified soft-sided models. A third may still prohibit them in specific zones or seasons. Hikers who buy gear before checking local regulations often end up with a container that is legal in one place and rejected in another.
A good container does two jobs at once. It protects your food tonight, and it helps keep bears from learning that camps are worth searching.
Key takeaway: Proper food storage protects people by preventing encounters and protects bears by denying food rewards that change their behavior.
Small mistakes create big problems
New hikers often focus on dinner bags and snacks. Bears focus on scent. Toothpaste, trash, drink powders, sunscreen, and empty freeze-dried meal pouches can all attract investigation if they are left out or packed poorly.
I tell first-timers to ask one simple question before bed: if it smells, where is it stored? That habit catches the mistakes that cause trouble.
Food choice also affects storage performance. Bulky retail packaging wastes space, creates more odor-bearing trash, and can turn an adequately sized container into one that feels too small on day two. Hikers sorting meals before a trip often benefit from planning compact provisions in advance, especially when comparing options like best freeze-dried food.
Anyone traveling in bear habitat should also know what to do if an animal is seen at close range. This guide on what to do if you see bear covers the immediate response.
Decoding Certifications IGBC Standards Explained
A bear noses around camp after dark. It paws, bites, and rolls anything that smells interesting. In that moment, marketing terms mean nothing. The only label that matters is one backed by a test standard.
The certification hikers see most often is IGBC, short for the Interagency Grizzly Bear Committee. That approval gives you a useful baseline because it is tied to controlled testing with bears, not just a manufacturer claim about being "bear proof."

What IGBC approval means
IGBC maintains a list of approved bear-resistant products and bases approval on whether a container prevents bears from getting a food reward under test conditions (IGBC approved products program). That is the key point. The standard is about denying access long enough to stop the payoff that teaches a bear to keep trying.
A certified container is still bear resistant, not invincible. Given enough time, damage, poor closure, or the wrong use case, any container can fail. Good trip planning starts by understanding that certification is a screening tool, not a guarantee.
Some land managers also publish their own approved lists or restrictions. Yosemite, for example, requires visitors in many wilderness areas to use containers from its approved list rather than assuming every IGBC-approved product is automatically acceptable everywhere (Yosemite bear canister requirements). That is where hikers get tripped up, especially with newer soft-sided models. A product can be tested, legitimate, and still not be allowed on your route.
Why the standard matters in the field
Bears do not open containers the way people do. They clamp down with their jaws, rake at closures, torque lids, and hammer weak points against rocks and logs.
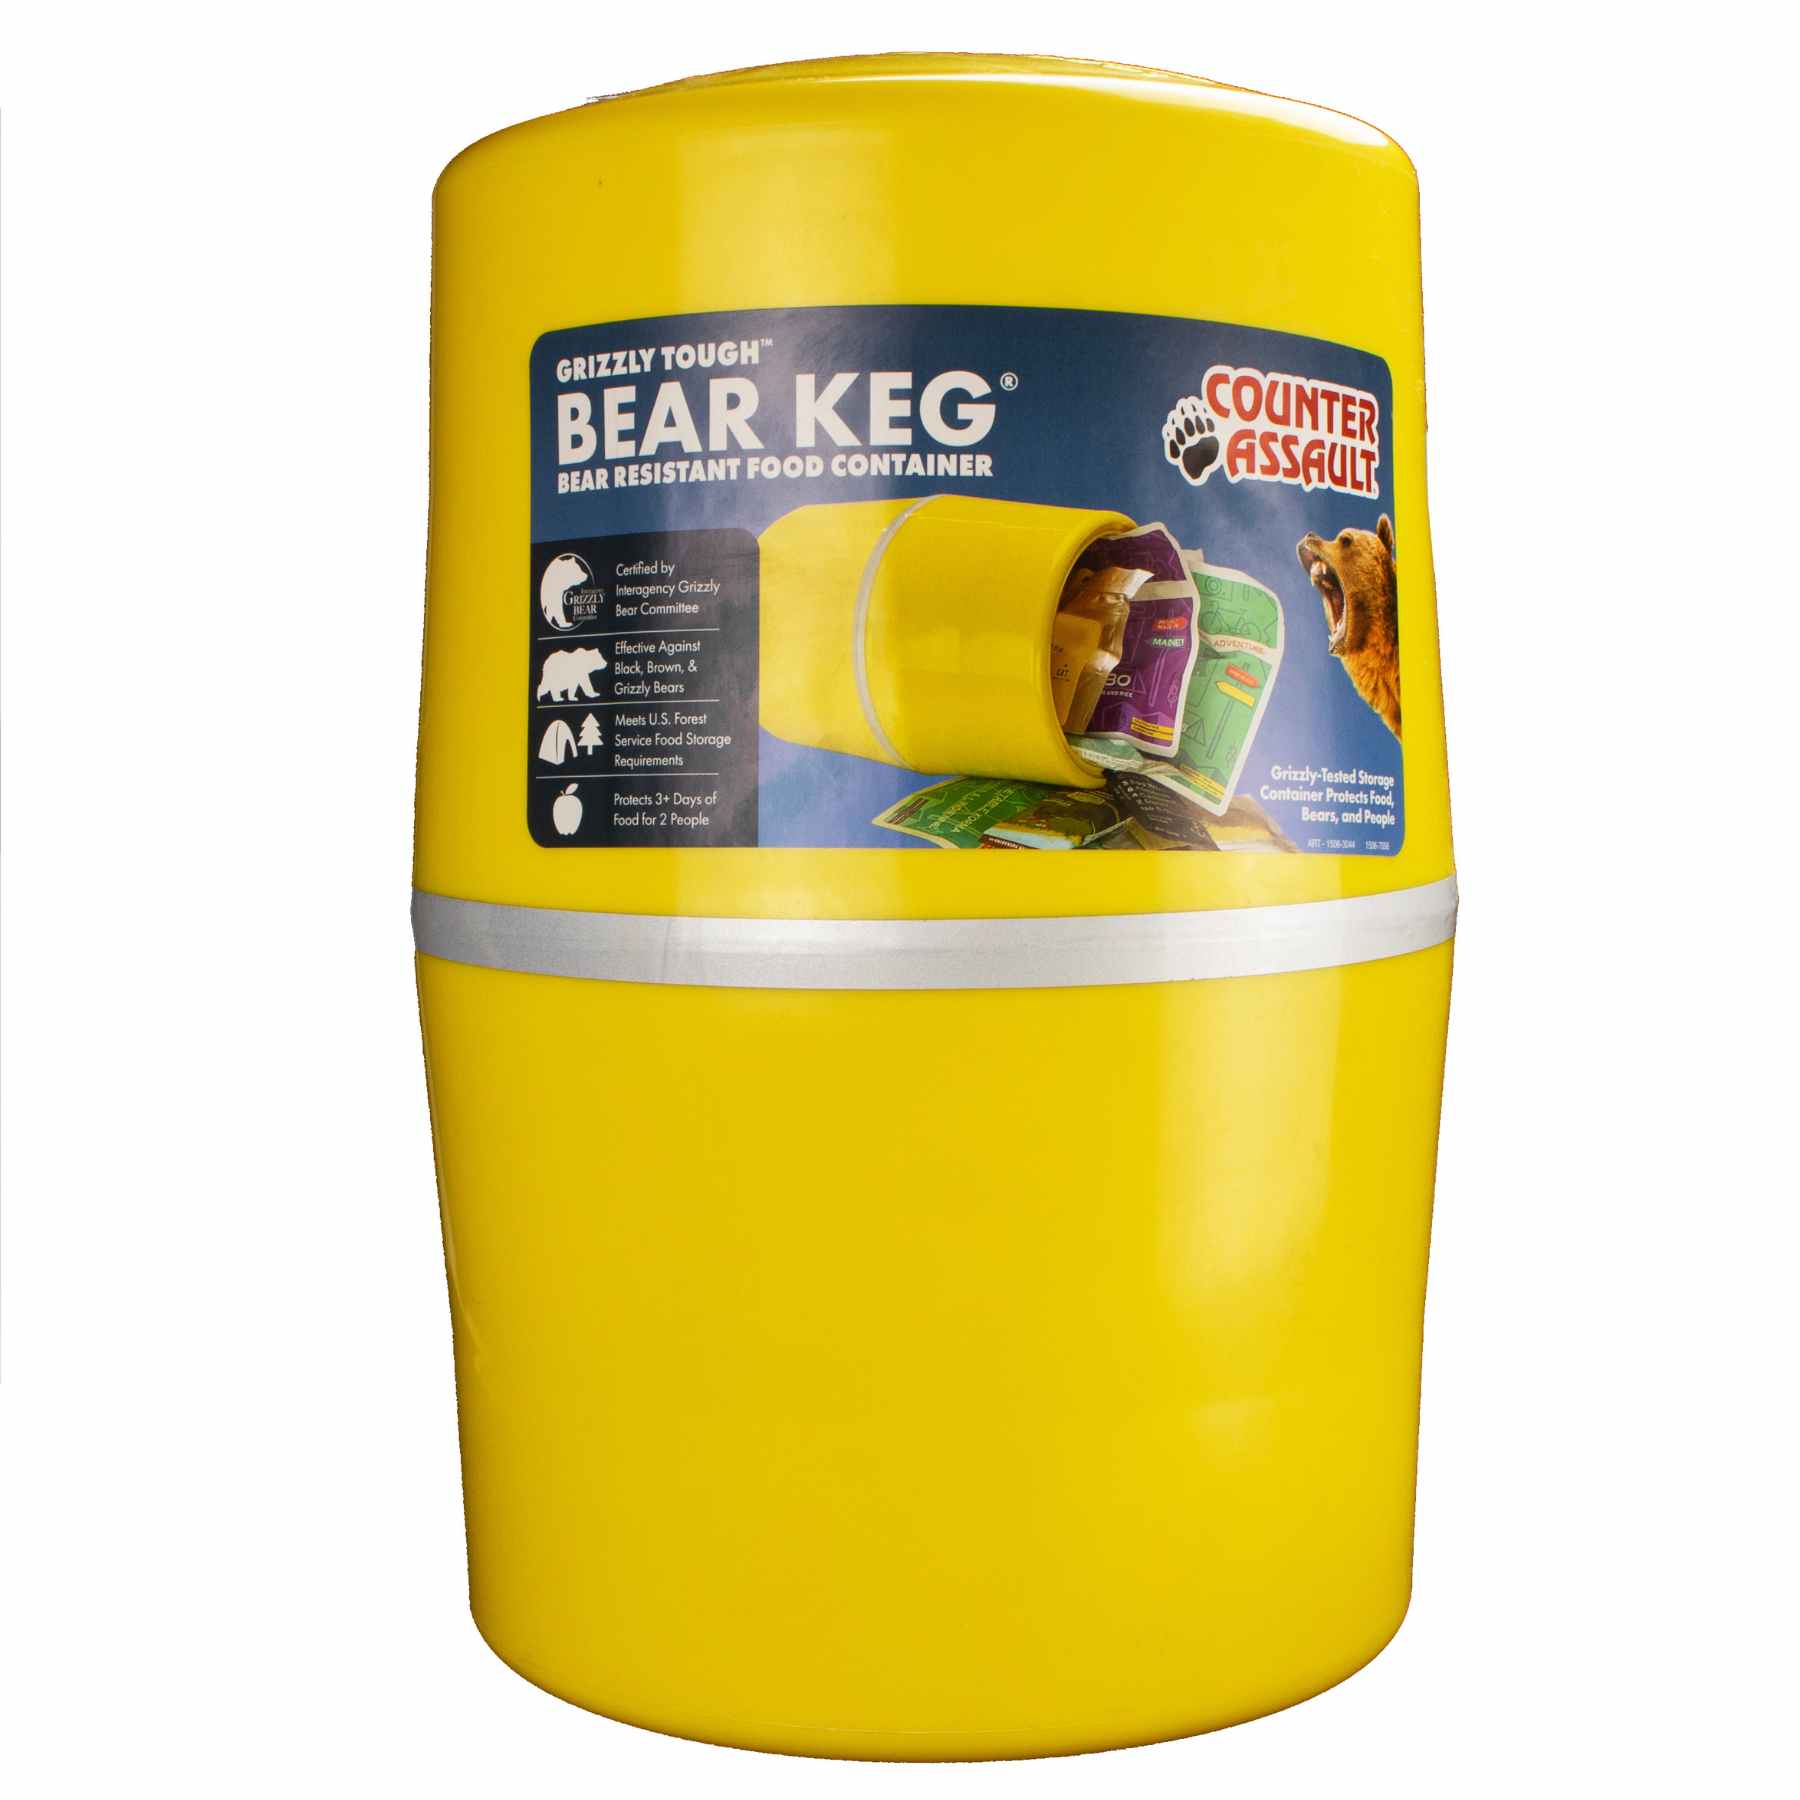
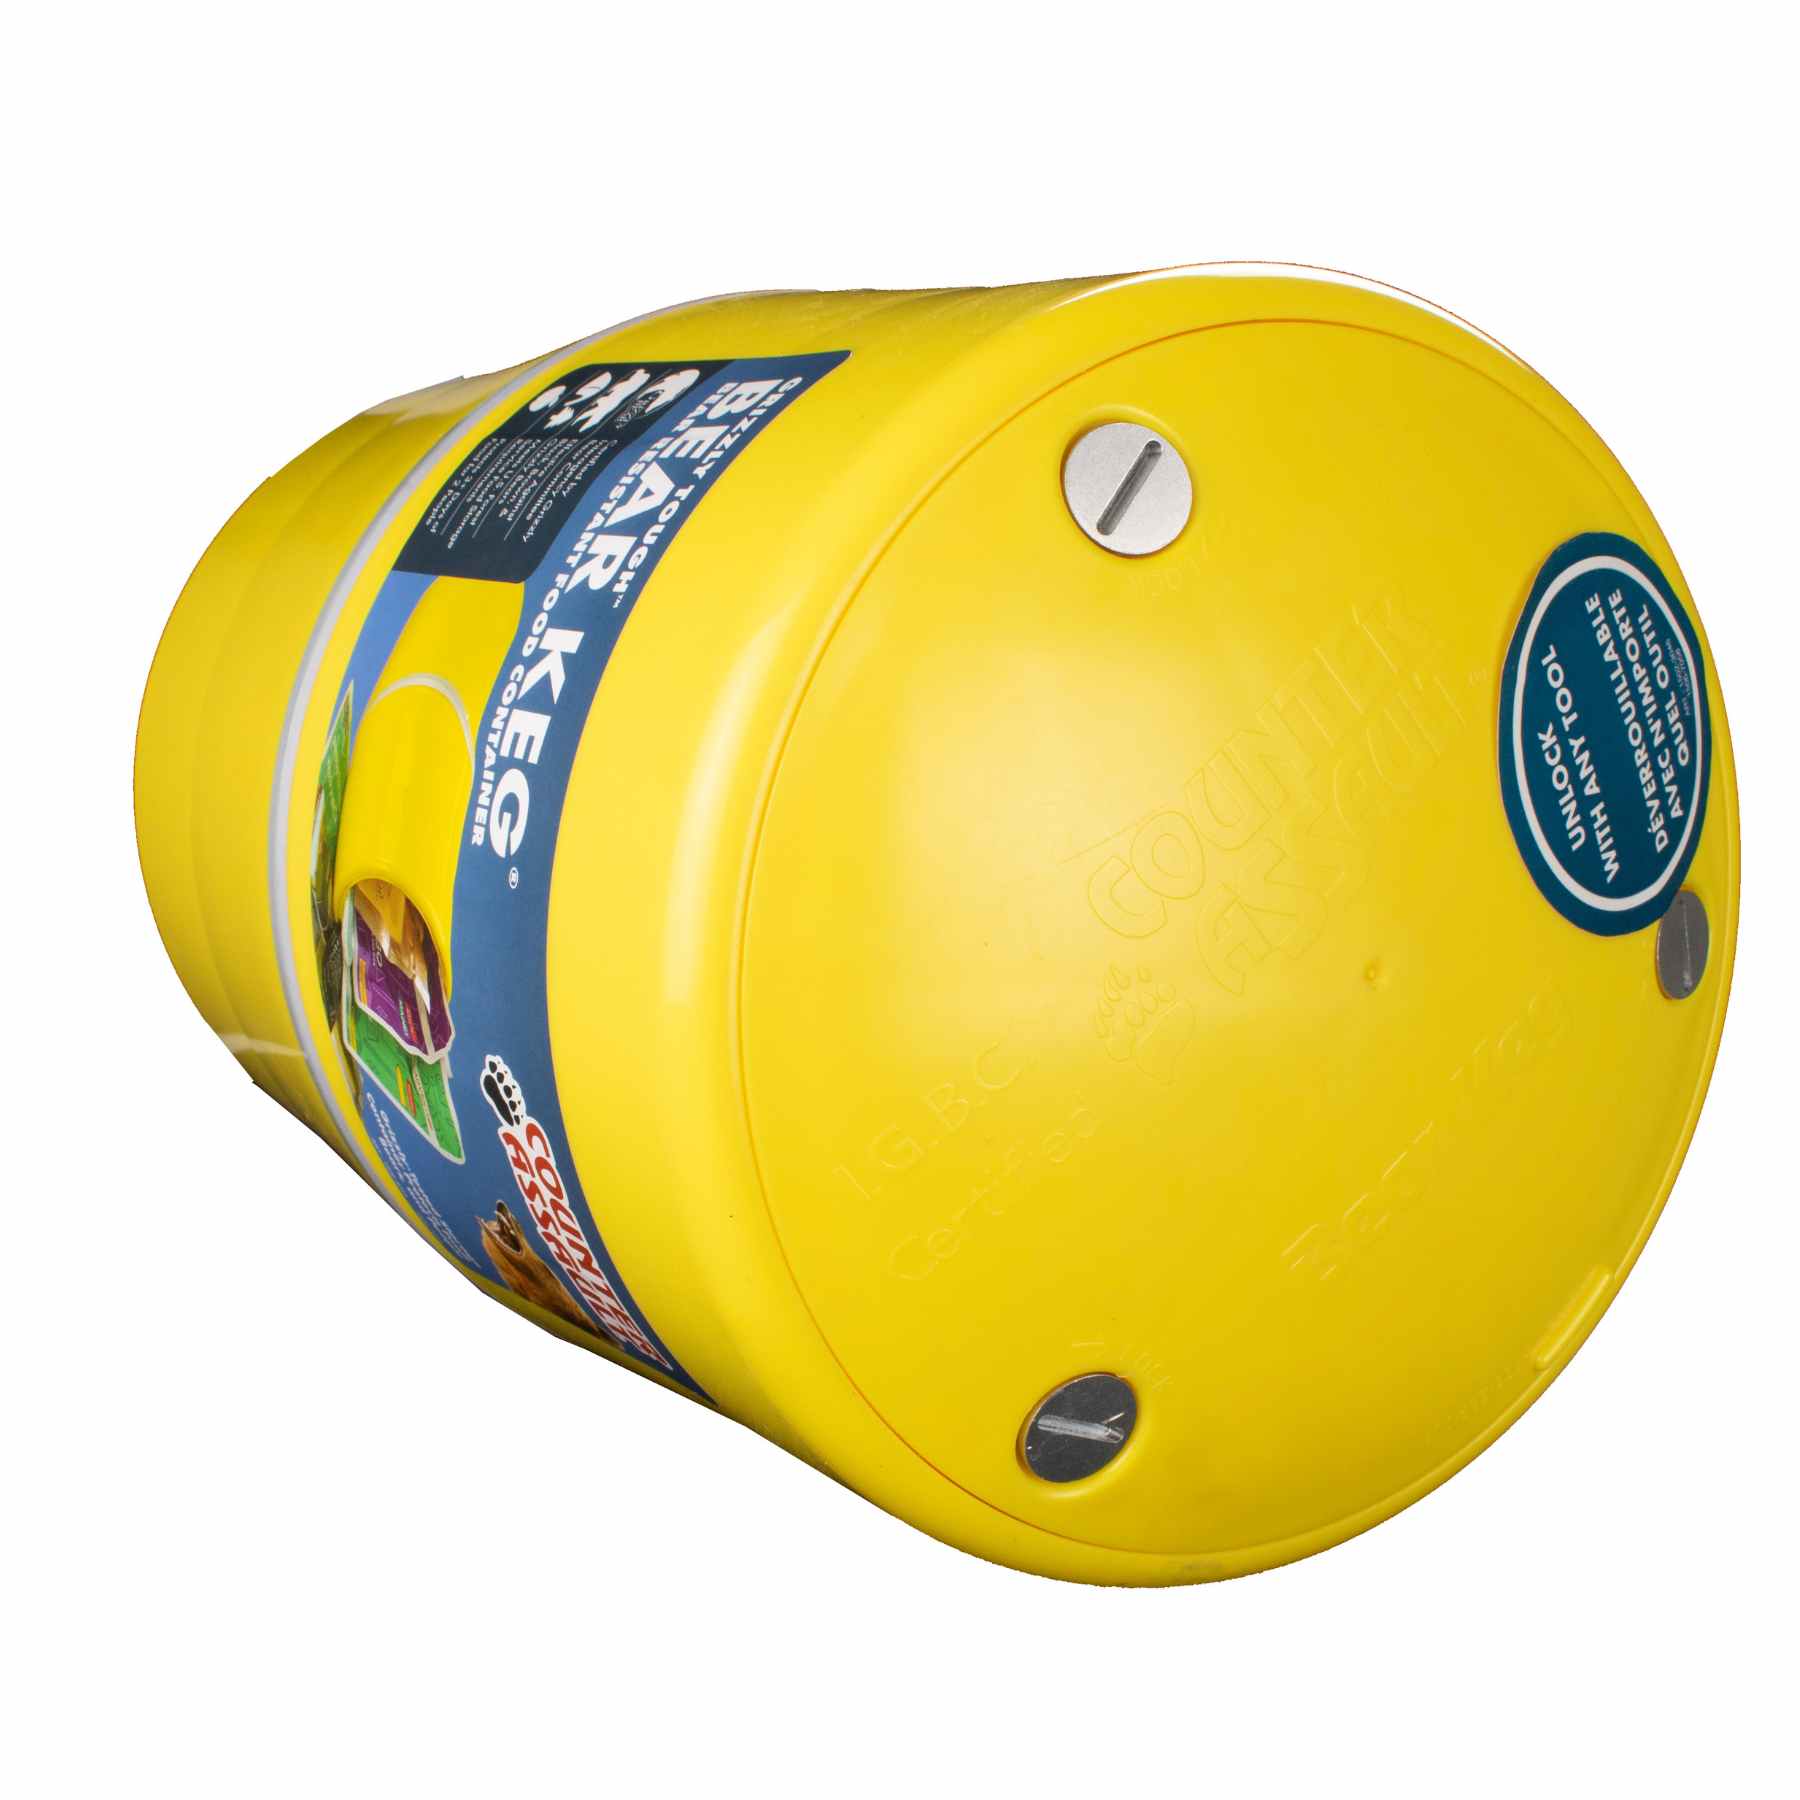
That is why certification pays so much attention to seams, lid fit, latch security, and the way a container holds its shape under abuse. If you are comparing a soft-sided model with a hard canister like the Bear Keg food storage container, this is the key trade-off to understand. Hard-sided designs usually earn broader acceptance because rangers can assess them quickly and because rigid walls leave fewer questions about deformation, puncture resistance, and long-term wear. Soft-sided options can save weight and pack more easily, but they live under a patchwork of rules and demand closer attention to where they are permitted.
What certification does not excuse
A tested container still fails in practice if the user gets casual.
Common problems include:
- Closures not fully engaged: Threads cross, tabs miss, or latches are left partly open.
- Attractants stored elsewhere: Trash, toothpaste, drink mix, and scented wipes are left in a pack or tent.
- Wrong container for local rules: The product is approved by one agency but rejected by the park or forest managing your trip.
- Worn or damaged gear: Cracked shells, stripped lids, torn fabric panels, or compromised locking parts reduce real-world performance.
Use certification as your first filter. Then confirm the local rule, inspect the container itself, and choose the style that fits the trip instead of assuming one approval solves every bear-country problem.
Comparing Types of Bear Resistant Containers
A bear works your camp at dusk, noses past the fire ring, and goes straight to the food. At that point, the question is not which product looked good on a gear wall. The question is which container type fits the trip, meets the local rule, and still works after a tired hiker packs it in the rain.

Different containers solve different problems. A solo backpacker covering miles has one set of needs. A river trip, hunting camp, trail crew, or horse pack string has another. The useful comparison is not hard versus soft in the abstract. It is weight, packability, carrying style, food volume, and legal acceptance for the ground you are sleeping on.
Bear Resistant Container Types At-a-Glance
| Container Type | Primary Use | Pros | Cons |
|---|---|---|---|
| Hard-sided canister | Backpacking and backcountry camping | Durable, self-contained, no hanging needed | Bulky, rigid, heavier than soft options |
| Soft-sided bear resistant bag | Ultralight travel where allowed | Flexible, easier to pack around, lighter feel | Not accepted everywhere, can be harder to use correctly |
| Certified bear-resistant cooler | Car camping, rafting, short basecamps | Large volume, organized storage, strong latches | Too heavy and bulky for backpacking |
| Portable electric fence | Group camps, stock camps, some remote setups | Protects a perimeter and larger food load | Requires setup, power source, and site management |
Hard-sided canisters remain the default recommendation for backcountry hikers because they are the easiest option for rangers to approve and the easiest option for new users to get right. For hikers comparing established hard-shell models, the Bear Keg Food Storage Container is one example of an IGBC-certified canister.
Hard-sided canisters
For most backpacking trips, hard-sided canisters are still the cleanest answer.
They do three things well. They protect food with rigid walls, they use closures that are usually less vulnerable to user error than improvised systems, and they meet the rules in more places than any other style. They also remove the old problem of trying to find the right tree for a hang at the end of a long day.
The drawbacks are practical, not mysterious. They are bulky in the pack, awkward with smaller pack bodies, and still take up space after you have eaten half your food. On trips with tight mileage goals, that shape matters as much as the weight.
Soft-sided bear resistant bags
Soft-sided bags have improved, but they are still the category that causes the most confusion.
Their advantage is packability. They conform to the load better than a rigid canister, which can make them attractive for long approaches, small-volume packs, and trips where every inch of interior space matters. The trade-off is that approval is inconsistent. One agency may accept a tested soft-sided model while the neighboring park rejects it and requires a hard canister.
That patchwork matters more than the product sheet. Soft-sided options make the most sense for hikers who already know the exact regulation for the route and are willing to inspect fabric, seams, and closures closely over time.
Certified bear-resistant coolers
Coolers belong in vehicle camps, float trips, trailhead camps, and short basecamp setups where food volume and organization matter more than portability.
A certified cooler can secure a lot of food in one place, and it handles perishables far better than a backpacking canister. For family camps or hunting camps, that can be the right tool. The limits are obvious. Coolers are heavy, awkward, and unrealistic for any trip that requires carrying gear on your back for distance.
Portable electric fences and site-based storage
Electric fences are camp systems, not grab-and-go storage.
They earn their place with stock parties, field crews, raft trips, and other groups managing a large food cache in one location. Used correctly, they protect a perimeter instead of a single container. Used poorly, they create a false sense of security. Weak batteries, sloppy setup, poor grounding, and food left outside the fence all defeat the point.
In developed sites, fixed bear lockers fill a similar role with fewer moving parts.
The practical framework is simple. Hard canisters are the safest default for most backcountry hikers. Soft-sided bags can be a good specialized choice where rules allow them. Coolers and electric fences are camp tools for bigger food loads, not substitutes for backpacking storage.
How to Choose the Right Bear Container for Your Trip
You are packing for a three-night trip, standing in a gear shop, and staring at a wall of containers that all claim some version of bear protection. The mistake happens here. Hikers buy for the product label before they buy for the route. In bear country, the route decides first.
Soft-sided options have made that choice harder, not easier. Some are legitimate tools in the right place. Some are legal in one management unit and rejected in the next. A canister that passes inspection for one trip can leave you out of compliance a day later if your route crosses into a different park or wilderness area.
Start with the land manager, then work back to the container. What does this specific agency require on this specific route, during this specific season?
Use this order:
-
Check the exact unit
Look up the park, forest, wilderness, or trail corridor you will enter. -
Read the wording carefully
"Bear resistant" may include only certain container types, not every certified product on the shelf. -
Trace the whole itinerary
Routes that cross boundaries create problems fast. The strictest segment usually controls your choice. -
Call if the rule is unclear
Rangers and permit offices would rather answer one gear question before your trip than deal with a food-conditioned bear after it.
If you cannot get a clear answer, carry a hard-sided canister. It is the cleanest compliance choice in the widest range of backcountry settings.
Once the legal question is settled, match the container to the job.
A hard-sided canister is the right pick for trips with strict rules, dispersed camps, or uncertain terrain where you need one simple system that works night after night. It costs pack space and adds weight, but it removes a lot of ambiguity. That matters when conditions are bad and people are tired.
A soft-sided approved bag makes sense only when three things are true. The area allows it, the food load fits it, and the user understands the setup requirements. That last part matters. Some hikers are careful with closures, placement, and routine checks. Some are not. Soft-sided systems leave less room for sloppy habits.
Car camping and short basecamps call for a different answer. A certified cooler, a fixed locker, or another site-based system usually handles food volume better than a backpacking canister. There is no prize for forcing backpacking gear into a vehicle-camp problem.
Capacity deserves more attention than it usually gets. A container can be fully legal and still be the wrong tool if it does not hold the full food load, plus trash and scented items, for the longest stretch of the trip. New hikers often shop by weight first and volume second. In the field, volume usually becomes the limiting factor.
A practical framework works better than brand shopping:
- Hard-sided canister: best default for regulated backpacking routes, mixed jurisdictions, and trips where certainty matters more than shaving ounces.
- Soft-sided approved bag: good specialized option where rules clearly allow it and the user is willing to follow the handling requirements closely.
- Certified cooler or fixed storage: right for car camps, float trips, trailheads, and basecamps with larger food loads.
- When in doubt: choose the container accepted by the most restrictive part of the trip.
The goal is not to buy the most advanced-looking product. The goal is to carry a container that is legal where you are going, large enough for the full carry, and simple enough to use correctly when the weather turns bad and camp setup gets rushed.
Mastering Your Bear Canister Packing and Usage
A certified canister used badly can still create trouble. The goal is not just to get everything inside. The goal is to keep odors controlled, make the canister easy to seal, and place it where a curious bear does not turn your sleeping area into the center of its search.

What goes inside the canister
The short answer is simple. Anything with an odor goes in.
That includes more than meals:
- Food and snacks: bars, trail mix, freeze-dried meals, jerky, drink mixes
- Trash: wrappers, pouches, used drink packets, greasy foil
- Toiletries: toothpaste, lip balm, deodorant, scented wipes
- Cooking residue: empty fuel-box packaging, spice bags, oil packets
- Scented field items: sunscreen and insect repellent such as Ben’s 30 DEET Insect Repellent Spray
Packing works better when original boxes and oversized wrappers are removed before the trip. Softer items fill dead space around dense food. Flat items usually ride better against the canister wall than loose bundles.
How to pack for space and a clean seal
A few habits prevent most canister headaches:
- Repackage early: bulky retail packaging wastes room.
- Group by day: that reduces long searches with the lid off.
- Keep odor residue off the rim: crumbs in the threads or closure can interfere with sealing.
- Lock it completely: partial closure is the mistake bears hope for.
A visual walkthrough helps with campsite handling and food security habits:
How to place it in camp
The canister should not live beside the tent and it should not sit beside the stove. Camp setup works best when sleeping, cooking, and food storage are separated.
A practical approach is the common “triangle” concept:
- Sleep in one area
- Cook in another
- Store the canister away from both
Many backcountry users aim to place the canister well away from the tent and cooking area. The exact campsite layout varies, but distance and separation matter. Put it on the ground, not clipped to the tent, not wedged under a vestibule, and not balanced where it can roll into water or off a slope.
Field tip: Choose a flat spot where the container cannot tumble far if a bear noses it around.
Beyond the Canister A Complete Bear Safety System
A canister solves one problem. It secures attractants when camp is unattended or when everyone is asleep. It does not replace trail habits that prevent close encounters in the first place.
Prevention comes first
Good bear safety begins before camp is made.
Travelers reduce risk when they:
- Hike in groups: groups are easier for bears to detect and avoid.
- Make regular noise: especially near brush, bends, streams, and other low-visibility areas.
- Avoid hiking at dawn or dusk when possible: those periods often bring more wildlife activity.
- Keep distance: never crowd a bear for a photo or to “push” it off a trail.
- Maintain a clean camp: no food scraps, no scented items left out, no cookware forgotten after dinner.
These habits and food storage practices work together. One without the other leaves gaps.
Carry a non-lethal last line of defense
If an aggressive encounter develops, food storage is no longer the tool for the moment. A deterrent that can be deployed fast matters more.
The National Park Service states that in a study of Alaska bear spray incidents, bear spray stopped aggressive bears more than 90 percent of the time, and unlike firearms it does not need to be aimed precisely and has been proven as the best method for fending off a bear while preventing injury to both the person and the animal (NPS).
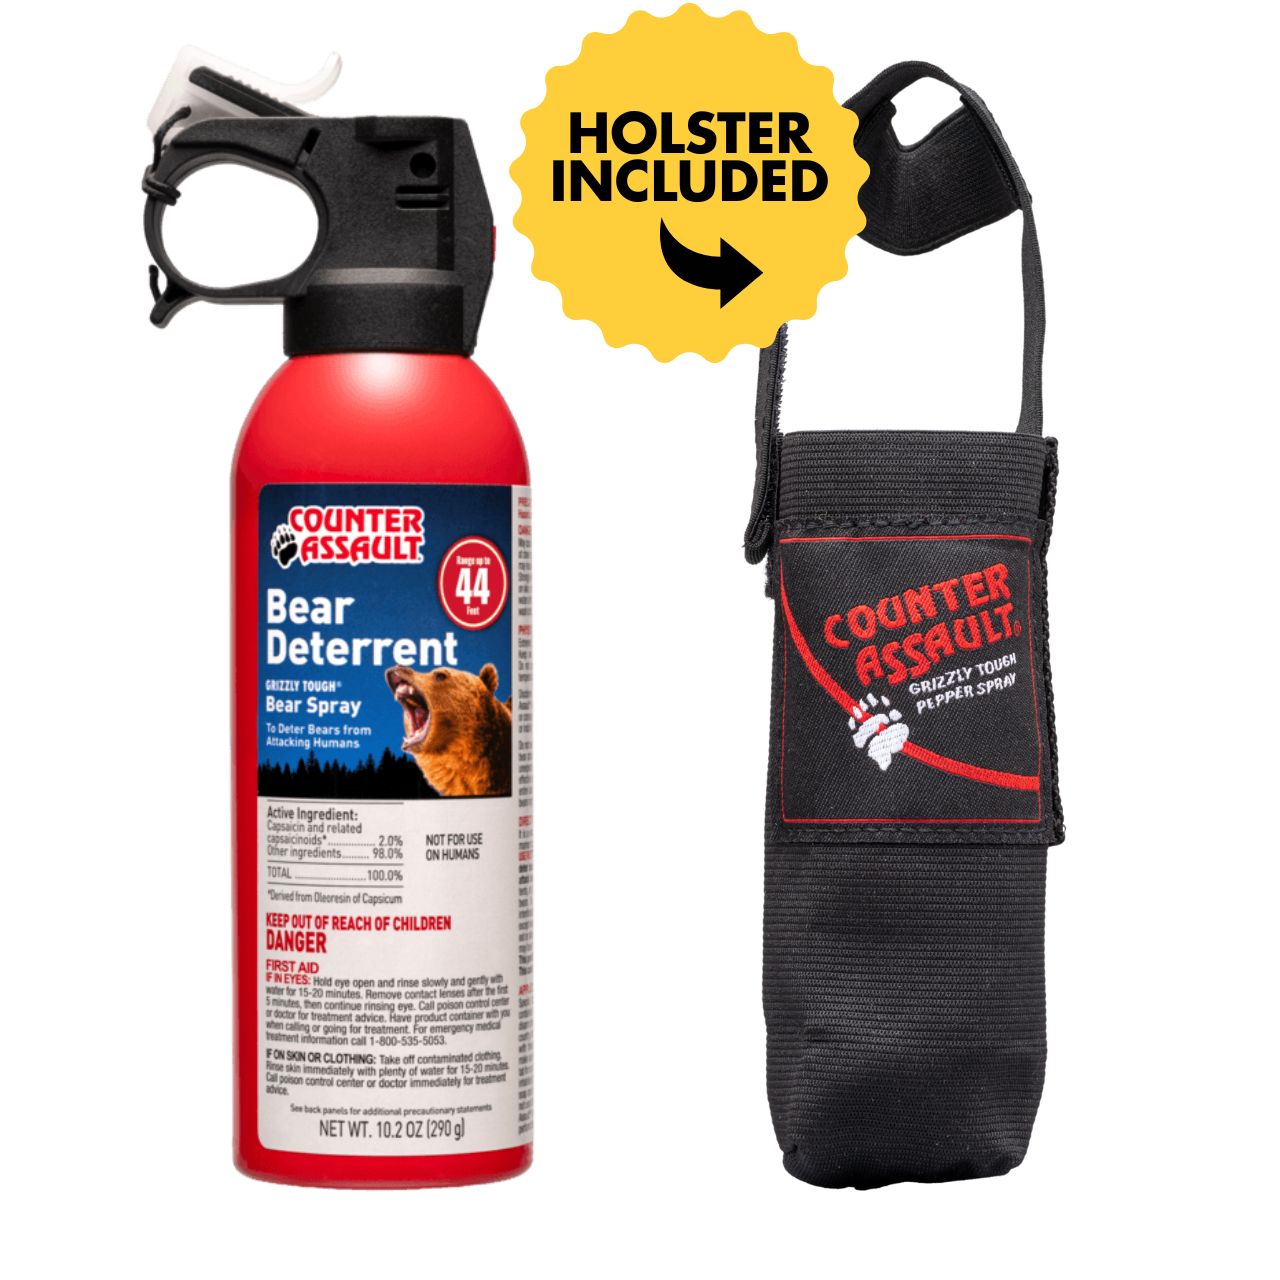
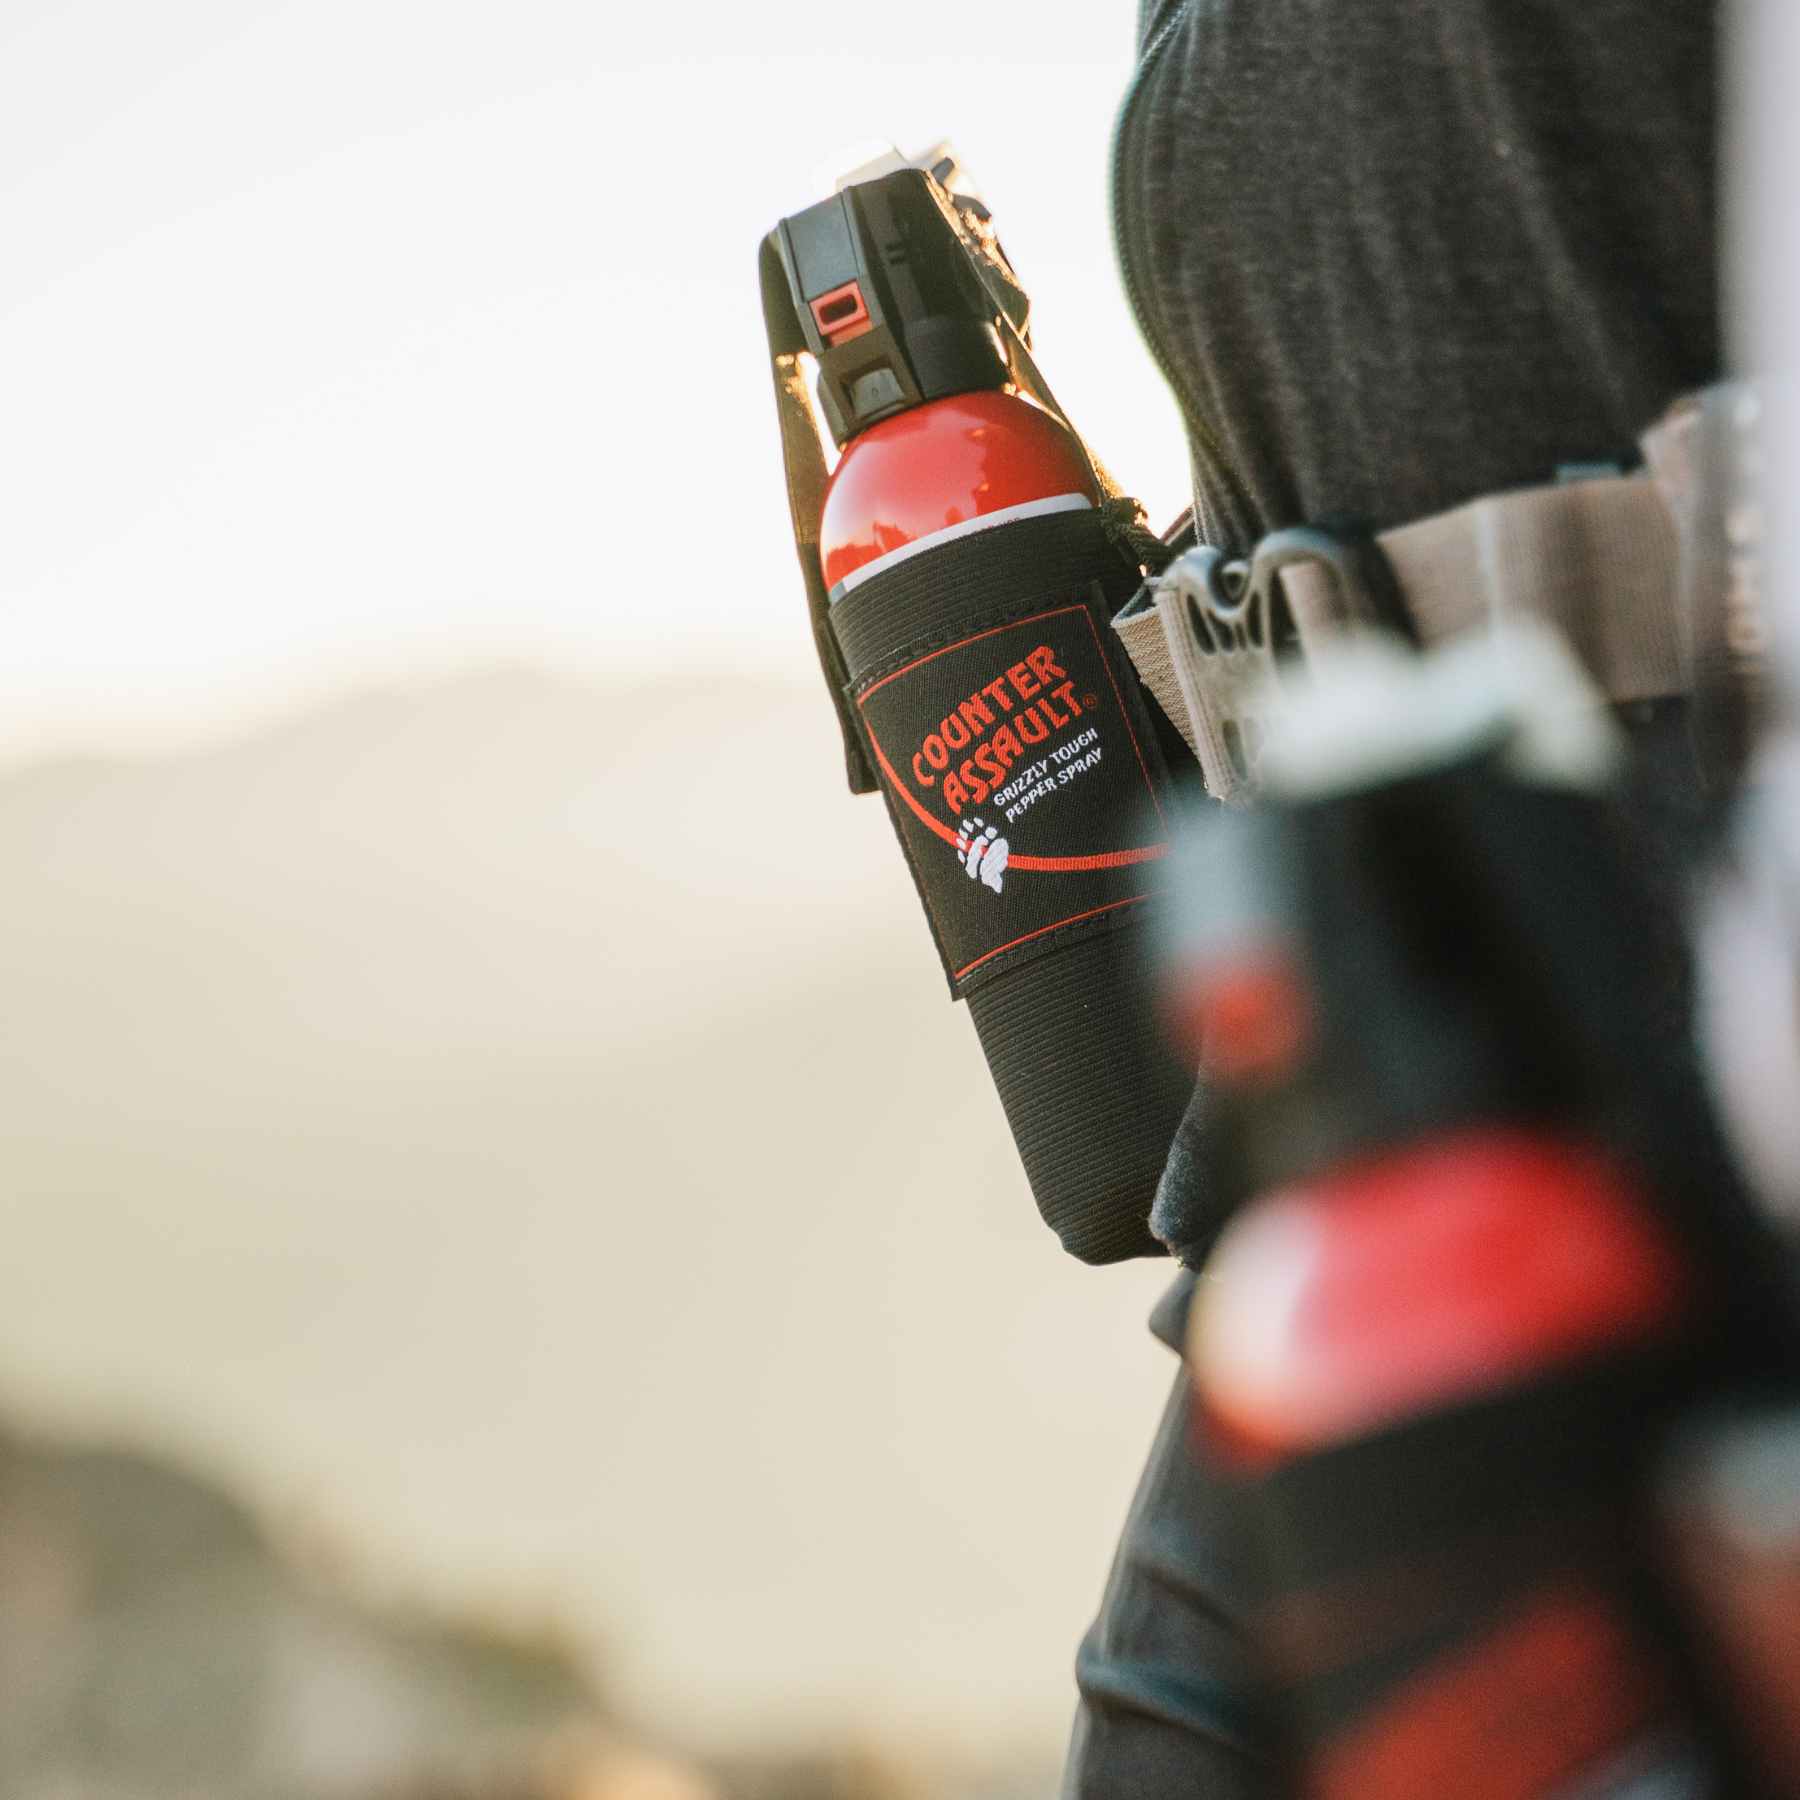
For that reason, many hikers pair a storage system with a can of bear spray carried on the body, not buried in the pack. One option is the Counter Assault 10.2 oz bear spray with holster, which is designed for use on bears, mountain lions, and coyotes. More detail on carry, deployment, and limitations is covered in this guide on what you need to know about bear spray.
Critical point: Bear spray should not be sprayed on gear or clothing as a repellent. It is for an aggressive animal encounter, not for pre-treating camp.
If a bear is encountered, the response stays disciplined. Do not run. Do not scream. Stand ground if needed, speak calmly, prepare the spray, and back away slowly if the animal is not charging.
Maintenance Testing and When to Replace Your Container
A bear resistant container needs inspection after every trip, especially after rough transport or animal contact.
Clean it first. Wash out food residue, wipe the threads or locking surfaces, and let it dry fully before storage. Lingering odor is an invitation.
Then inspect the shell and closure carefully:
- Look for cracks: even hairline damage can become a failure point.
- Check the lid and lock: bent hardware, stripped threads, or closures that do not seat fully are a problem.
- Inspect bite and claw damage: deep gouges around the rim or latch area can compromise performance.
- Retire questionable gear: if there is doubt about whether it will close or hold under pressure, replace it.
A damaged container is not “good enough” just because it worked once.
Counter Assault builds bear safety gear for people who spend real time in wildlife country. For hikers, campers, hunters, and field professionals assembling a complete non-lethal setup, Counter Assault offers bear deterrents and food-storage options designed for practical backcountry use.