
Since 1970, 91% of people injured by bears in Yellowstone were hiking alone or with just one partner, while only 9% were in groups of three or more (Yellowstone safety guidance). That single pattern changes the way hiking animal safety should be understood. The biggest risk factor on the trail is often not the animal, it's isolation, surprise, and the choices that make a hiker easier to approach.
Table of Contents
- Why Most Wildlife Encounters Are Preventable
- Planning and On-Trail Behavior That Reduces Risk
- Choosing and Carrying Bear Spray Correctly
- Reading Animal Behavior During an Encounter
- Species-Specific Response Protocols
- Dog Safety and Campsite Management
Why Most Wildlife Encounters Are Preventable
Risk starts with visibility and sound
Most wildlife reacts to surprise, not intent. In Yellowstone, serious incidents cluster around situations with poor visibility and little noise, which is why group size and trail presence matter so much, as noted in Yellowstone safety guidance. A hiker who is alone, quiet, and moving through thick cover gives an animal less time to identify a human and choose a retreat path.
Practical rule: if a trail section forces a blind approach, slow down and add noise before the corner, not after the animal is already in view.
That is the logic behind the basics experienced guides repeat. Speak often enough to be heard, avoid sneaking through brush, and stay visible when the terrain hides you. Most animals would rather move off than test a human that sounds like a group and looks alert.
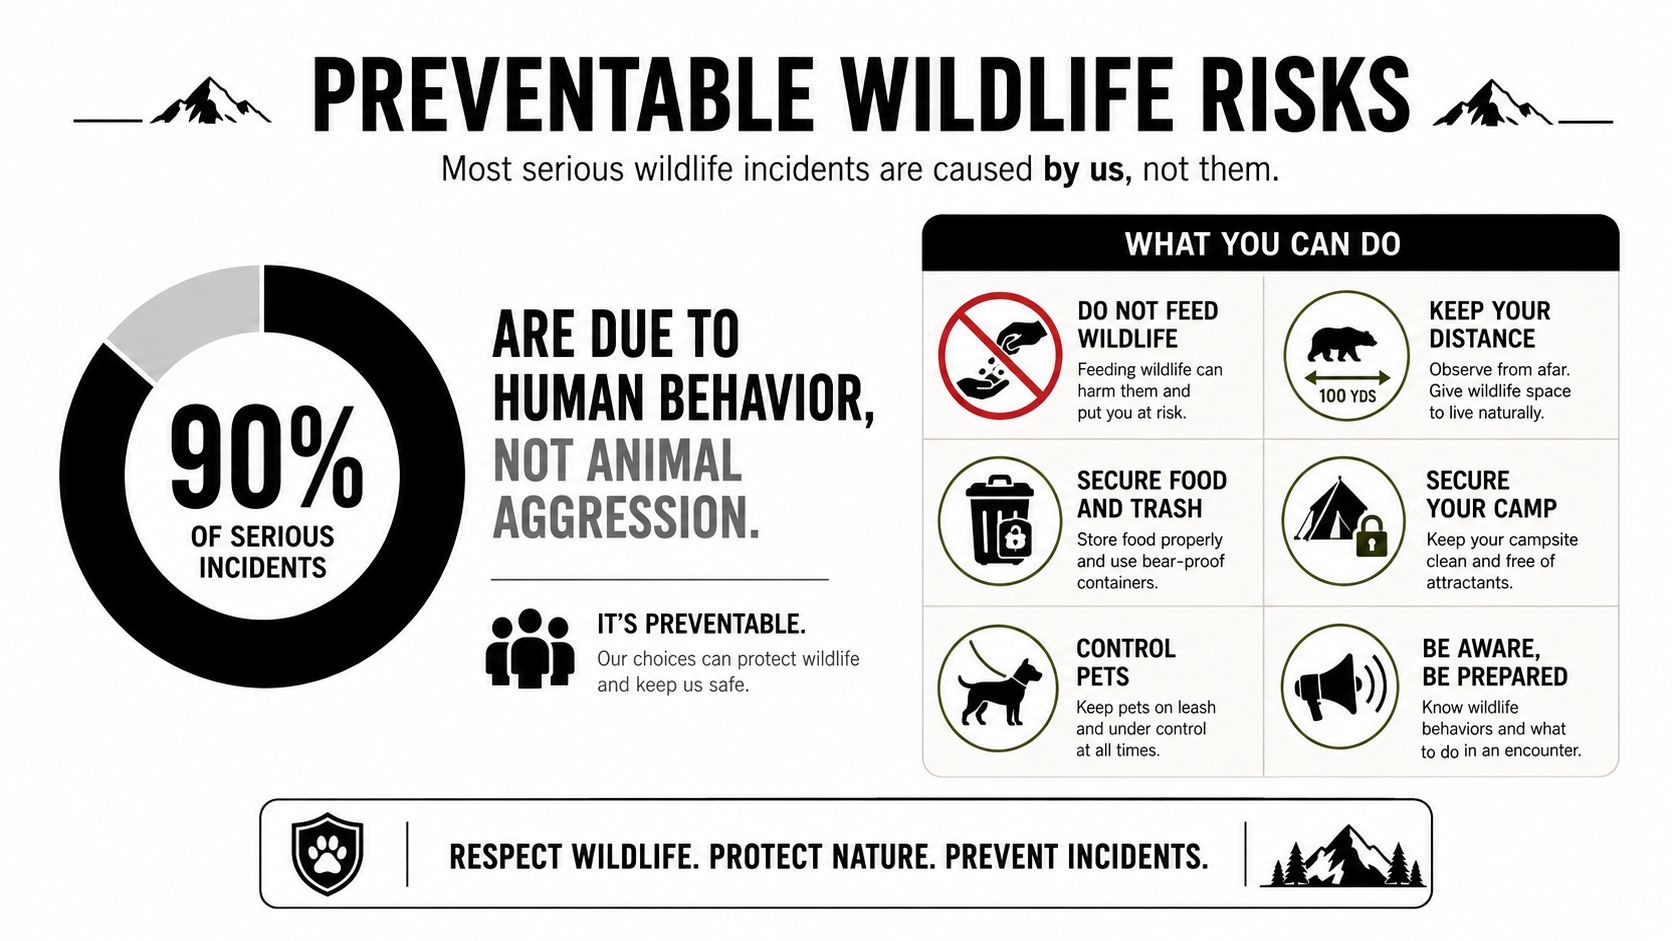
Prevention works because animals read intent
Wildlife safety is primarily a behavior problem, not a gear problem. Hikers who walk through cover, stop to photograph animals from close range, or keep food smells drifting around camp create the exact conditions that invite defensive behavior.
The Swiss Alpine Club emergency analysis reinforces a broader point, animal injuries are uncommon in the mountain setting, but when they happen they can be serious, including life-threatening cases (Swiss Alpine Club analysis). That makes prevention worth the effort. A calm, predictable human is less interesting than a person who startles animals or corners them.
You also need to know your own margin before the trail starts. A useful starting point is this beginner hiking safety guide from Counter Assault, because the same habits that keep people calm, fed, and alert also reduce bad decisions around wildlife.
Distance beats bravado
The cleanest habit is also the simplest, keep space. REI's wildlife guidance aligns with National Park Service distance rules, about 100 yards from bears and wolves and 25 yards from other wildlife (REI wildlife safety tips). Those distances do not exist to make a trail feel cautious, they exist because a safe retreat becomes harder once an animal is already reacting.
In practice, a hiker should treat every move that reduces surprise as a win. Larger groups, steady conversation, no feeding, no crowding, and no posing for photos all make the encounter less likely to escalate. Hiking animal safety starts long before any spray comes out of a holster.
Planning and On-Trail Behavior That Reduces Risk
Build the day around exposure, not convenience
A safer trail day starts before the first step. Check which species live in the area, read recent park notices, and look at the terrain with wildlife movement in mind. The beginner hiking safety guide from Counter Assault is a useful companion here because the same habits that keep hikers steady, fed, and alert also reduce mistakes around animals.
Timing matters as much as route choice. Dawn and dusk often bring more animal movement, and that matters even on easy trails. Brushy bends, creek bottoms, berry patches, and narrow passes all compress space and cut reaction time. A scenic trail can still be poor wildlife country if it funnels people into close contact.
Make noise that carries
Noise works because it gives animals advance notice. Talking around blind corners, near dense brush, and beside noisy water is more useful than a few claps after a surprise sighting. The point is to announce yourself early enough that the animal can move off without feeling cornered.
A small group that keeps a steady conversation is usually safer than a silent line of hikers, even at a slow pace. The goal is to give animals enough warning that they never need to choose between fleeing and defending.
Field habit: when the trail bends, speak before the bend. When brush closes in, speak again.
That routine pairs well with basic trail discipline, food sealed, smells contained, and no shortcuts through cover. As noted earlier, keeping distance and securing food reduce the cues that draw wildlife closer in the first place. These same habits matter whether you are crossing open meadow or moving through a tight forest corridor.
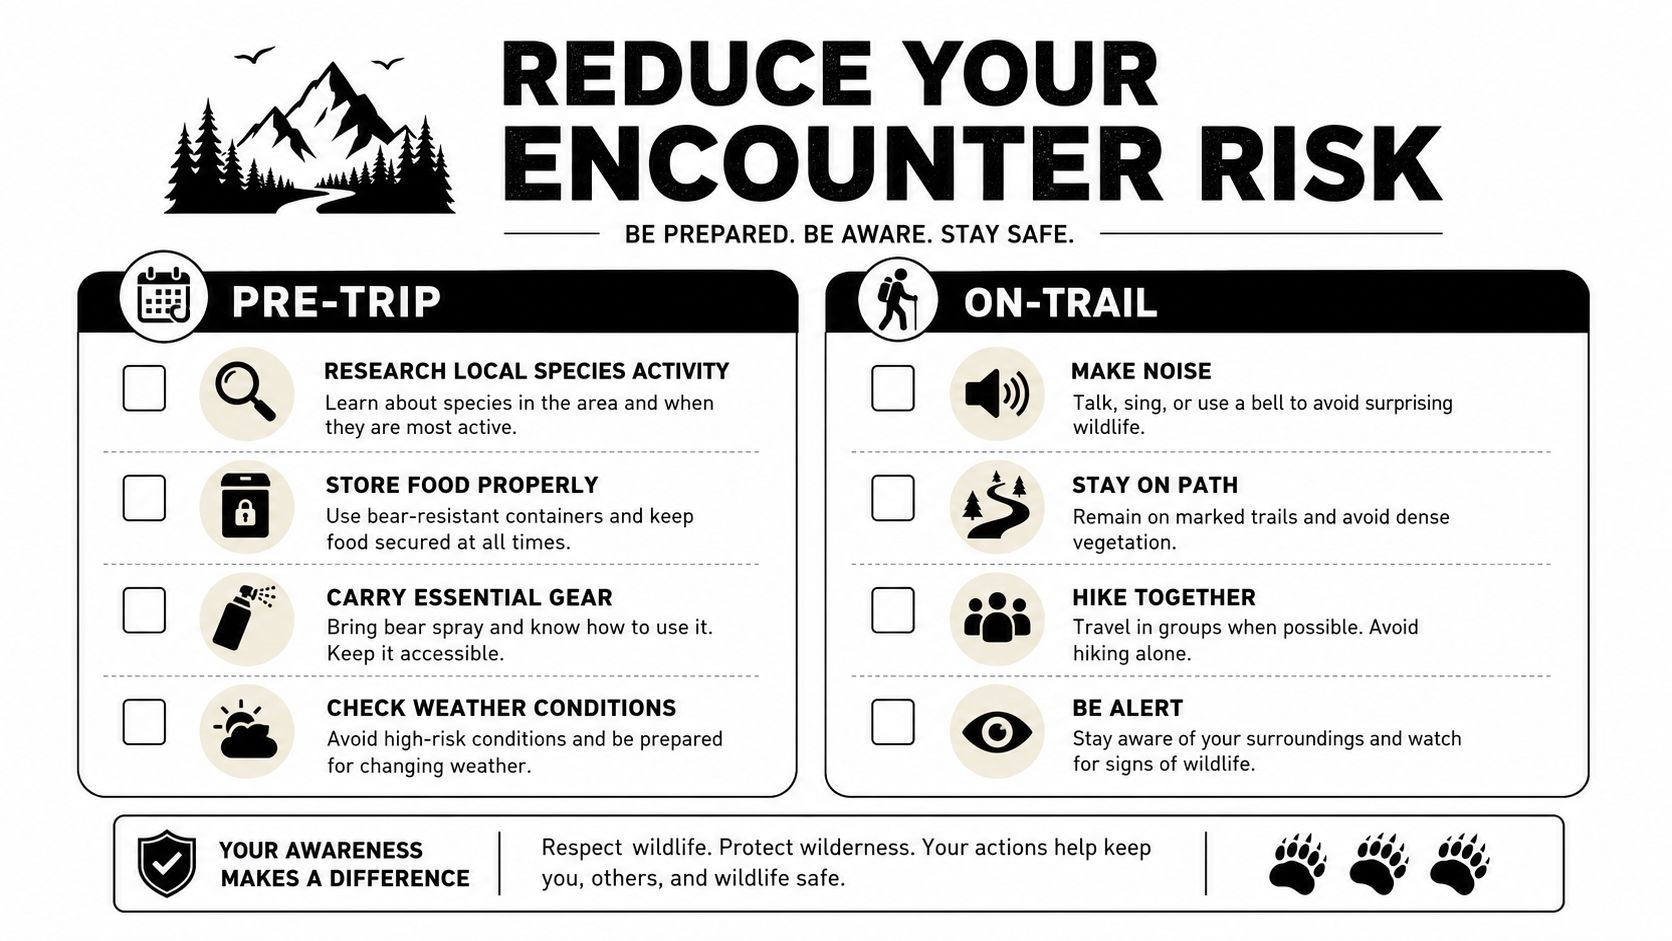
Group dynamics matter more than ego
Solo hiking can be manageable on many trails, but it removes one of the oldest safety advantages in bear country, shared noise and shared awareness. That means the lone hiker has to compensate with a louder, steadier voice, more frequent verbal check-ins, and better trail positioning so animals are not surprised at close range.
The practical adjustments are simple. Hike open enough that you can see ahead, avoid moving right on the edge of dense cover, and speak before blind corners rather than after them. If the trail narrows, slow down and keep your voice moving forward. If you are alone, your job is to create the presence a larger group would have produced naturally.
A practical checklist helps:
- Research species and rules: Know which animals live there, and which behaviors park staff warn against.
- Choose better timing: Skip the low-light edges of the day when wildlife movement tends to rise.
- Use your voice early: Keep sound moving ahead of the group.
- Stay on open trail: Don't cut through brush just because it's shorter.
- Respect food discipline: Odors belong in secure storage, not around tents or picnic tables.
For beginner-friendly trail habits, the field notes at hiking safety tips for beginners fit well with a proper bear-country routine.
Choosing and Carrying Bear Spray Correctly
Carry the deterrent where a hand can reach it
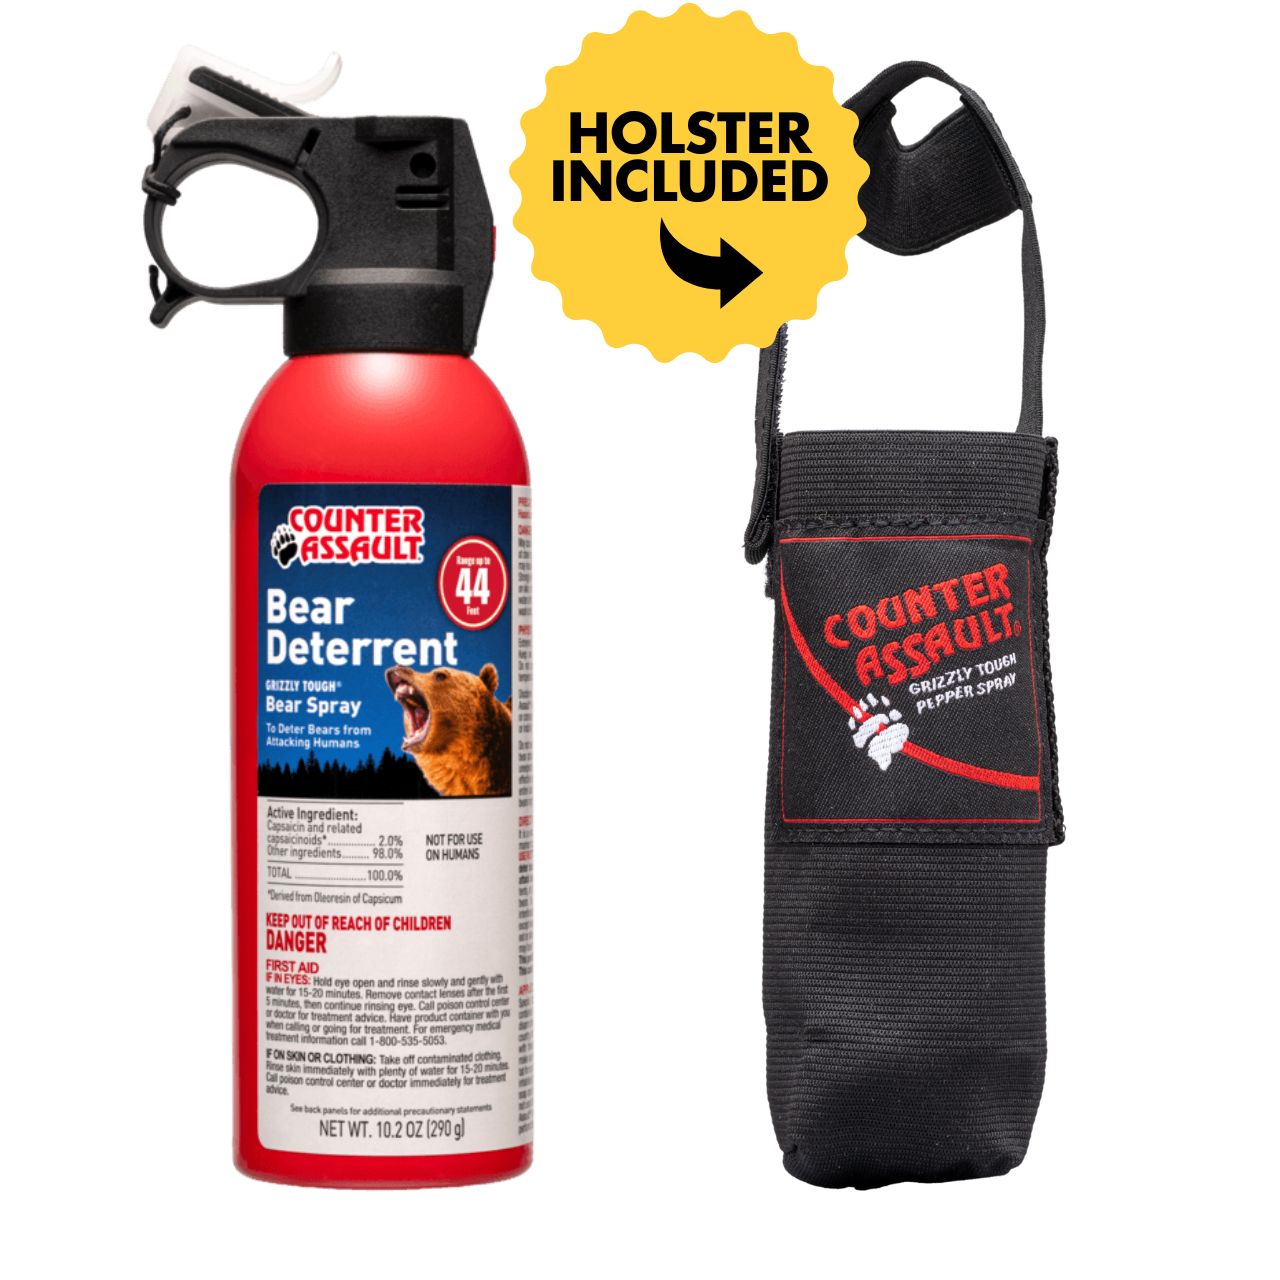
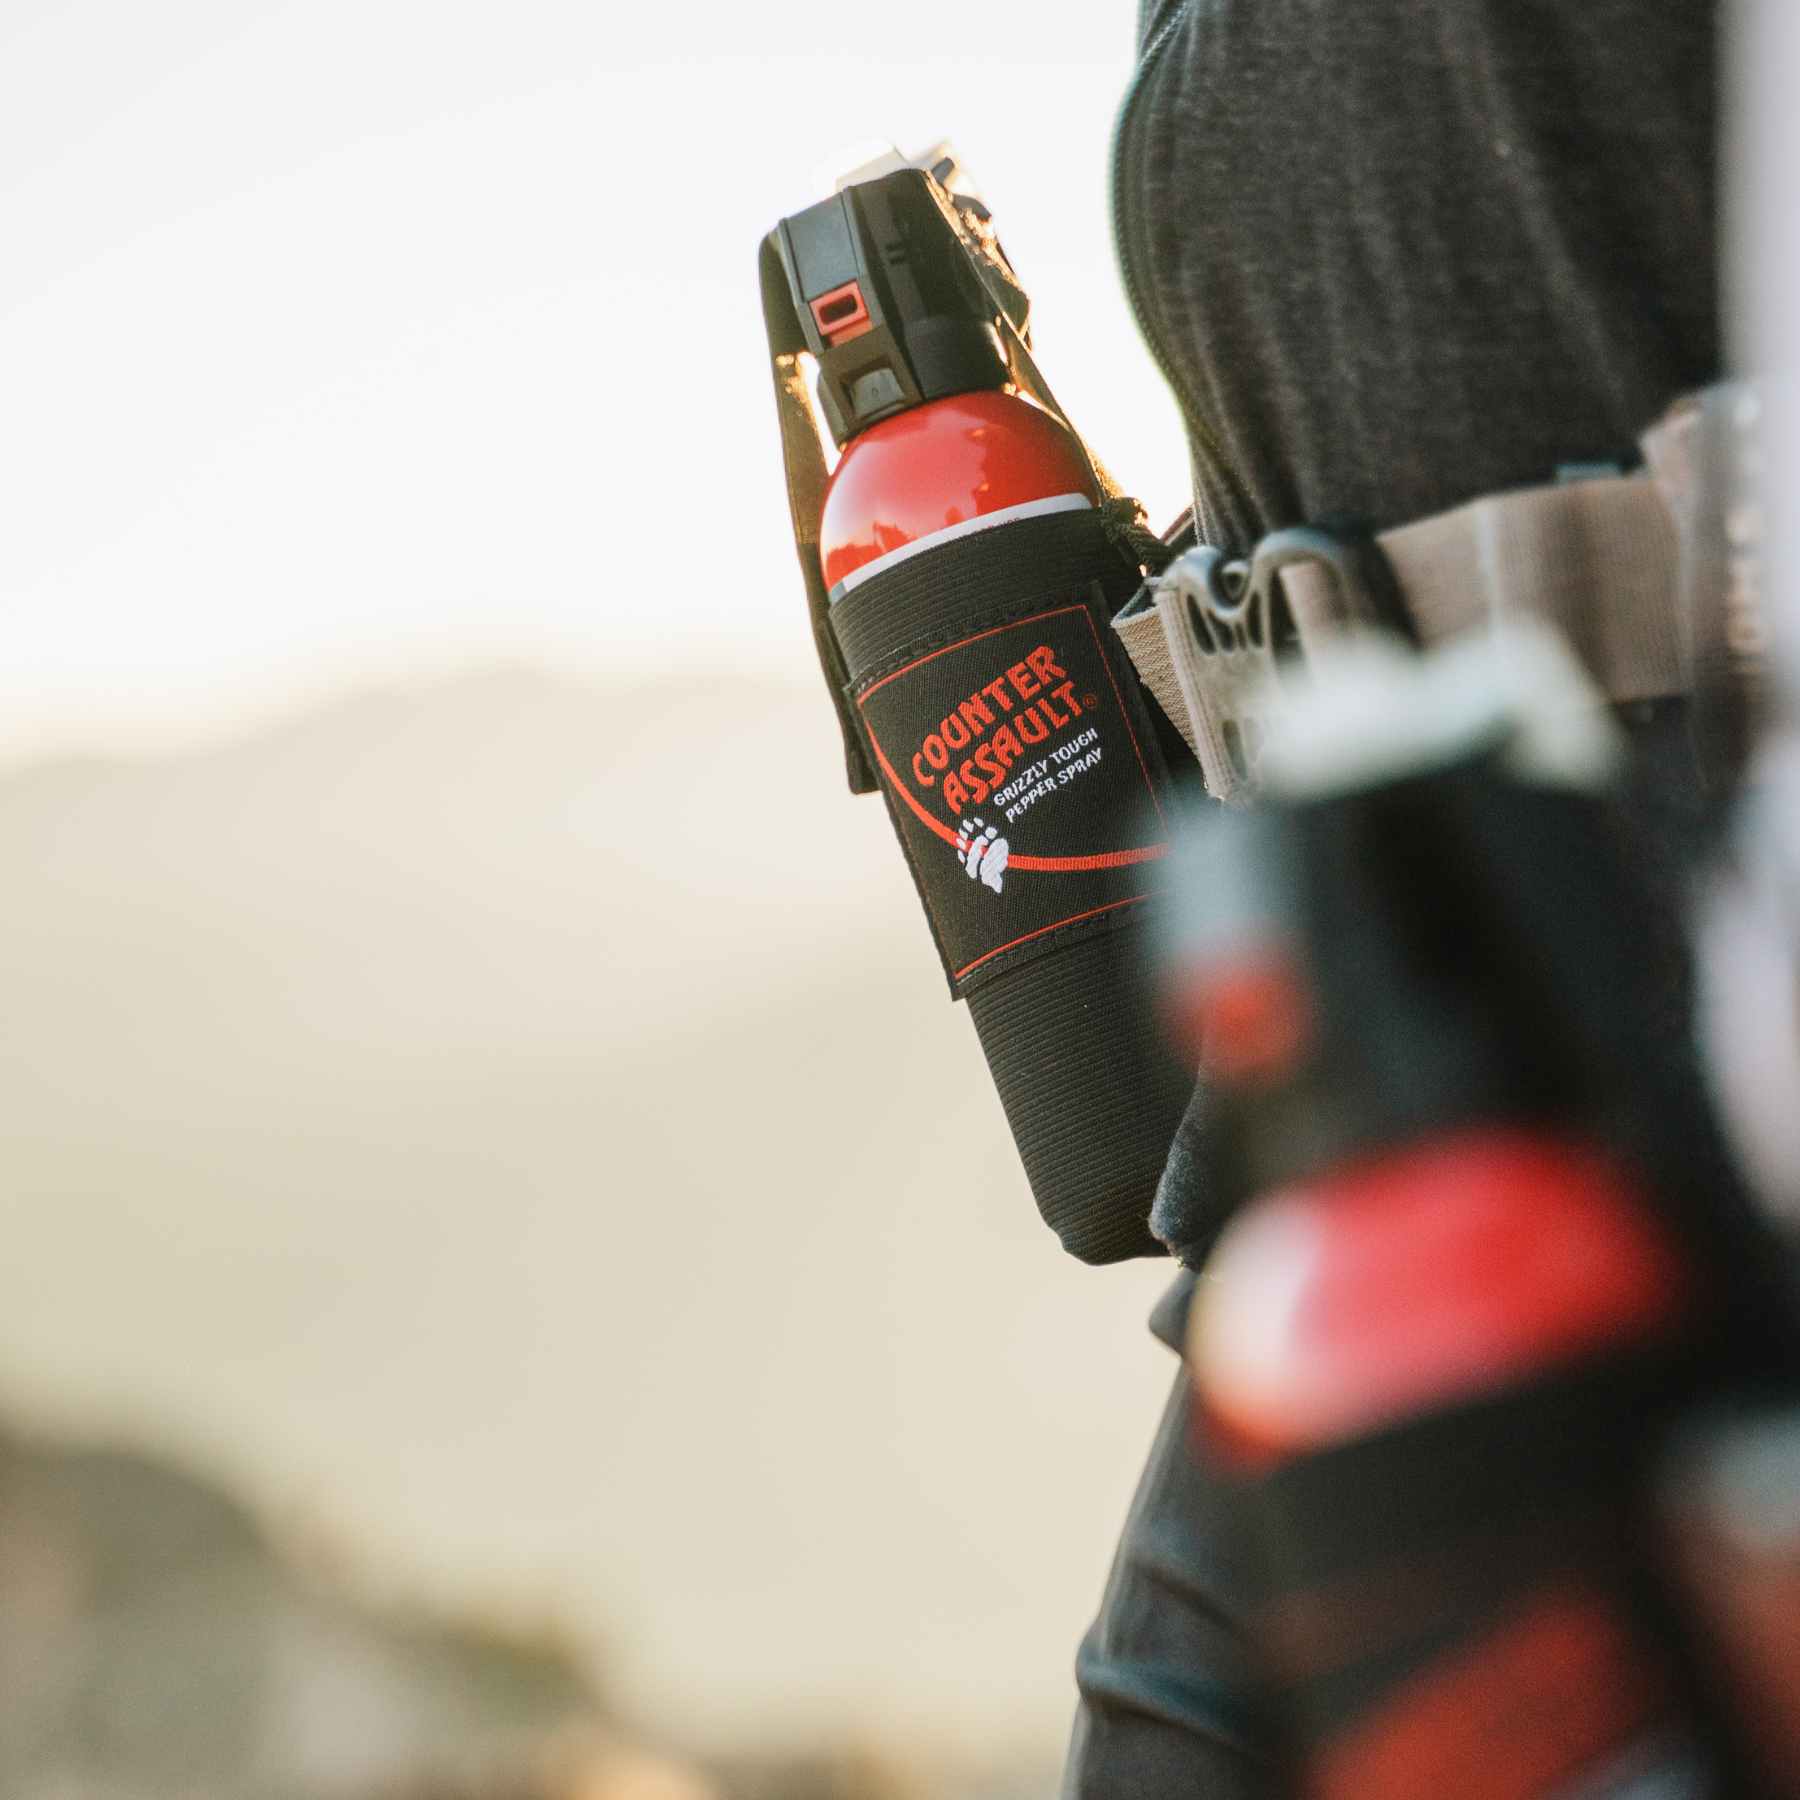
Bear spray only matters if it can be reached in seconds. Counter Assault's 10.2 oz can with included holster is built for that kind of carry, and the product page for the 10.2 oz bear spray with holster makes the setup clear. A can buried in a pack delays the response when the window is already closing.
Placement is the deciding factor. Belt carry or chest carry works. Pack storage does not. A hiker should be able to draw the can without taking off a shoulder strap, digging through layers, or setting gear on the ground.
Know what the spray is for
Bear spray is a last-line deterrent for a charging or aggressive bear, used only after distance and noise have failed. It should never be sprayed on skin, clothing, or gear as a preventive measure. It also does not replace distance, noise, or clean campsite habits.
Counter Assault's formulation uses 2% capsaicin and related capsaicinoids, and the can is designed to project up to 44 feet with around 10 seconds of continuous discharge, which gives the hiker a meaningful buffer at close range (Counter Assault product page). The brand's field-focused design keeps the use case simple: deterrence.
Carry rule: if the spray can't be reached while wearing the pack, it isn't carried correctly.
A holster should be checked before every trip, the same way a water filter or headlamp gets checked. The safety clip should be practiced at home until the motion feels automatic. In a real encounter, fine motor skills fall apart quickly.
Correct carry beats panic buying
Many hikers buy spray and then treat the purchase as preparation. The useful part is the repeatable habit, clip in place, holster secured, expiration date checked, and the can placed where a dominant hand can reach it cleanly. That applies on a popular trail and on a remote drainage with poor sight lines.
The deeper point is that bear spray is one tool in a layered system. It works best after the hiker has already done the work of avoiding surprise, staying together, and keeping camp clean. For more detail on the mechanics of use and storage, the resource at what you need to know about bear spray belongs in every serious backpacking kit review.
Reading Animal Behavior During an Encounter
The first question is whether the animal has registered you
In the first few seconds, the animal's attention tells you what to do next. If it has not noticed the hiker, the safest move is usually to stop, stay quiet, and avoid turning the moment into a chase cue. If it is already aware and moving off, a slow retreat gives it room and keeps pressure low.
Glacier National Park lays out a useful sequence for bear encounters. If the bear is moving in your direction, get out of its way and let it pass. If moving away is possible, do it. If moving away seems to agitate the bear, stop. If the bear approaches in a non-defensive way, gather the group, make noise, and prepare to deploy spray (Glacier bear guidance).
Read the body, not your nerves
A bear standing up is not automatically an attack. Often, it is trying to see and smell better. A bear huffing, jaw-popping, or holding a stiff posture is sending a different signal, one tied to stress or warning. The same holds for mountain lions and coyotes, where posture and direction matter more than the dramatic response a person feels tempted to make.
Running is the wrong move for large predators. It can trigger pursuit, and it also removes the time needed to tell whether the animal is passing through. Slow, sideways movement, a normal voice, and a bigger silhouette do more useful work than panic. Keep the group together if you can, and give the animal a clear path out.
When to escalate
Escalation should follow the animal's behavior, not your adrenaline. Curiosity calls for space. Stress calls for more room and controlled noise. Aggression calls for readiness, with spray in hand and the group tightened together if that is possible.
A hiker gets into trouble by pushing the animal into a corner through pursuit, photos, or a sudden retreat that looks like prey movement. Better choices are plain and repeatable. Face the animal if needed, move slowly, avoid crowding it, and make your body look unfamiliar enough that it does not keep closing the distance. If the animal keeps coming after those steps, shift from avoidance to deterrence without delay.
Species-Specific Response Protocols
Bears, lions, and coyotes don't all read the same signal
The species in front of you decides the next move. A bear, a mountain lion, and a coyote can all feel threatening, but they do not respond to the same body language, and a one-size-fits-all reaction can turn a manageable encounter into a real problem.
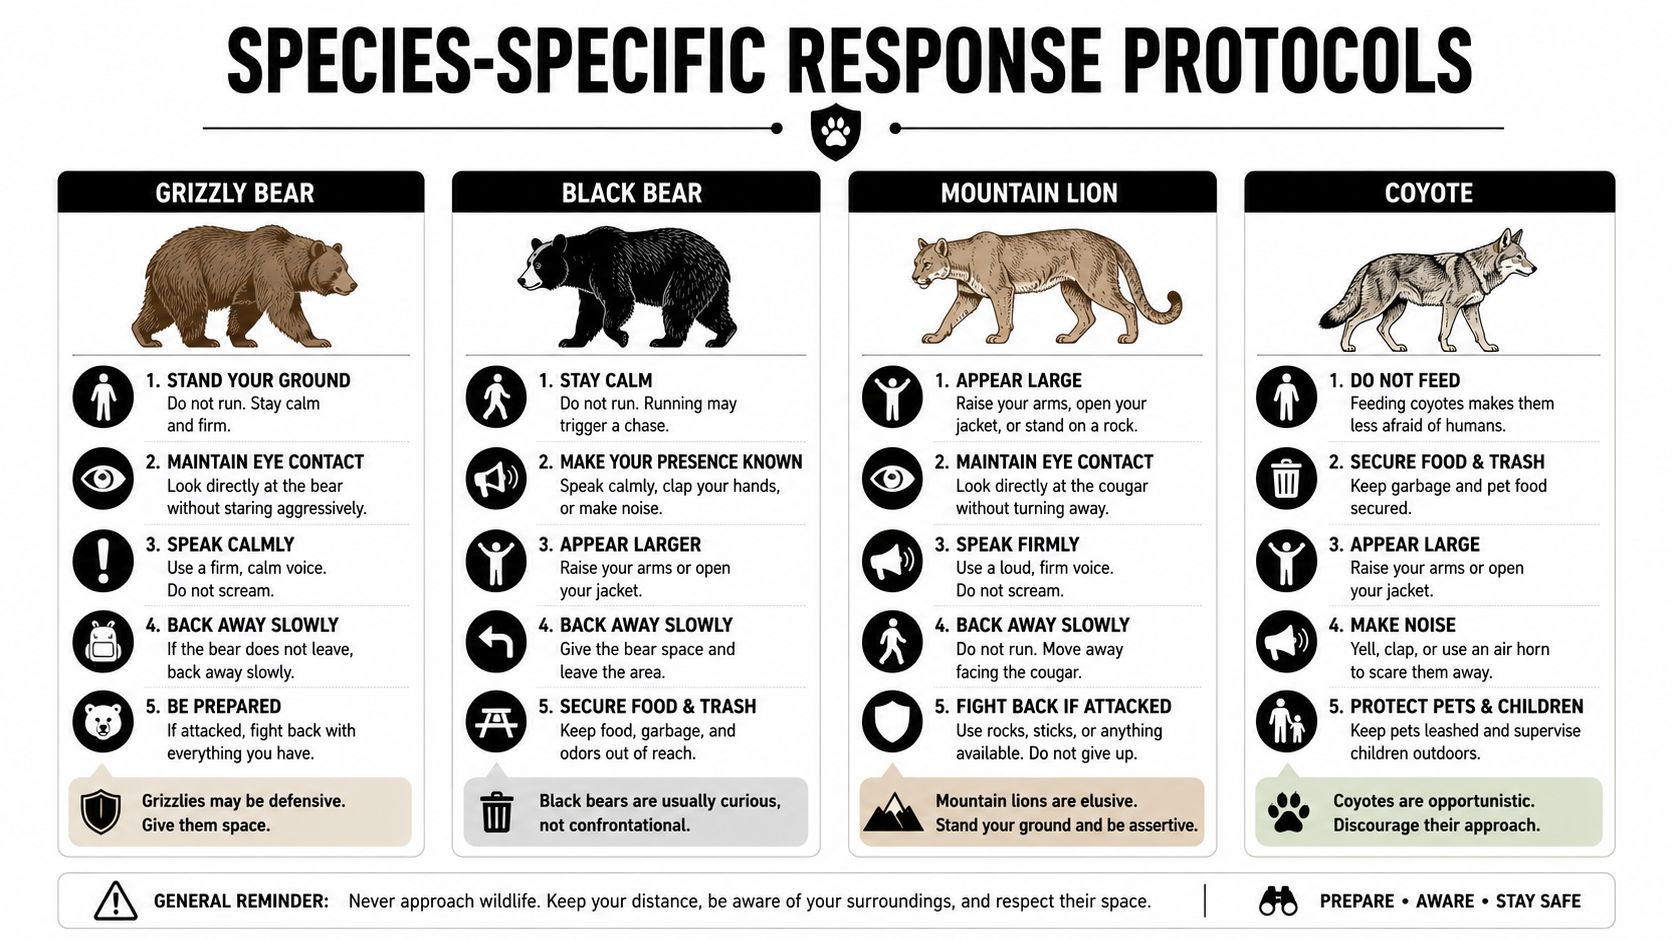
Grizzly bears require the most restraint early on. As noted earlier in the Glacier bear guidance, give the bear space if you can, keep your movement deliberate, and avoid any action that reads as pursuit or crowding. If the bear keeps closing in a way that looks non-defensive, that is the point to have spray ready. If a defensive charge turns into contact, playing dead remains the last-resort response, because with a grizzly that is acting defensively, fighting back can make the situation worse.
Black bears call for a different line. A black bear that stays close, circles, or keeps testing distance should not be handled with the same defensive-contact response used for a grizzly. Stay upright, make yourself look larger, speak firmly, and be prepared to fight back if the animal makes physical contact. The goal is to break the bear's confidence and convince it that closing in is not worth the risk.
Mountain lions demand steady pressure without panic. Hold eye contact, keep backing away, and make your body look larger without turning the moment into a chase. Coyotes are usually handled with loud hazing, a firm stance, and no attempt to feed them or close distance. In both cases, the hiker who stays calm keeps more options open than the hiker who bolts.
Keep your head up, move slowly, and keep your voice steady. Panic changes how the animal reads the scene.
The decision sequence matters more than the gear alone. Start with space, then use posture and noise when the animal keeps pressing, and move to spray only when the animal continues to close despite those warnings. For coyotes, that escalation often works fast because they are used to being pushed out of human space. For black bears, assertive pressure usually comes earlier than most hikers expect, while grizzlies often call for more caution until the behavior clearly shifts from defensive to committed approach.
Counter Assault's guide on how to keep bears away from camp fits that same practical logic, use the smallest response that still makes the animal stop advancing, and do not wait for a perfect opening that never shows up. The point is to create space and leave once the route is open.
The same pattern applies if a dog seems to be part of the problem, because a loose dog can change how wildlife reads the entire group. Cold, tired dogs also become less reliable under stress, and signs your dog is cold is a useful reminder that a hiker has to judge the animal in front of them, not the plan on paper.
Dog Safety and Campsite Management
A dog changes the wildlife equation
Loose dogs create trouble because they can rush an animal, then come sprinting back with the animal behind them. That's why the safer setup is strict voice control or a leash, a 1:1 human-to-dog ratio, and no more than two dogs total in a group, regardless of how many people are hiking (AKC hiking with your dog). Physical restraint beats a great recall, especially when a dog is excited, wet, tired, or startled.
One overlooked detail is timing. If a loose dog appears near another hiker or animal, leash it immediately. Waiting to see whether it “stays close” is how many avoidable conflicts begin. The same logic applies to cold, tired dogs on long routes, and the welfare guidance at signs your dog is cold is a useful reminder that a stressed dog can become less controllable at exactly the wrong time.
Camp smells need hard boundaries
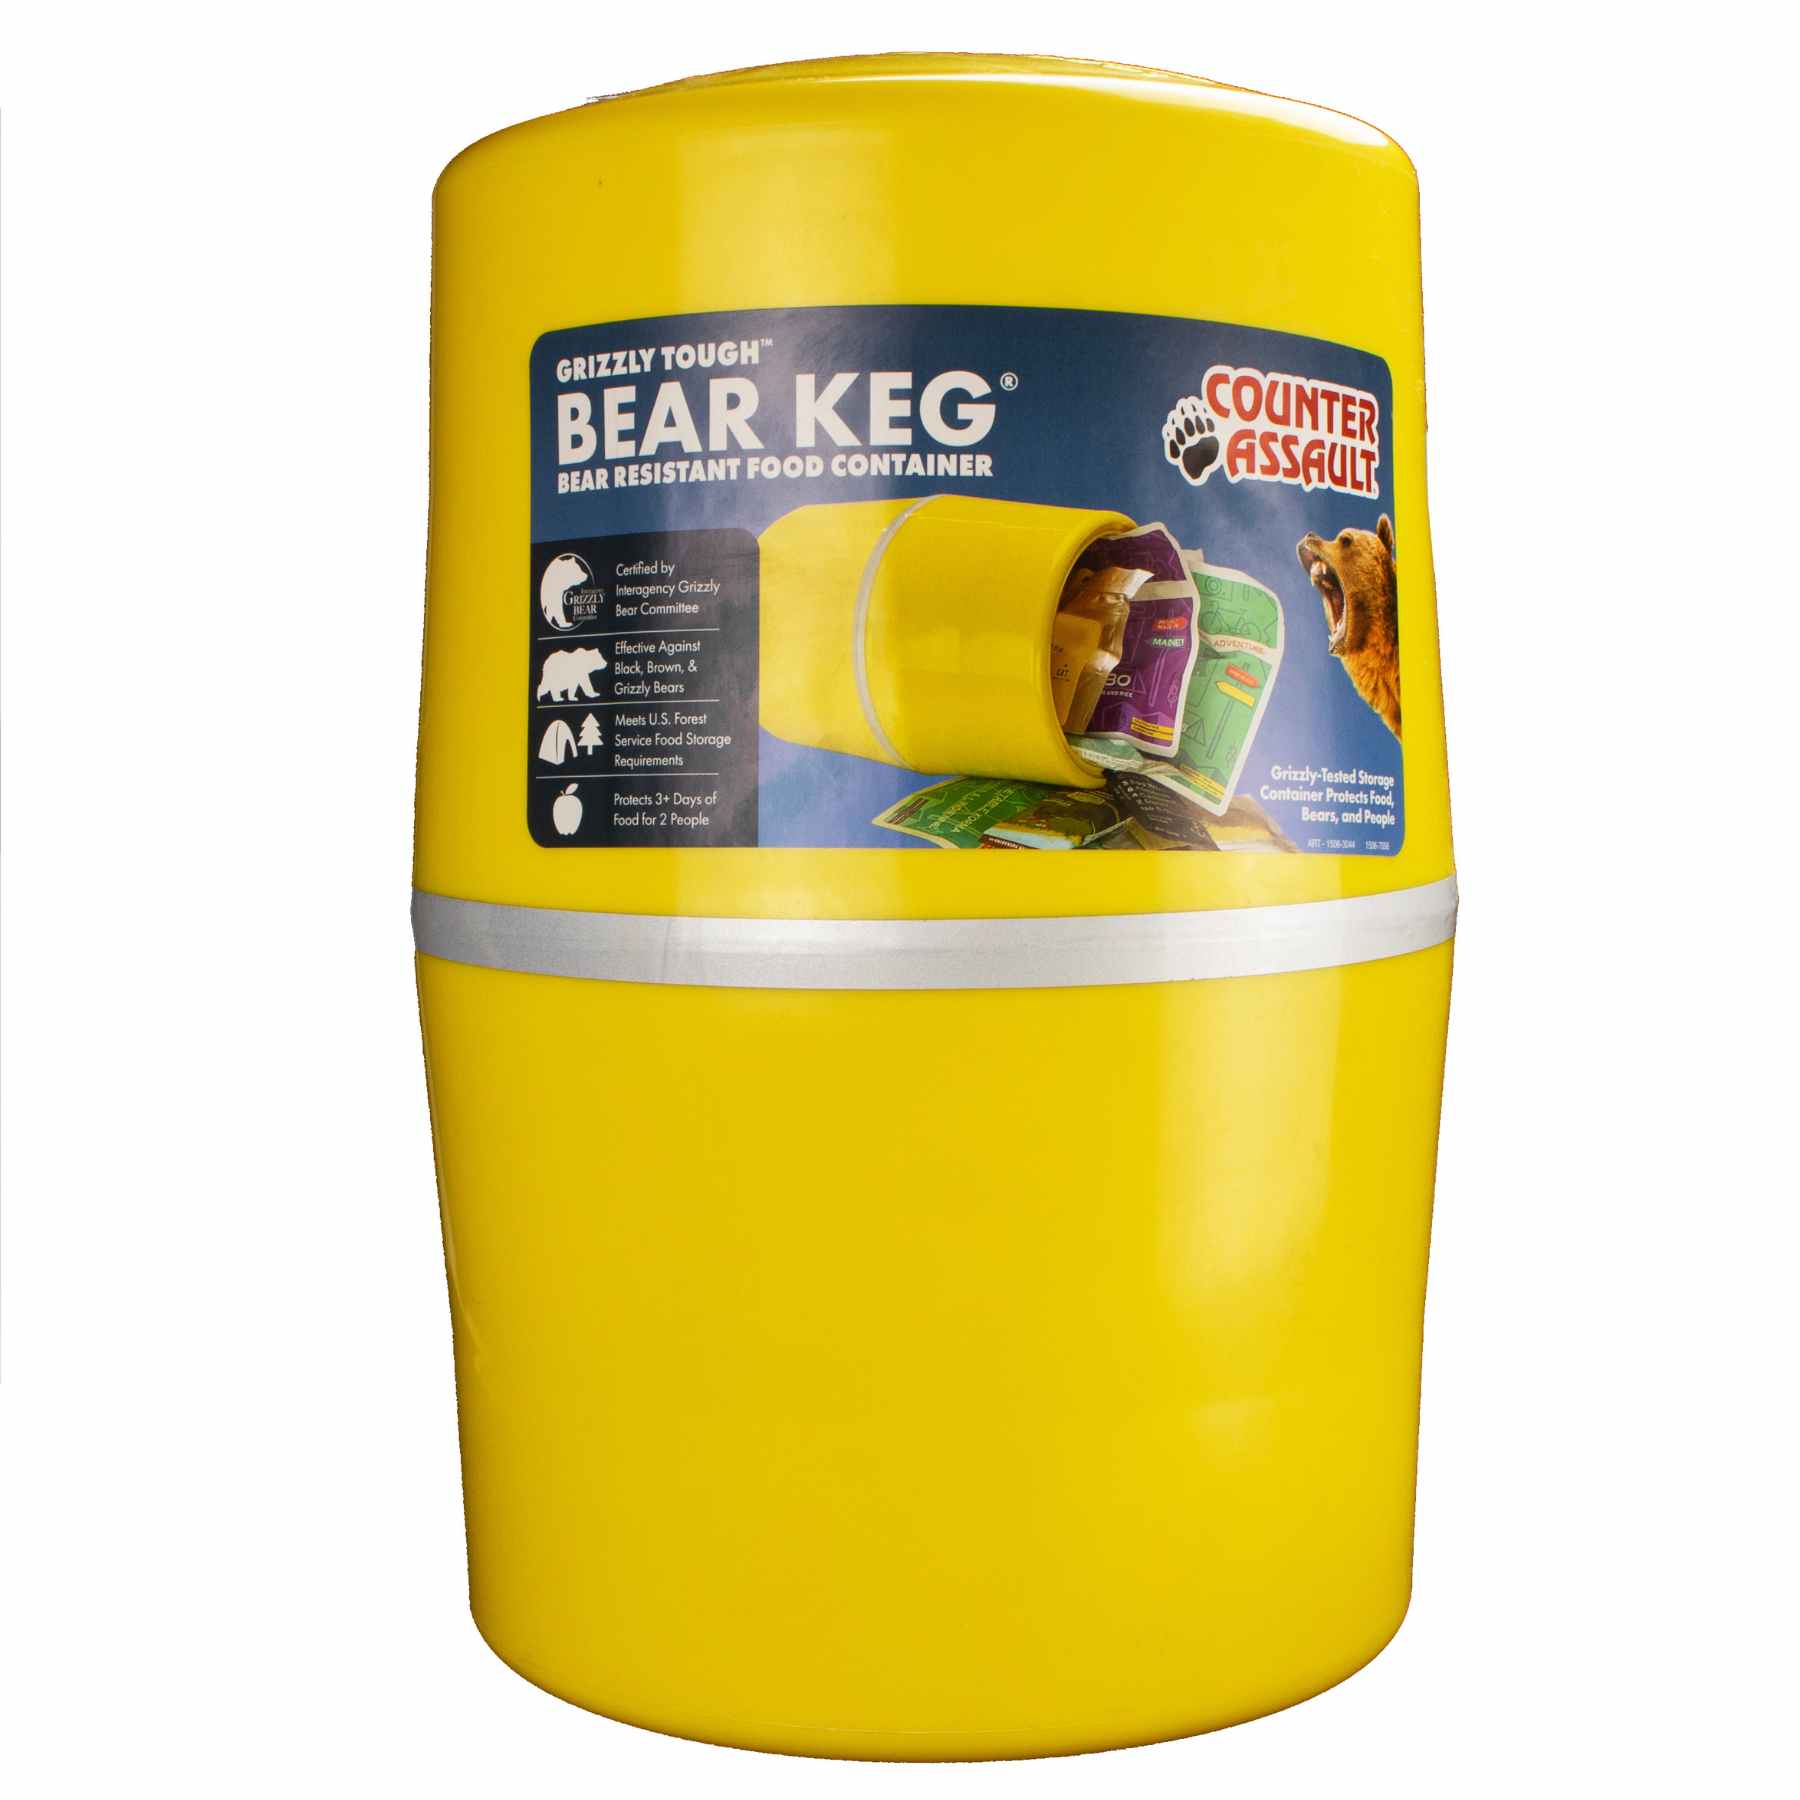
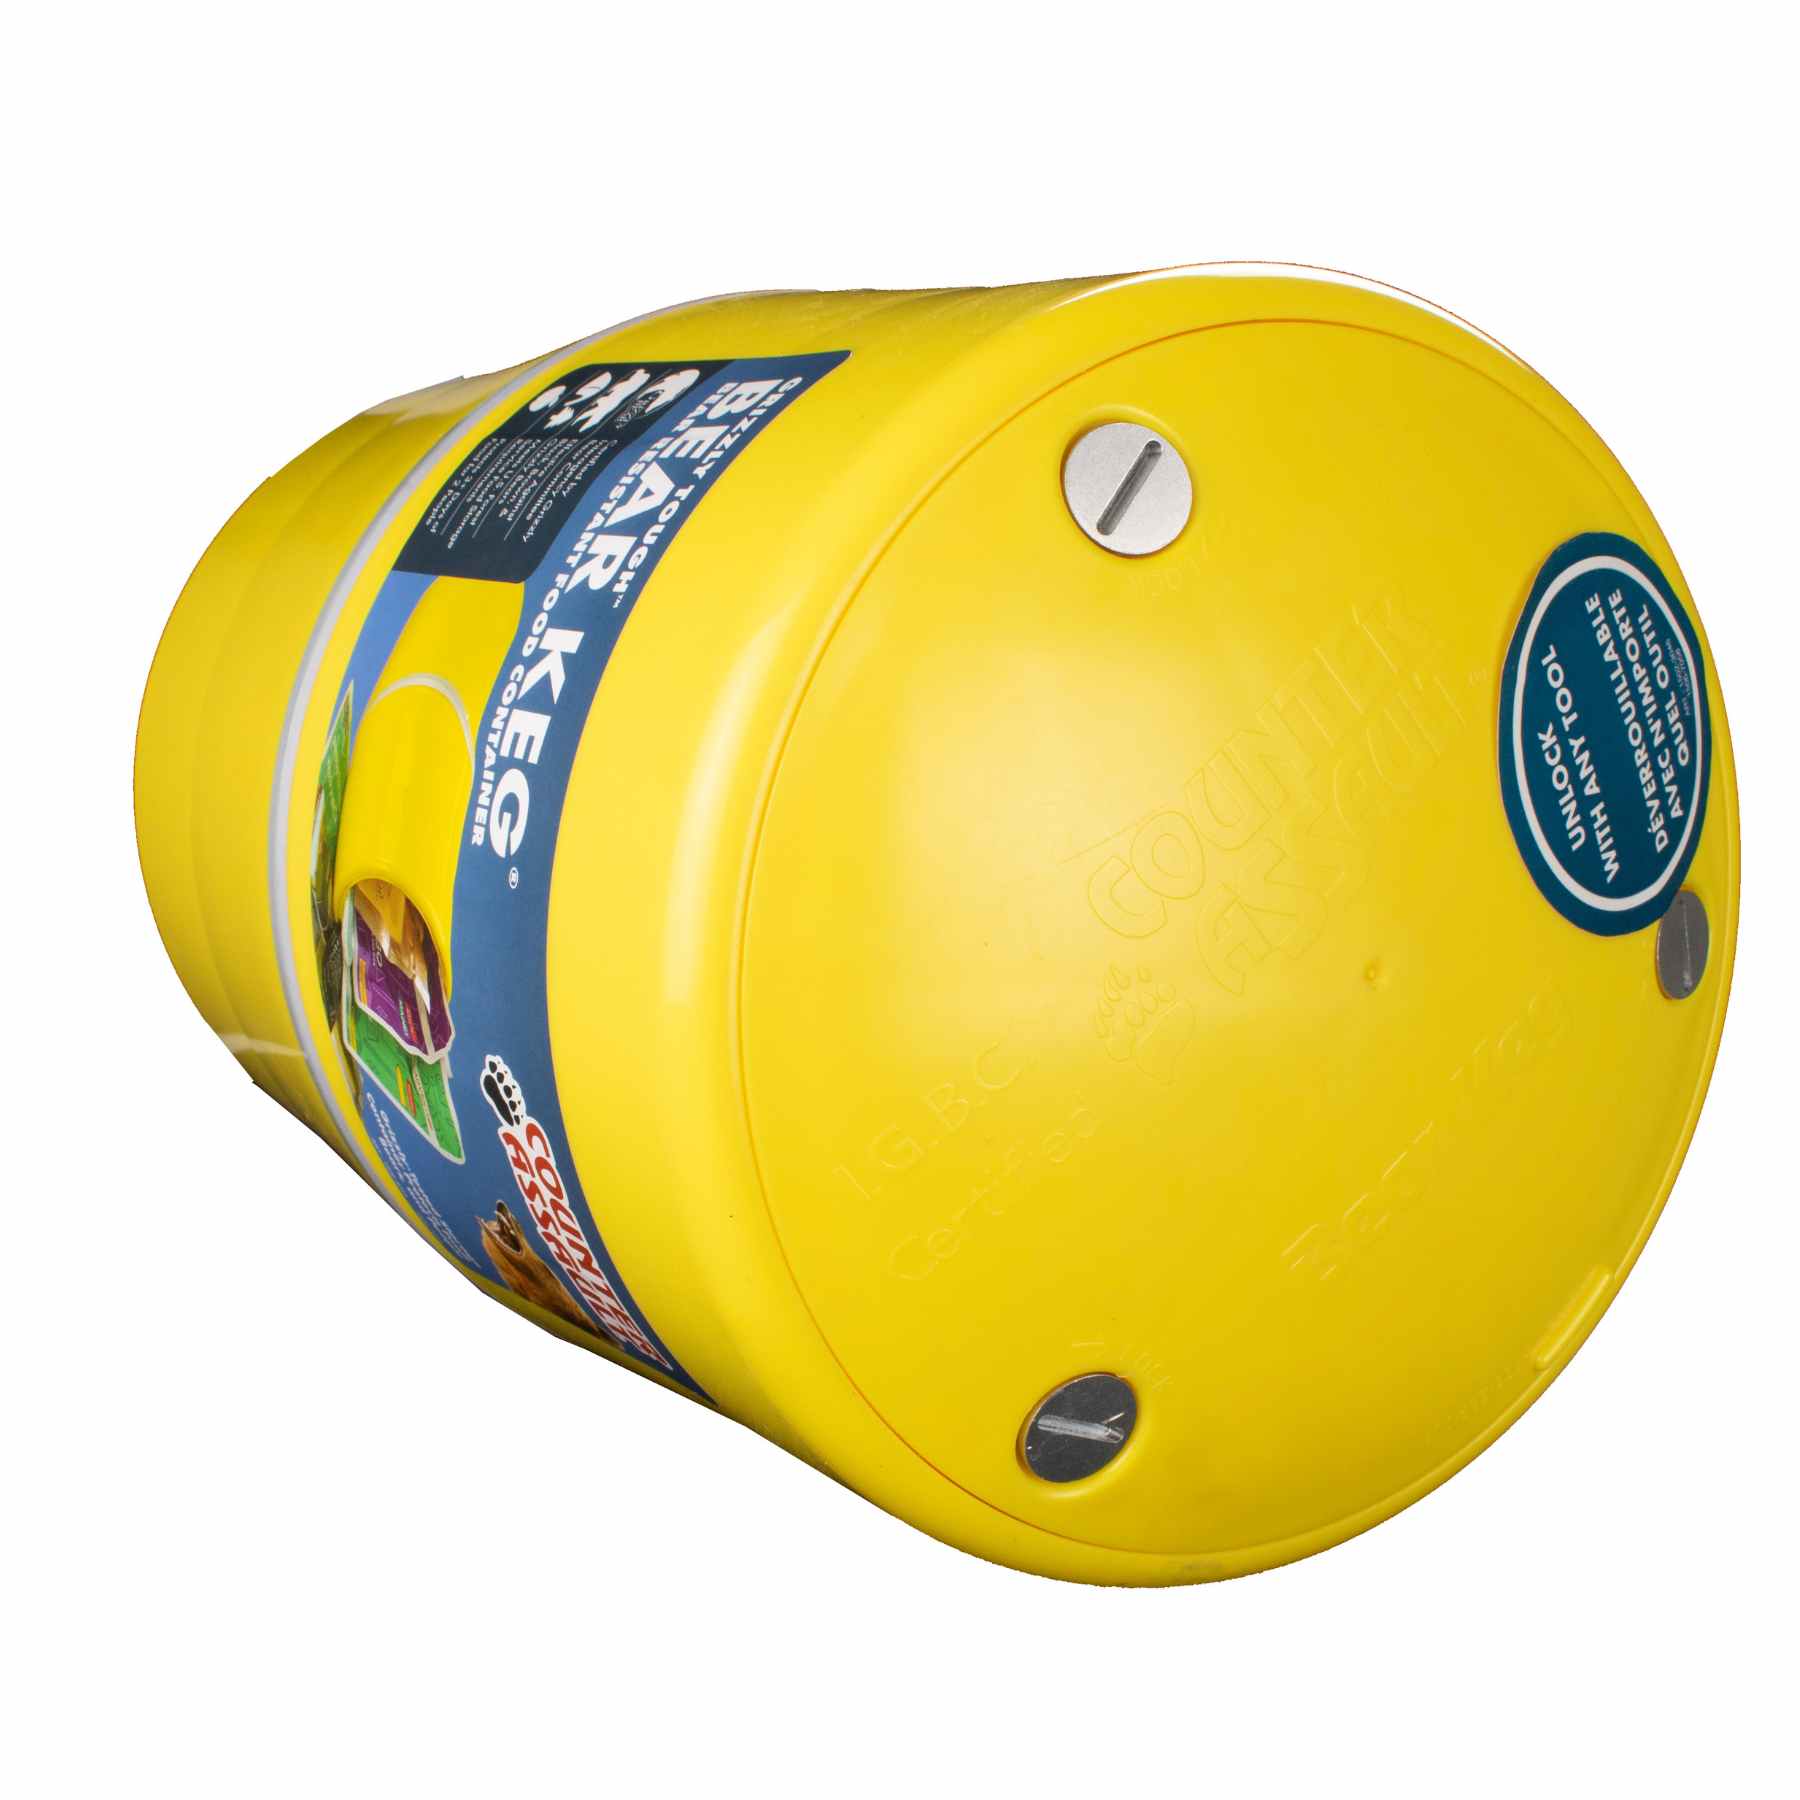
RATC's trail-safety guidance is exact for a reason, cook and eat away from the tent, then hang food, cookware, toothpaste, hygiene items, and even water bottles with drink mixes from a strong branch at least 10 feet off the ground and well away from camp, or use bear boxes, poles, or cable systems where available (RATC trail safety guidance). That specificity matters because hikers often miss the scent items that matter most.
A clean campsite is not just tidy, it's unattractive. Smelly gear stored near sleep space, food wrappers in side pockets, and cooking odors drifting back to tents are all invitations to investigate. If an encounter does happen around camp, the right answer is to get people together, create space, and make the site harder to approach again.
For a practical breakdown of camp discipline, how to keep bears away from campsite is the kind of reference worth saving before a trip. The best camps are the ones wildlife notices and ignores.
When the day's finished, a hiker should know where the dog is, where the food is, and where the spray is. That trio is the backbone of overnight safety.
If wildlife travel is part of the routine, the gear should be just as routine. Counter Assault's 10.2 oz bear spray with holster gives hikers a carry-ready deterrent for bear country, and it belongs in the same planning category as first aid, food storage, and a leash. Visit Counter Assault to get the can, check the holster setup, and build a trail kit that's ready before the first noisy step onto the path.