
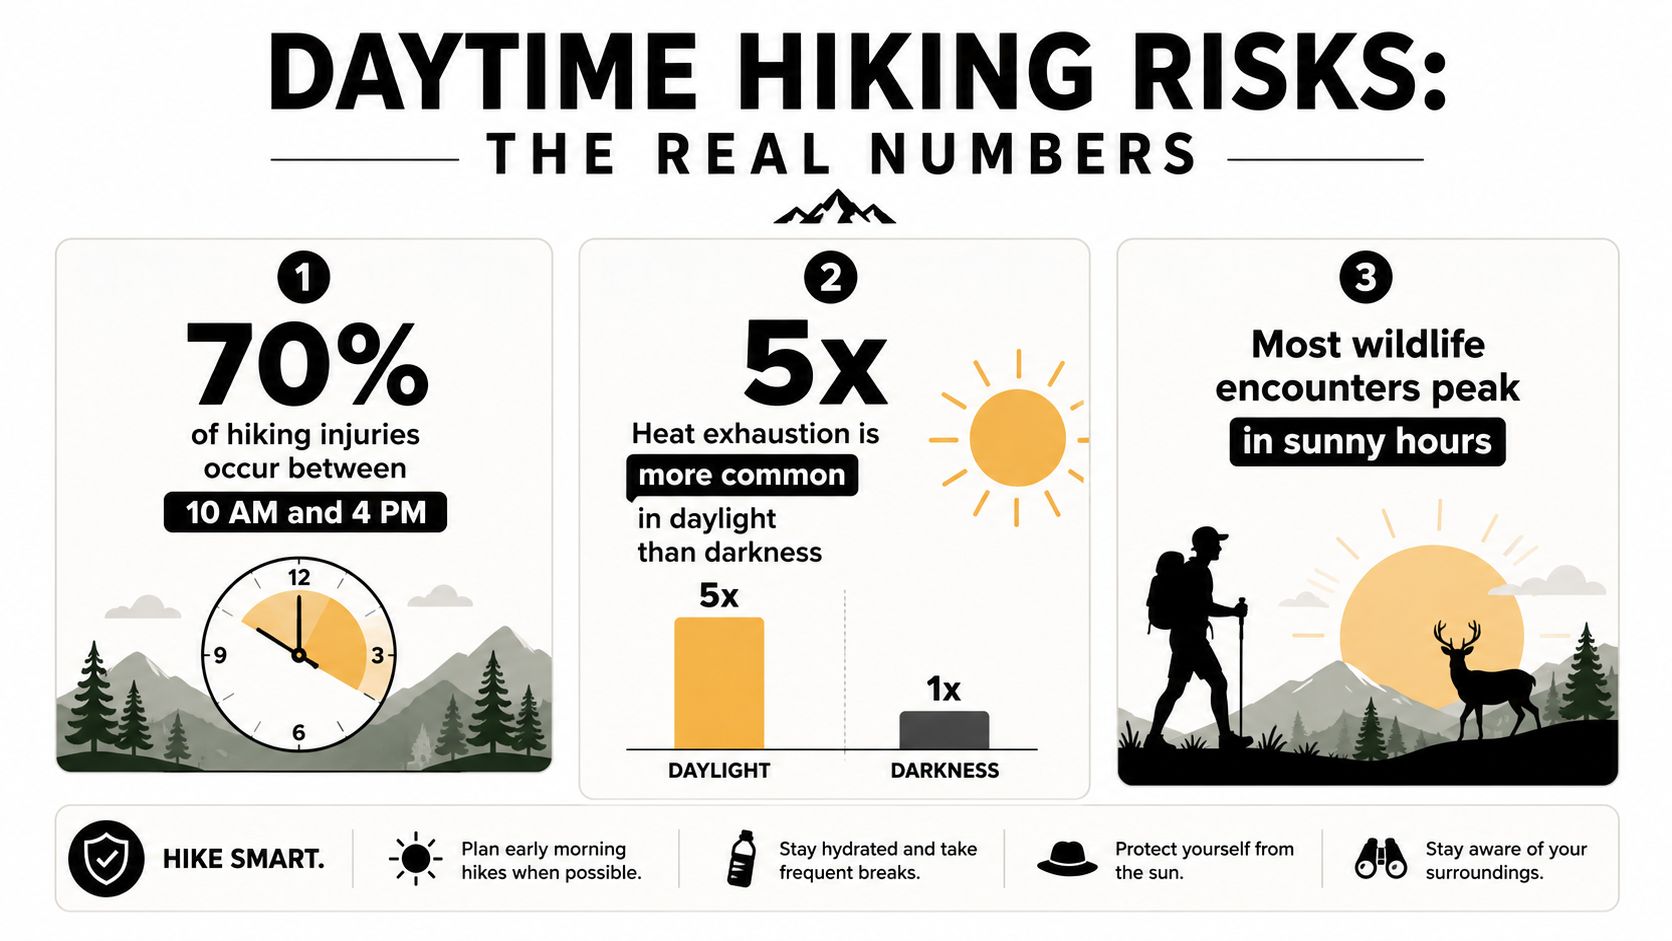
The most dangerous part of hiking safety in the daytime is that it feels safe. The hard numbers say otherwise, 70% of hiking accidents happen between 12 PM and 6 PM, and day hikers account for 42% of national park search-and-rescue cases in the Harvard Stepping Strong guide's summary of U.S. data. Daylight helps with visibility, but it also puts more people on trail, into heat, fatigue, and sloppy decisions at the same time.
Table of Contents
- Why Daytime Is Not the Safe Window You Think It Is
- Pre-Trip Planning That Actually Prevents Problems
- Packing the Right Gear for Daytime Hazards
- Trail Behavior and Situational Awareness
- Handling Encounters With Bears, Mountain Lions, and Coyotes
- Managing Heat, Sun, and Terrain Hazards
- First Aid, Emergencies, and the Daytime Safety Checklist
Why Daytime Is Not the Safe Window You Think It Is
Daylight gets treated like a safety buffer, but the trail doesn't care whether the sun is up. A Harvard Stepping Strong guide cites an estimated hiking mortality rate of about 4 deaths per 100,000 hikers per year, roughly 0.004%, and says 71% of hiking-related deaths are due to traumatic injury rather than wildlife or other causes. That lines up with the common trail pattern: falls, slips, and other ordinary injuries are what hurt people, not cinematic disaster.
The busiest hours are also the riskiest
A 2026 hiking injury review reports that 70% of hiking accidents occur between 12 PM and 6 PM, 65% happen on weekends, and roughly 60% occur from June through August. The same review estimates 4,000 to 5,000 hiking-related injuries each year in the U.S., with falls and slips accounting for nearly 50% of injuries. A separate medical summary found a day-hiking injury rate of 2 injuries per 1,000 participant-days in college-aged adults, while backpacking was higher at 4.7 injuries per 1,000 participant-days. Those numbers point to a simple truth, the middle of the day is not neutral ground, it's the busiest exposure window.
Practical rule: Treat midday as a decision point, not a comfort zone.
That's why hiking safety in the daytime has to be built around planning, gear, movement, and response. If the peak-risk window is the same window when many people are on trail, the safety plan has to assume heat, crowds, fatigue, and rushed judgment. The rest of the hike needs to be organized around that reality, not around the assumption that daylight itself protects anyone.
Pre-Trip Planning That Actually Prevents Problems
The cleanest way to prevent a bad day on trail is to make the decision before the boots are on. Trail outings go sideways when hikers size the route to optimism instead of conditions, then discover too late that the day was longer, hotter, or rougher than expected. A practical pre-trip routine catches those mistakes early.
Read the route like a route, not like an invitation
Start with the route description, recent trip reports, weather, and any seasonal closures. A short outing can still become a long one if the grade is steeper than expected or the surface is loose, and the National Park Service advises that uphill travel usually takes at least twice as long as downhill travel. That means turnaround times should be conservative, especially if the slowest person in the group sets the pace.
Good planning says: the route is set by the slowest hiker, not the most confident one.
A fixed turnaround time helps more than vague intentions. If the group has not reached the next marker, ridge, lake, or junction by that time, the decision is already made. That keeps the hike from drifting into the afternoon hour where mistakes compound.
Share the plan before leaving
A trip plan should go to someone who is not hiking. It needs the trail name, expected return window, and where the group would go if the route changes. That habit sounds basic until someone is overdue and searchers need a starting point. The National Park Service also advises checking weather, water, and daylight before heading out, which fits the same logic, plan before pressure shows up.
For a fast pre-departure routine, use this sequence:
- Check the forecast twice: Look the night before and again before leaving.
- Read recent trail notes: Look for washed-out sections, snow, mud, heat, or crowding.
- Set the turnaround time: Tie it to daylight, not to wishful thinking.
- Match the hike to the group: Choose the pace that keeps everyone safe.
- Send the trip-share: Tell one person where the hike starts, ends, and when to worry.
A route that looks easy on paper can still be the wrong choice for the day. Good planning reduces that gap before the group reaches the trailhead.
Packing the Right Gear for Daytime Hazards
Daytime gear should solve the problems that show up on a busy trail, navigation drift, heat, sun, small injuries, and the rare wildlife encounter. That means carrying fewer novelty items and more tools that can be reached under stress. A small daypack can handle all of it if every item has a job.
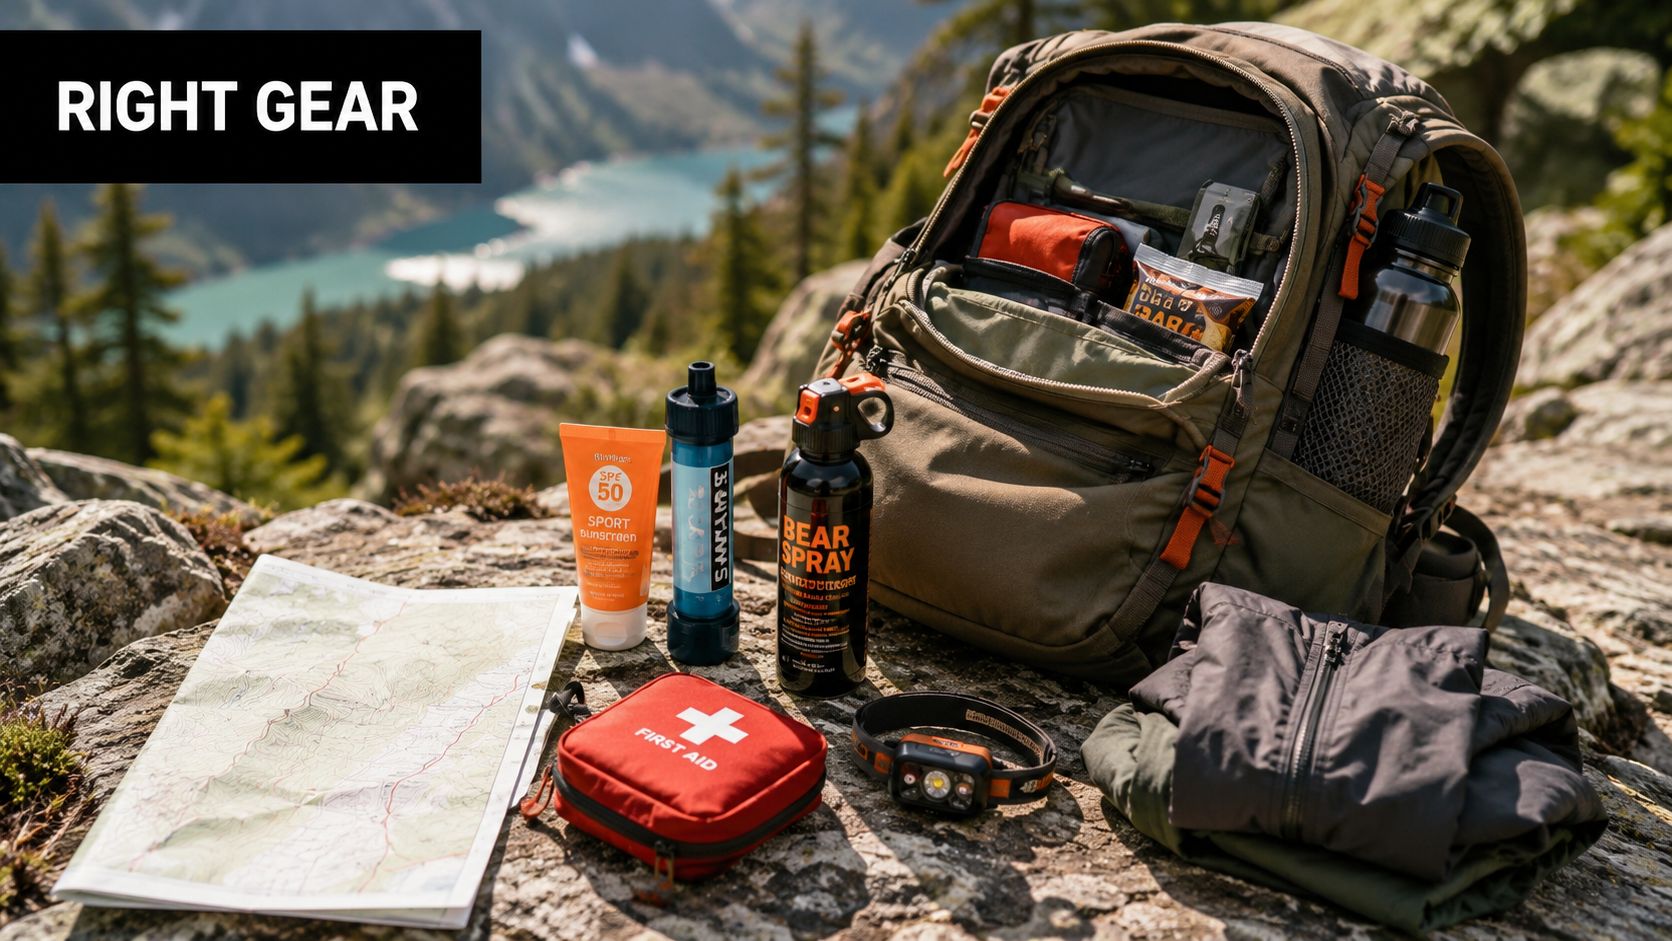
Build the kit by function
Navigation comes first. A phone with offline maps is useful, but it should sit beside a paper map or another backup so one dead battery doesn't become a route problem. Hydration follows close behind, and hot-weather hikes need more water discipline than most casual hikers expect. The Hong Kong Leisure and Cultural Services Department recommends drinking 150 to 200 millilitres every 15 to 20 minutes during heavy sweating, even without thirst, and Hawai'i's Department of Land and Natural Resources advises carrying at least 2 litres of water per person for a full-day hike, with more on hot or long routes.
Sun and heat protection belong in the same layer. Lightweight long sleeves, a brimmed hat, sunscreen, and eye protection keep the body from taking a beating before the climb is even over. For readers looking for practical sun coverage, the UPF balaclava for hyperpigmentation from Mesoderm RX is a useful example of how deliberate face and neck protection can fit into a heat-aware kit.
Keep first aid and deterrence accessible
A day kit should also cover cuts, blisters, bites, stings, and a small sprain. A compact kit from Adventure Medical Kits fits that role well, and simple sting or itch care from After Bite can help with the smaller trail irritations that turn into bigger annoyances. For low-light backup in camp or during a delayed walk-out, a small light from LuminAID adds a useful margin without much weight.
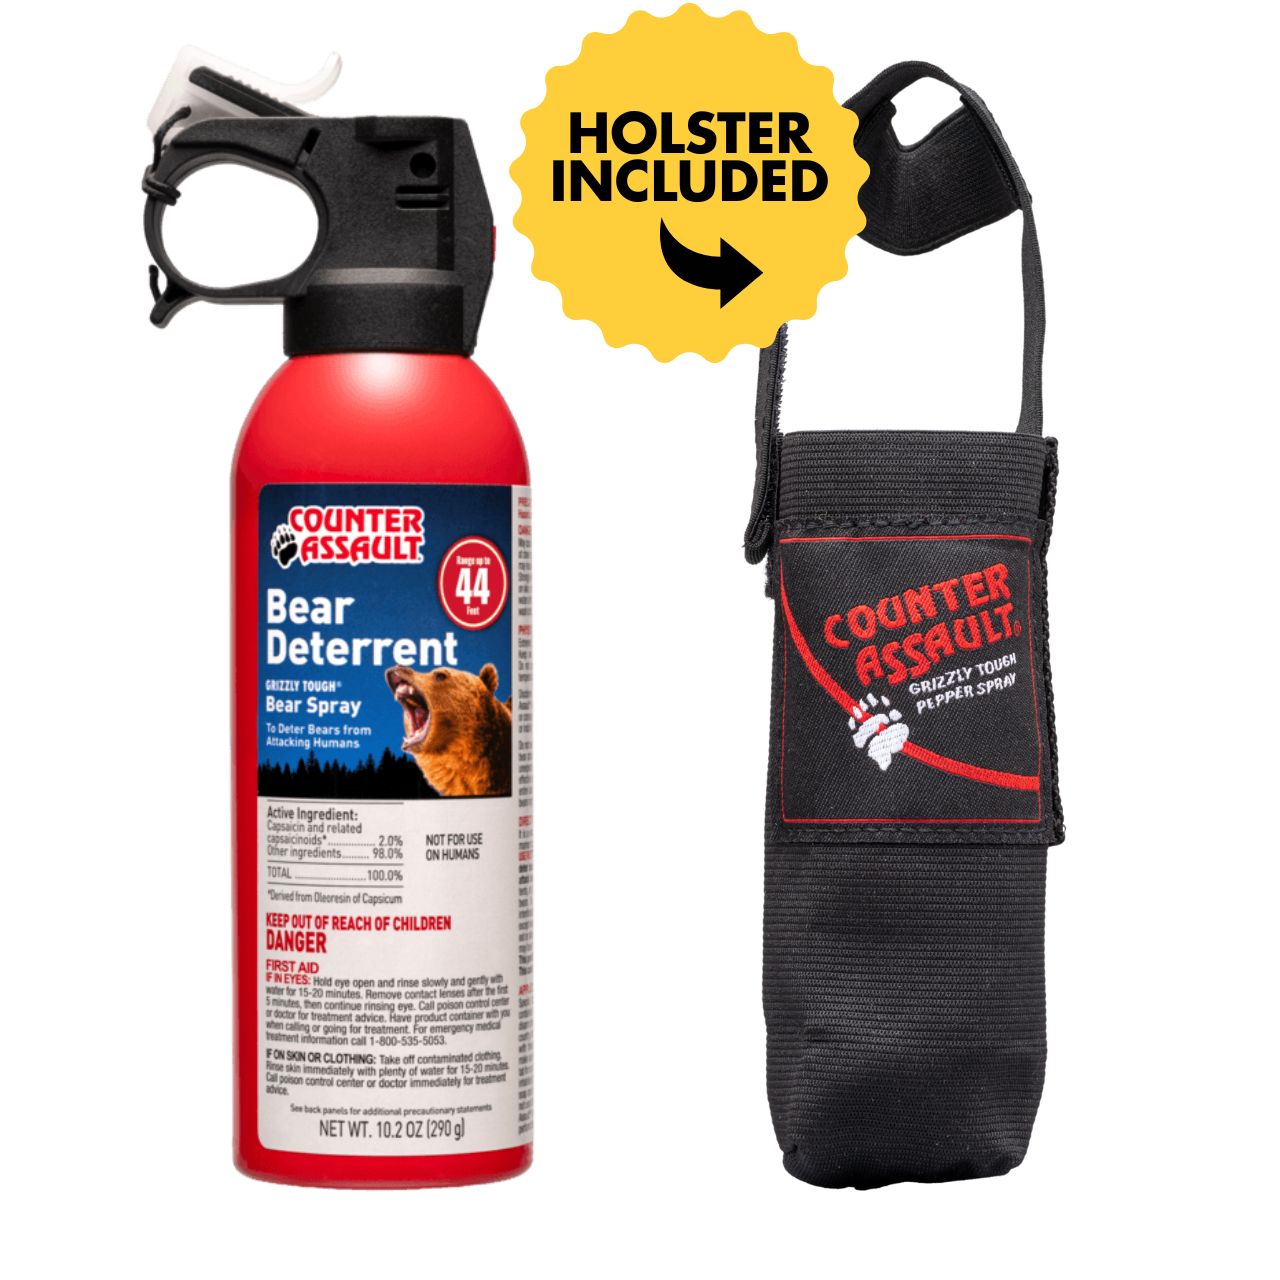
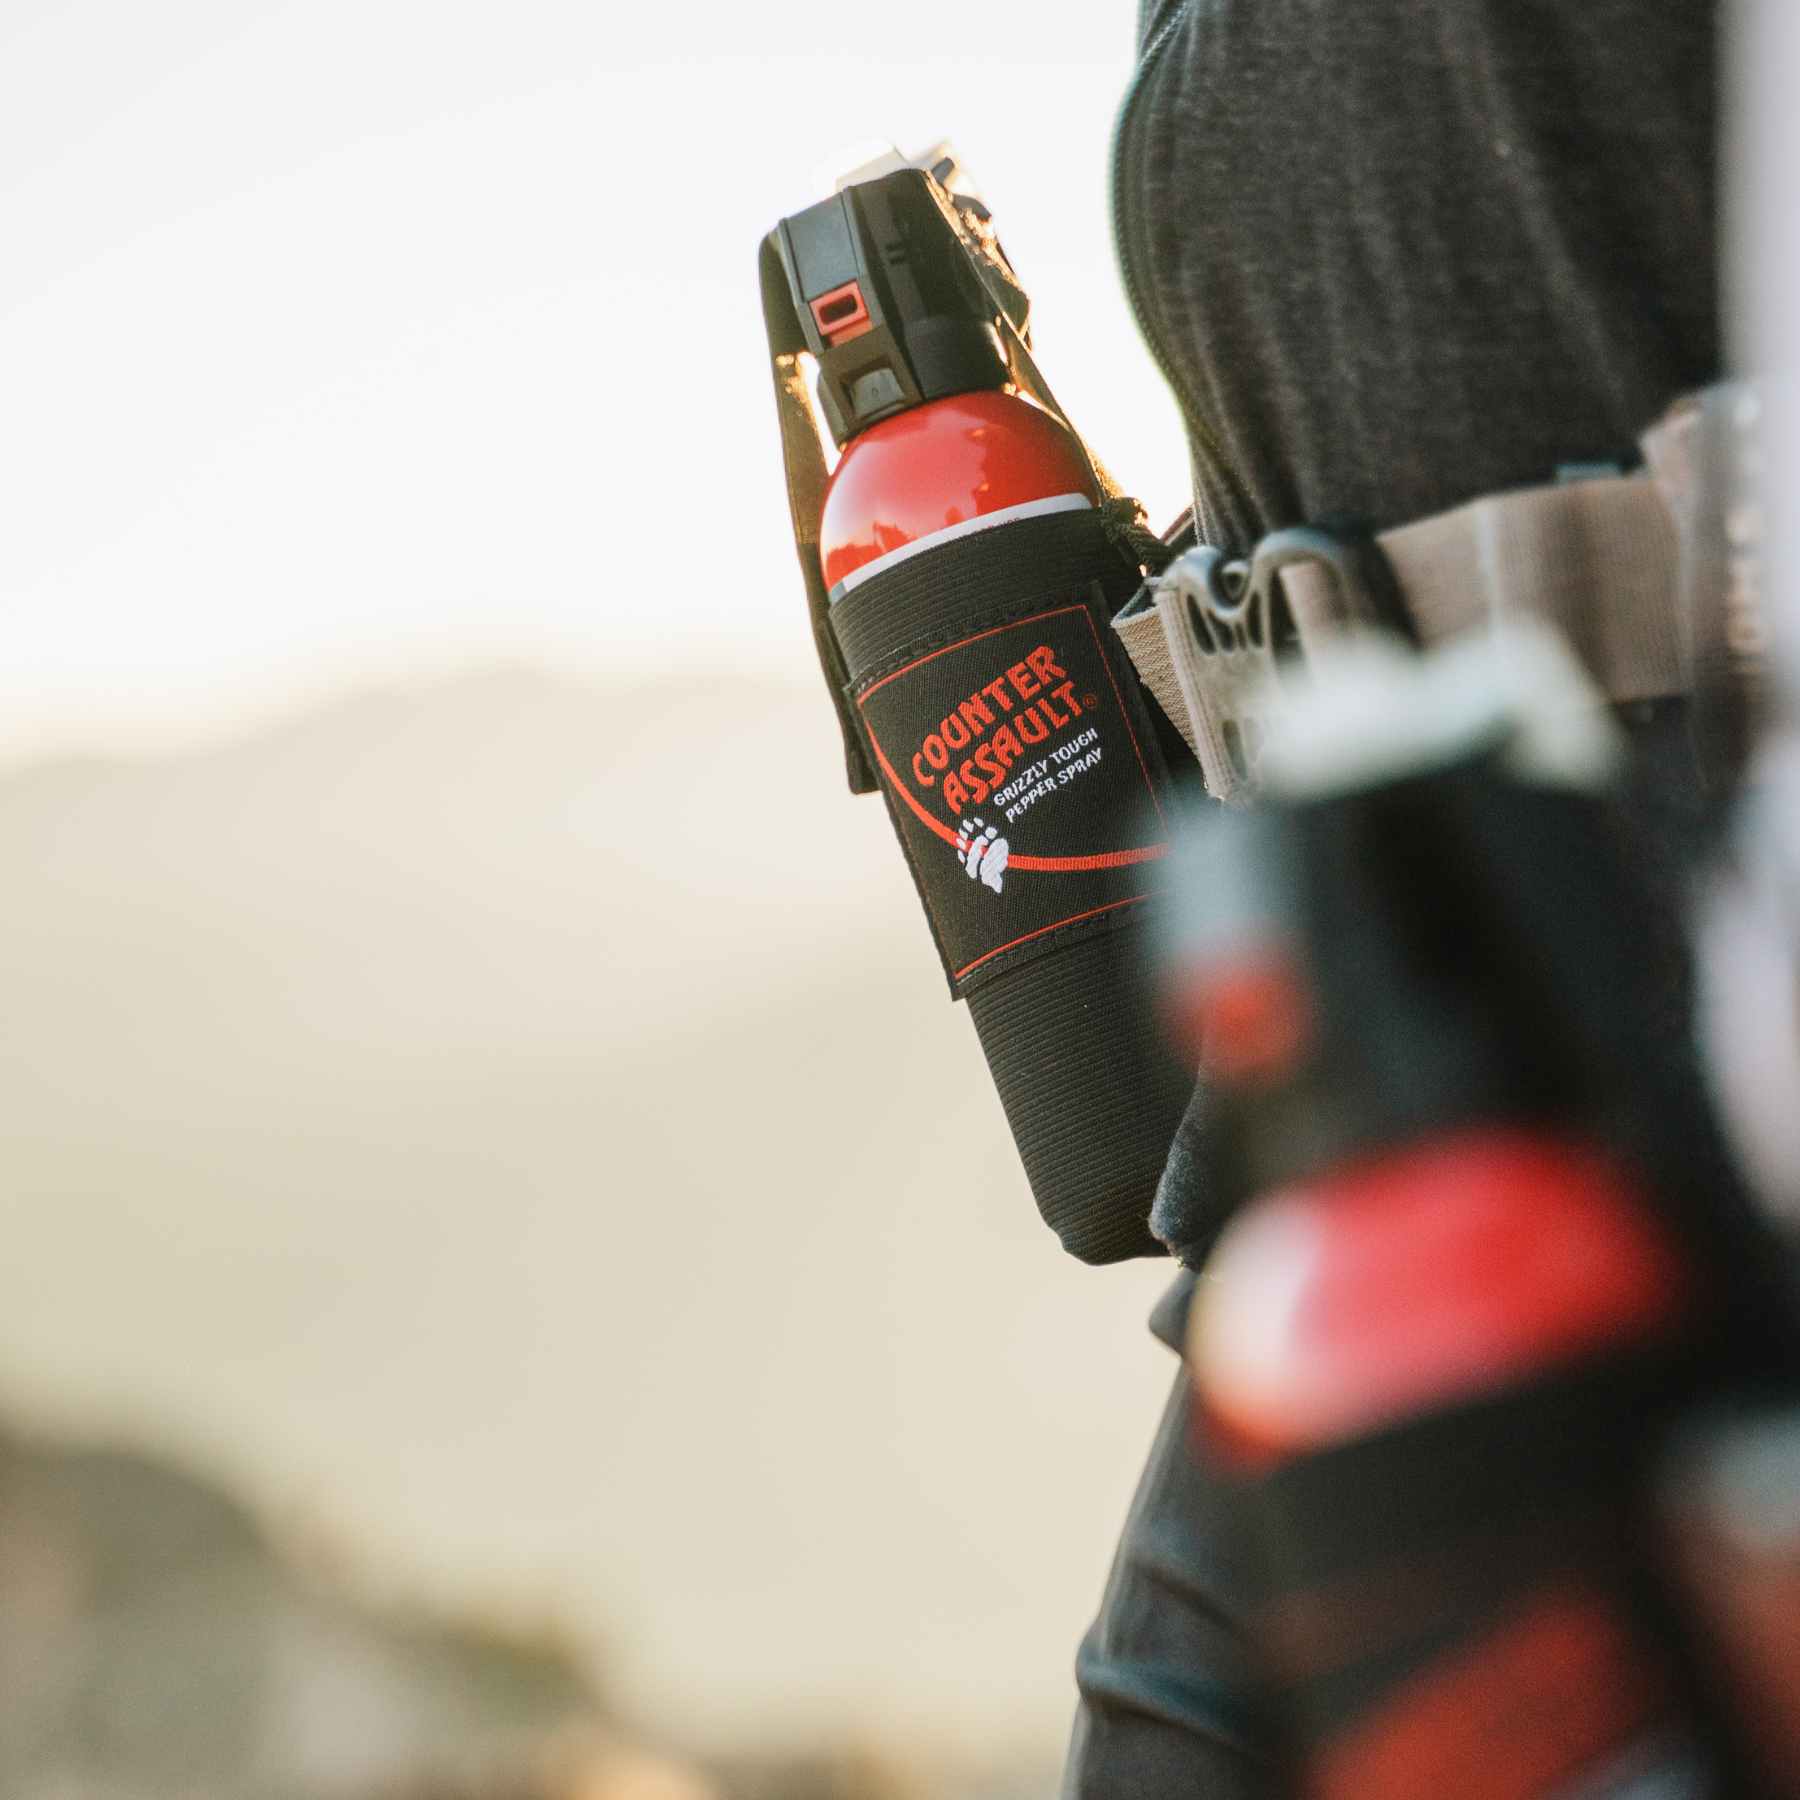
One item deserves special placement. A bear deterrent only works if it can be reached fast, so the canister should ride on a hip belt or chest holster, not buried in the top of a pack. Counter Assault's 10.2oz 44-foot bear spray with holster is one example of a canister and carry system built for that draw path, and the same logic applies to any accessible deterrent.
The hiking safety gear guide from Counter Assault fits well as a gear checklist reference when packing needs to be tightened before a trip. Good gear isn't about carrying more. It's about carrying the right things where hands can find them.
Trail Behavior and Situational Awareness
A quiet, alert hiker prevents more problems than a loud pack full of gadgets. Most trail incidents start with distraction, bad pacing, or failing to notice what the trail is already saying. A group that moves with intent usually sees the warning signs early enough to avoid the headache later.
A steady pace beats a heroic one
On a warm afternoon, a group that starts fast often pays for it with sloppy footwork by the second hour. The strongest hiker walks ahead of the slower one only if that makes sense for the terrain, but the safer default is keeping the pace set by the slowest member. Breaks should happen before the group is cooked, not after someone is already shaky or irritated.
That's also where the phone becomes a liability. Stopping to check messages or scroll while crossing rough ground steals attention from roots, loose rock, and approaching hikers. A better habit is to stop, look, and listen at the trail edge before the group moves again.
The trail rewards people who look up early, not people who react late.
Read the signs before they become encounters
Tracks in mud, scat near water, torn bark, fresh digging, and sudden animal silence all mean the route is being used by something else. That doesn't call for panic. It calls for a small behavior change, more noise, tighter spacing, and a little more caution around brush, corners, and blind rises.
| Sign You Notice | Likely Source | Smart Trail Response |
|---|---|---|
| Fresh tracks | Recent animal travel | Slow down, keep the group together |
| Scat | Regular wildlife use | Make noise and avoid lingering |
| Torn bark | Browsing or marking | Stay alert, scan ahead before moving on |
| Sudden silence | Animals reacting to people | Pause, speak calmly, watch the brush |
For hikers with dogs or anyone who wants a focused canine-wildlife resource, the coyote safety guide covers the same principle from another angle, presence and calm control matter more than speed.
A good trail walker is always reading three things at once, the footing, the group, and the country around them. That habit lowers the odds that daylight will turn into a rescue call.
Handling Encounters With Bears, Mountain Lions, and Coyotes
Wildlife encounters are rare, but they're not random. The hiker who already knows the sequence under pressure is much less likely to freeze, run, or reach for the wrong tool. The same calm mechanics apply across species, then the details shift.
The universal response stays the same
Do not run. Stand your ground, speak in a calm voice, and make yourself look larger by raising arms, moving to higher ground if possible, or holding something overhead. If the animal is not charging, back away slowly and keep watching it without cornering yourself. The reason is simple, sudden movement can trigger chase behavior, especially in predators that read panic as prey behavior.
Bears, mountain lions, and coyotes are not the same problem
Bears can bluff charge, and a deterrent cloud is meant to interrupt that charge before contact. Mountain lions are different, they're ambush predators, so direct confrontation, firm posture, and not turning your back matter more. Coyotes are usually easier to push back with presence and noise, especially if they're curious rather than committed.
For coyotes, the earlier guide on how to protect yourself from coyotes is worth having in mind before a trail ever gets remote. The specific species matters less than the discipline of staying calm and not giving the animal a reason to escalate.
Use spray only when the animal is acting aggressively
Bear spray is not insect repellent. It should be used when a bear is charging or acting aggressively and appears ready to charge. The sequence is straightforward, remove the safety clip, aim slightly downward toward the front of the animal, and start spraying when it's roughly 30 to 60 feet away so the animal runs into the cloud. Keep spraying until the charge breaks, then leave the area immediately.
Field rule: the can belongs where a hand can reach it without thinking, not where a backpack has to be opened first.
A 2008 study reported that bear spray was 90% effective at stopping aggressive bear behavior, with 98% of users unharmed by the bear, compared with 84% effectiveness for firearms and the same injury rates on the person. That does not make any outdoor encounter harmless, it just shows why a non-lethal deterrent can matter when an animal closes distance fast. The embedded video below offers another visual walkthrough of the encounter mindset.
Managing Heat, Sun, and Terrain Hazards
Daylight hiking creates a second layer of risk that gets ignored too often, heat on the body and glare on the trail. The same sun that improves visibility can also flatten judgment, dry out a hiker, and make rock and soil feel more forgiving than they are. Two hikers on the same ridge can have completely different outcomes depending on how they read that pressure.
The hiker who turned around early
A smart turnaround starts with small signals. Dry mouth, a sudden drop in enthusiasm, slower foot placement, and the urge to skip a break are all warnings that the pace is drifting past the day's conditions. A hiker who notices those signs early can shorten the route, add shade breaks, and keep moving before fatigue piles up.
That's where route choice matters. Early starts avoid the hottest part of the day, and conservative pacing protects attention on loose scree, wet stone, exposed edges, and stream crossings. The National Park Service's general hiking safety guidance also emphasizes watching water, weather, time, and daylight, which fits the same field lesson, the hiker who respects timing stays safer longer.
The hiker who pushed through
The other common outcome starts with one more push, one more ridge, one more mile. By afternoon, the same climb that felt manageable in shade can turn into a slow fight with heat, dehydration, and poor foot placement. That is when people step onto slick rock, misjudge a log crossing, or ignore the moment when the route stops being fun and starts being expensive.
For hikers who travel with dogs, the Denver Dog heat safety guide is a useful companion resource because the same heat logic applies to both species, shade, water, and timing matter more than stubbornness. Human hikers don't get special exemption from that.
A full-day water target of at least 2 litres per person gives a baseline, but hot weather or a long route pushes that number higher. The Hong Kong guidance of 150 to 200 millilitres every 15 to 20 minutes during heavy sweating is a practical pacing rhythm, not a luxury. On a hot day, the safer move is to drink before thirst gets loud, then adjust the route before the body does it for you.
First Aid, Emergencies, and the Daytime Safety Checklist
Most daytime problems on trail are small until they aren't. A blister, a rolled ankle, a cut, or a lost hiker gets harder to manage once the afternoon heat and fatigue stack on top of it. A useful day kit handles the first minutes well enough to get the group home.
The camping safety gear guide covers the same habit from a broader outdoor angle, keep the response tools simple, reachable, and packed before trouble starts. For a day hike, that means bandages, antiseptic wipes, pain relievers, a whistle, a charged phone, and a clear itinerary already shared with someone off trail.
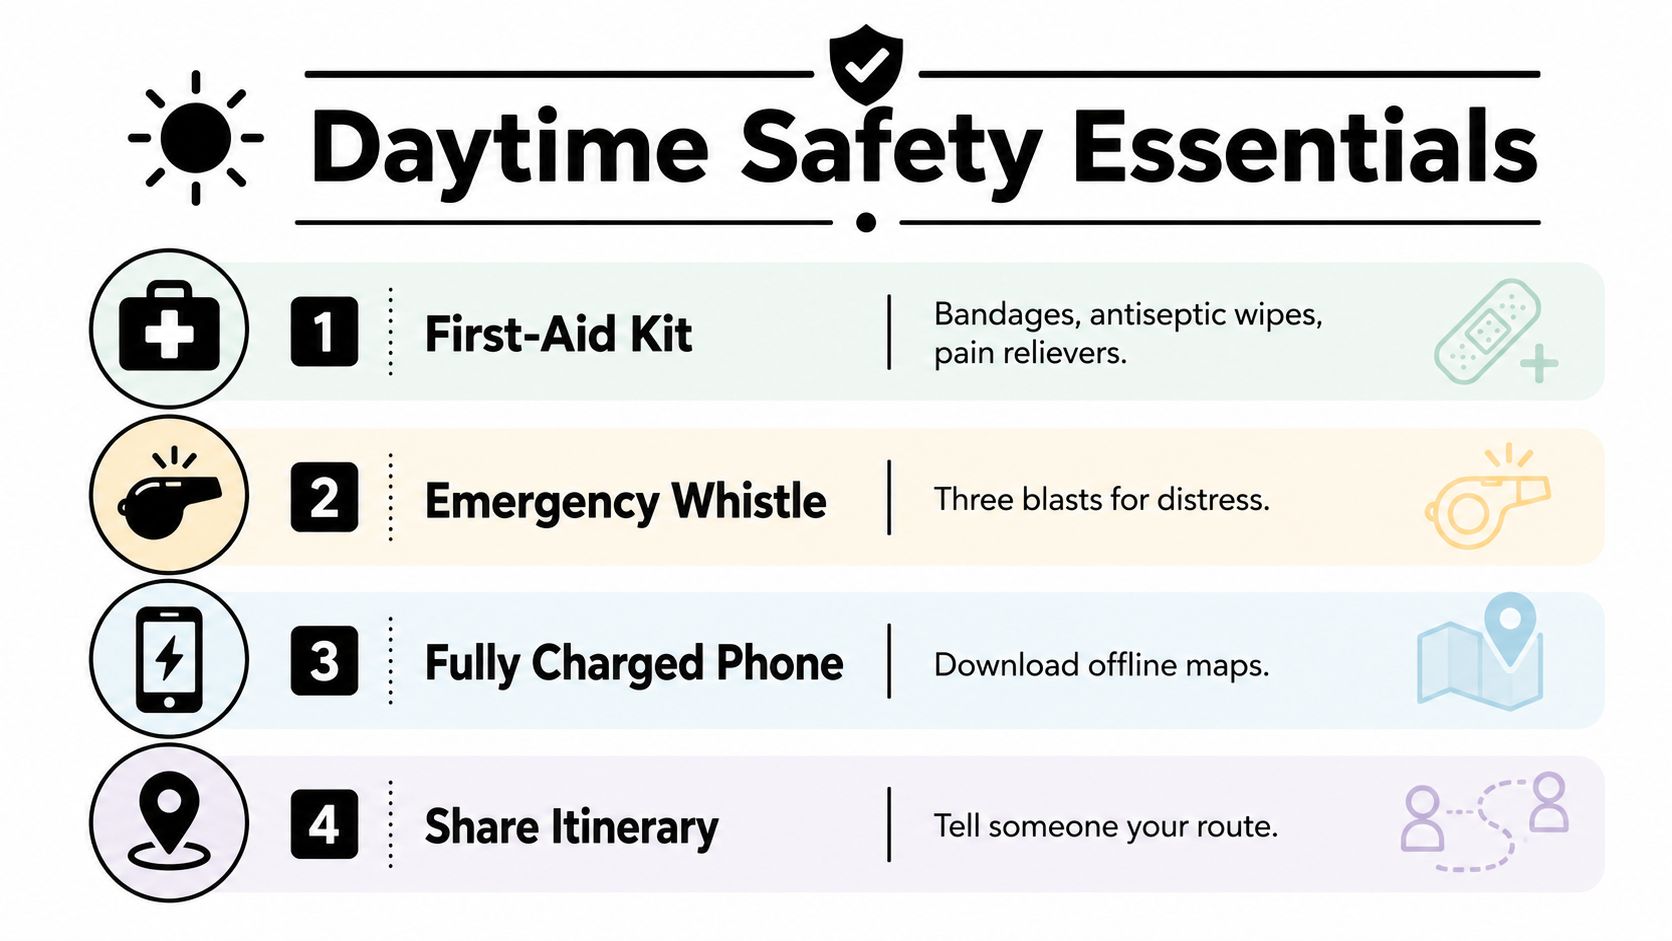
A simple rule keeps all of it together. The safest daytime hiker is the one who keeps checking conditions before conditions start checking them.
Counter Assault makes bear spray and holsters built for hikers who want a deterrent they can reach quickly on trail. If daytime hiking in bear country is part of the routine, visit Counter Assault and review the carry options before the next trip so the right tool is already on the hip when it matters.