
A sunny trail can turn serious fast. A wrong turn, a storm rolling in early, a twisted ankle, or a bear crossing the path can stretch a simple day hike into a night you didn't plan for. That's why a hiking survival kit list isn't just for long expeditions in remote country, it's basic preparedness for anyone who wants to come back safely. The best kits follow the Ten Essentials, a framework that has become the baseline for hiking readiness and includes navigation, light, first aid, fire, shelter, extra food, extra water, and extra clothes, with modern guidance adding tools like GPS devices, PLBs, and emergency shelters (Ten Essentials overview, REI's Ten Essentials guide).
Table of Contents
- 1. Wildlife Deterrent Counter Assault Bear Spray
- 2. Navigation Map, Compass, and GPS or Satellite Messenger
- 3. First-Aid Kit For Treating Injuries and Ailments
- 4. Illumination Headlamp or Flashlight
- 5. Emergency Shelter To Protect You from the Elements
- 6. Fire-Starting Kit For Warmth, Signaling, and Water Purification
- 7. Repair Kit and Knife For Gear Fixes and Utility
- 8. Extra Nutrition More Than You Plan to Eat
- 9. Extra Hydration Water and a Purification Method
- 10. Sun and Element Protection Extra Layers and Repellent
- 10-Item Hiking Survival Kit Comparison
- Your Kit Is Packed Now Hike with Confidence
1. Wildlife Deterrent Counter Assault Bear Spray
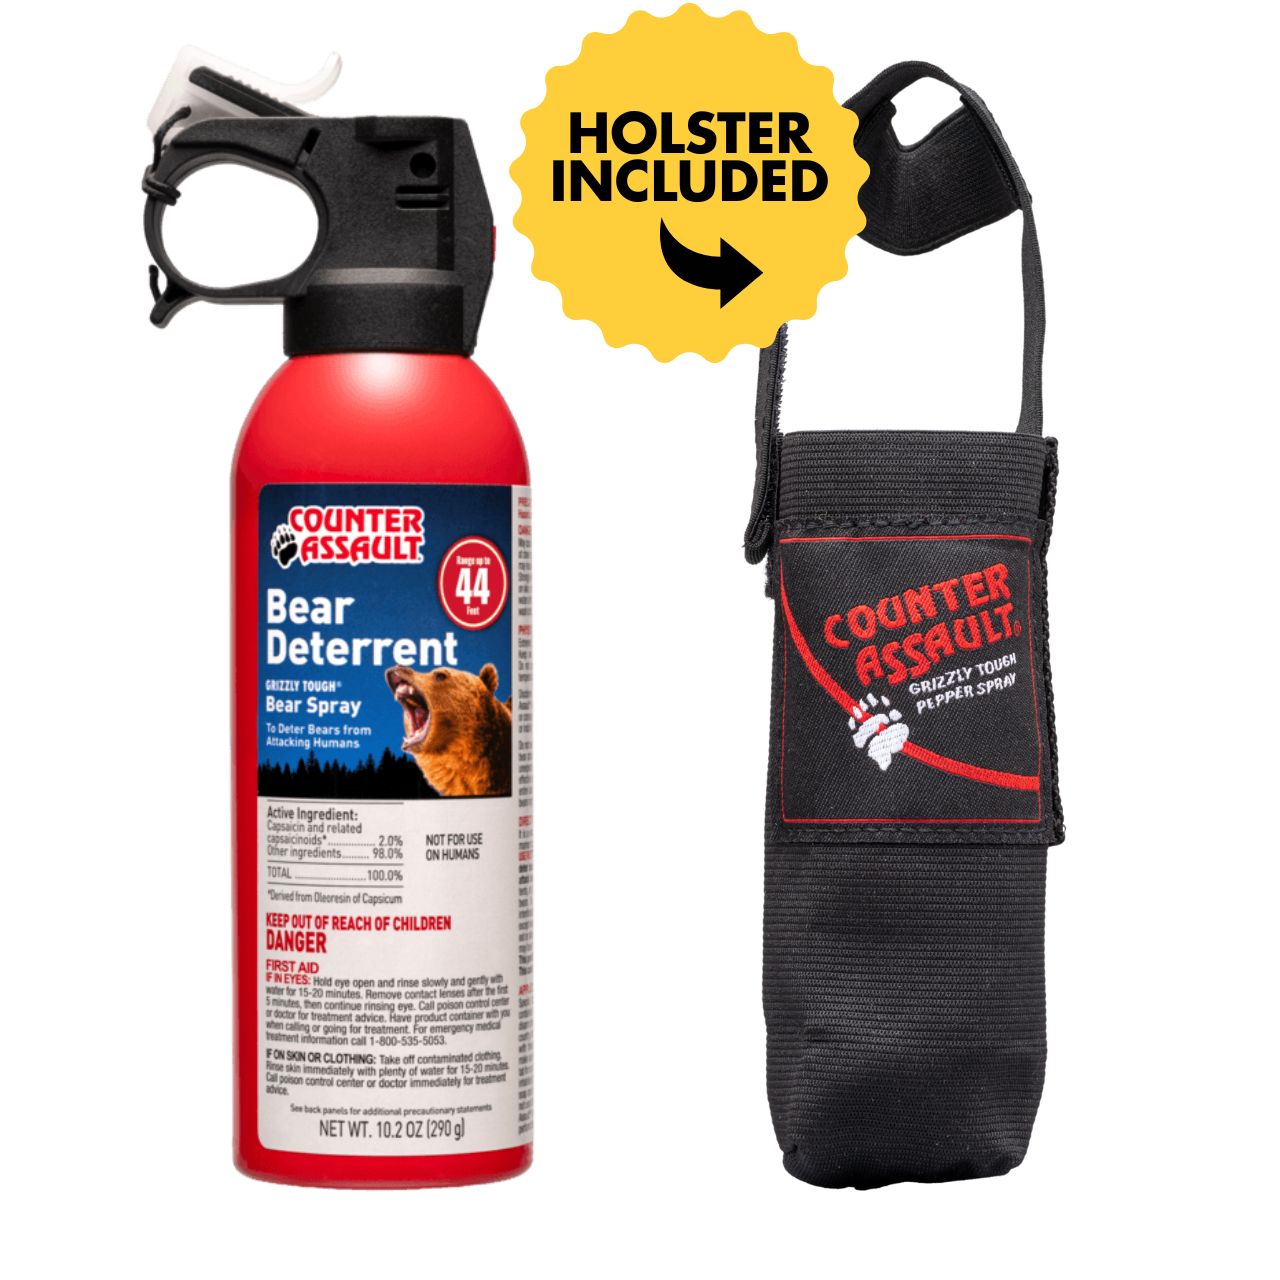
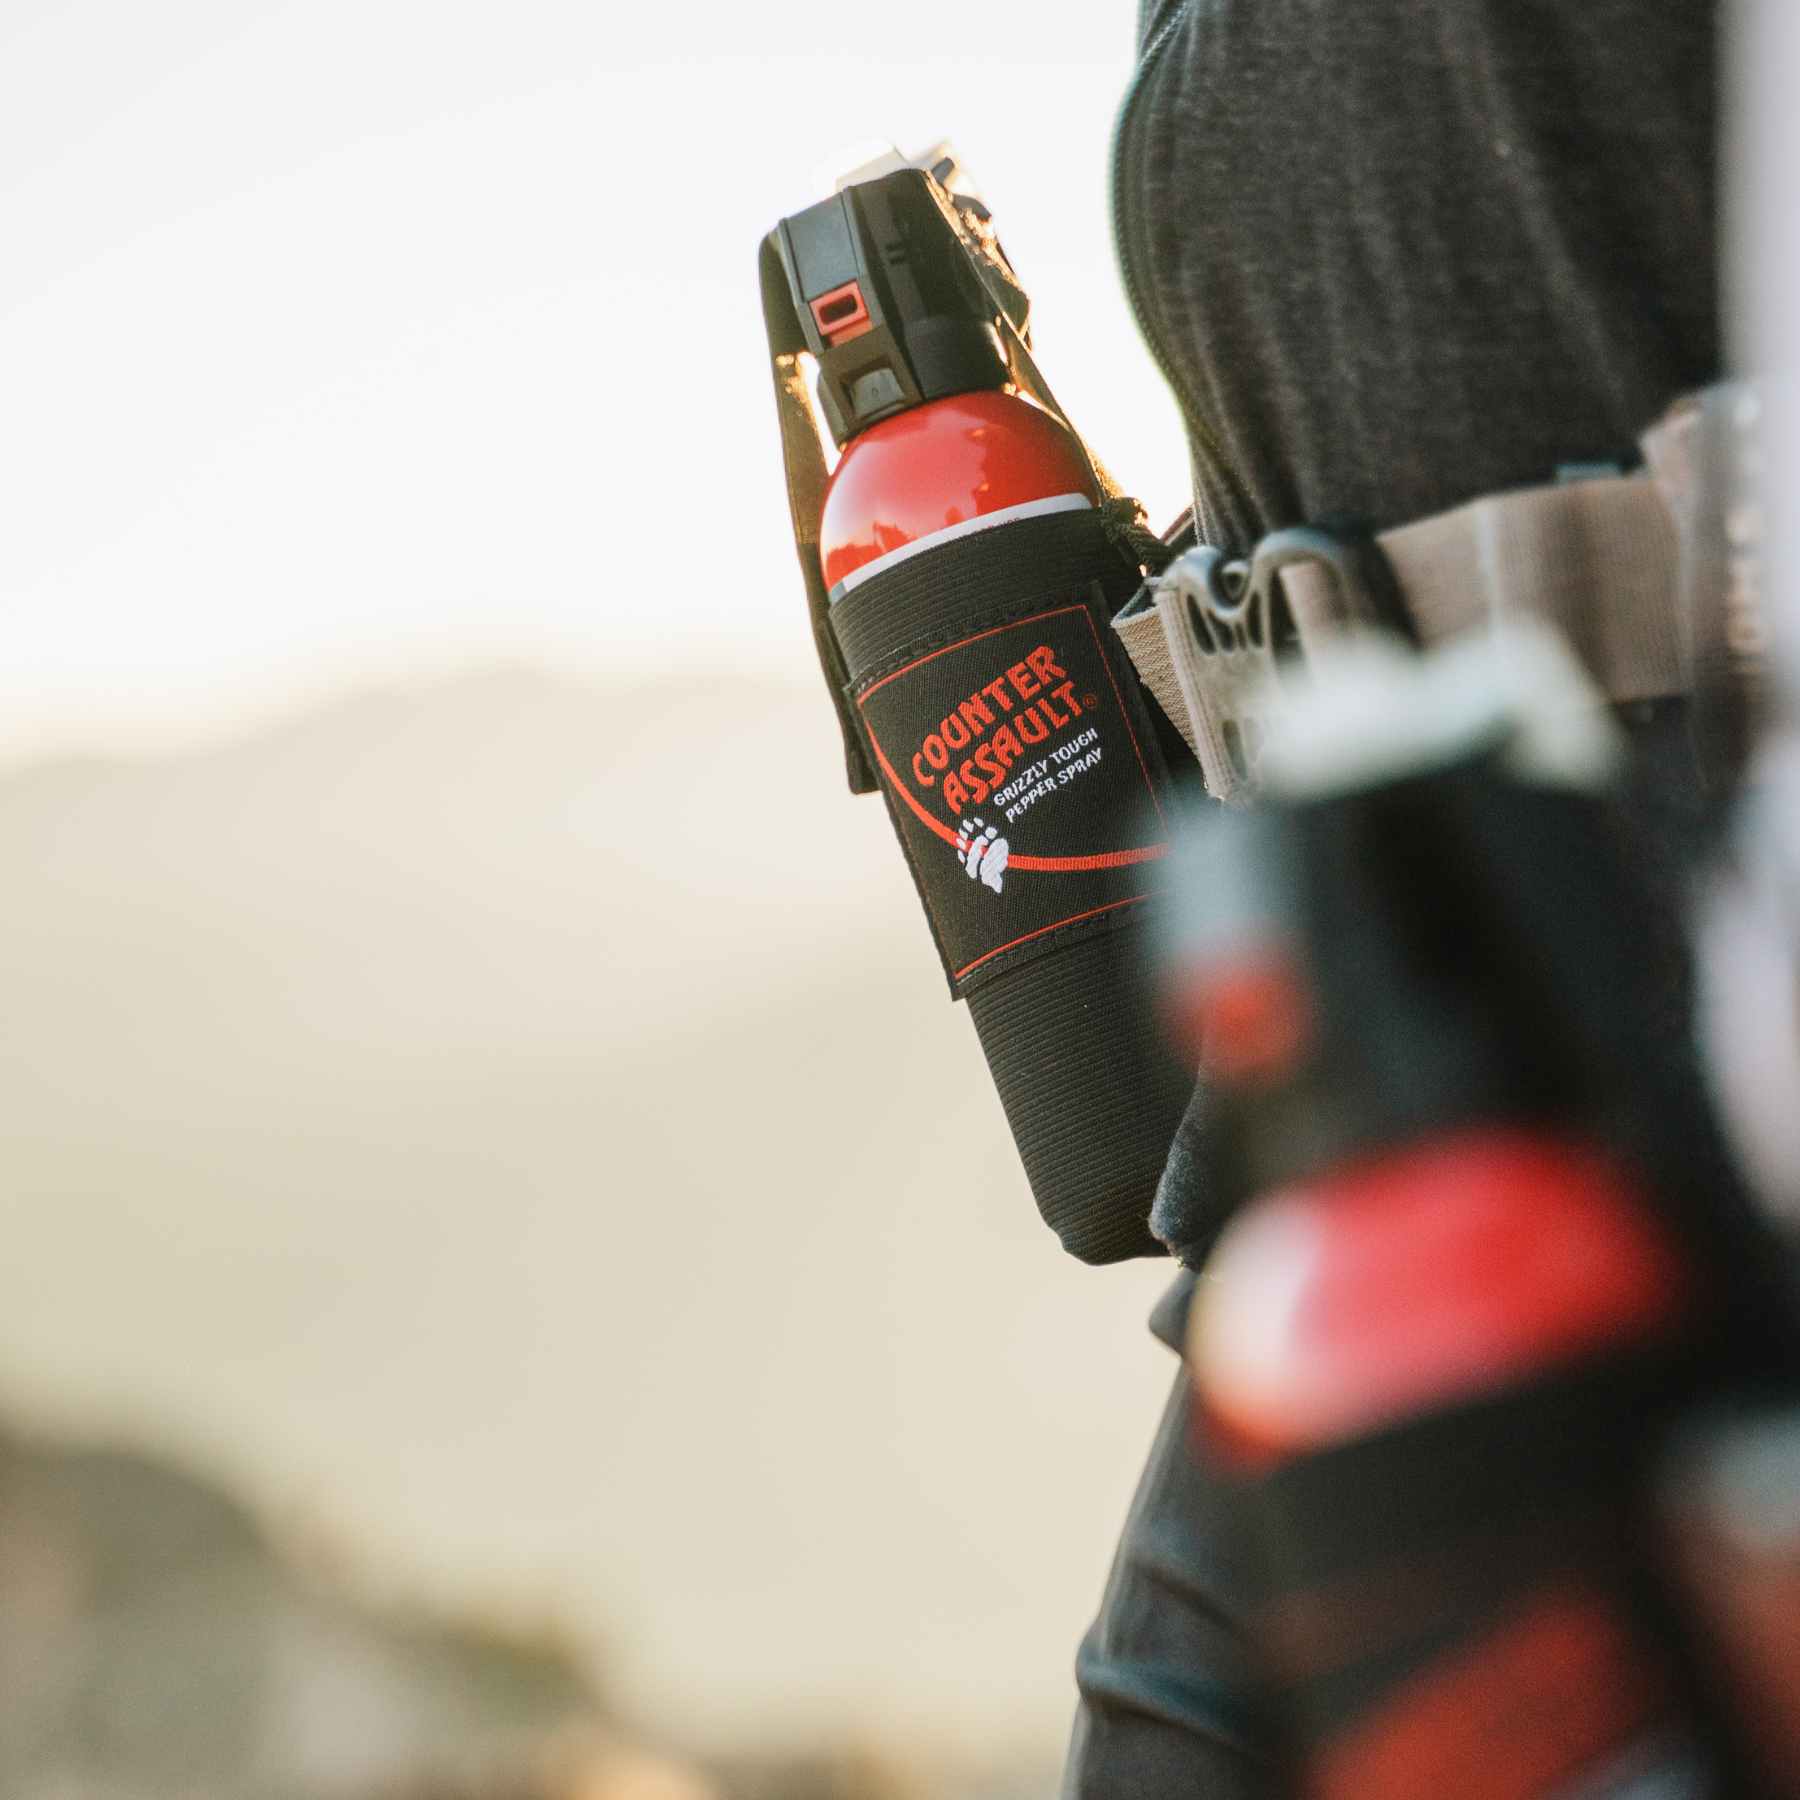
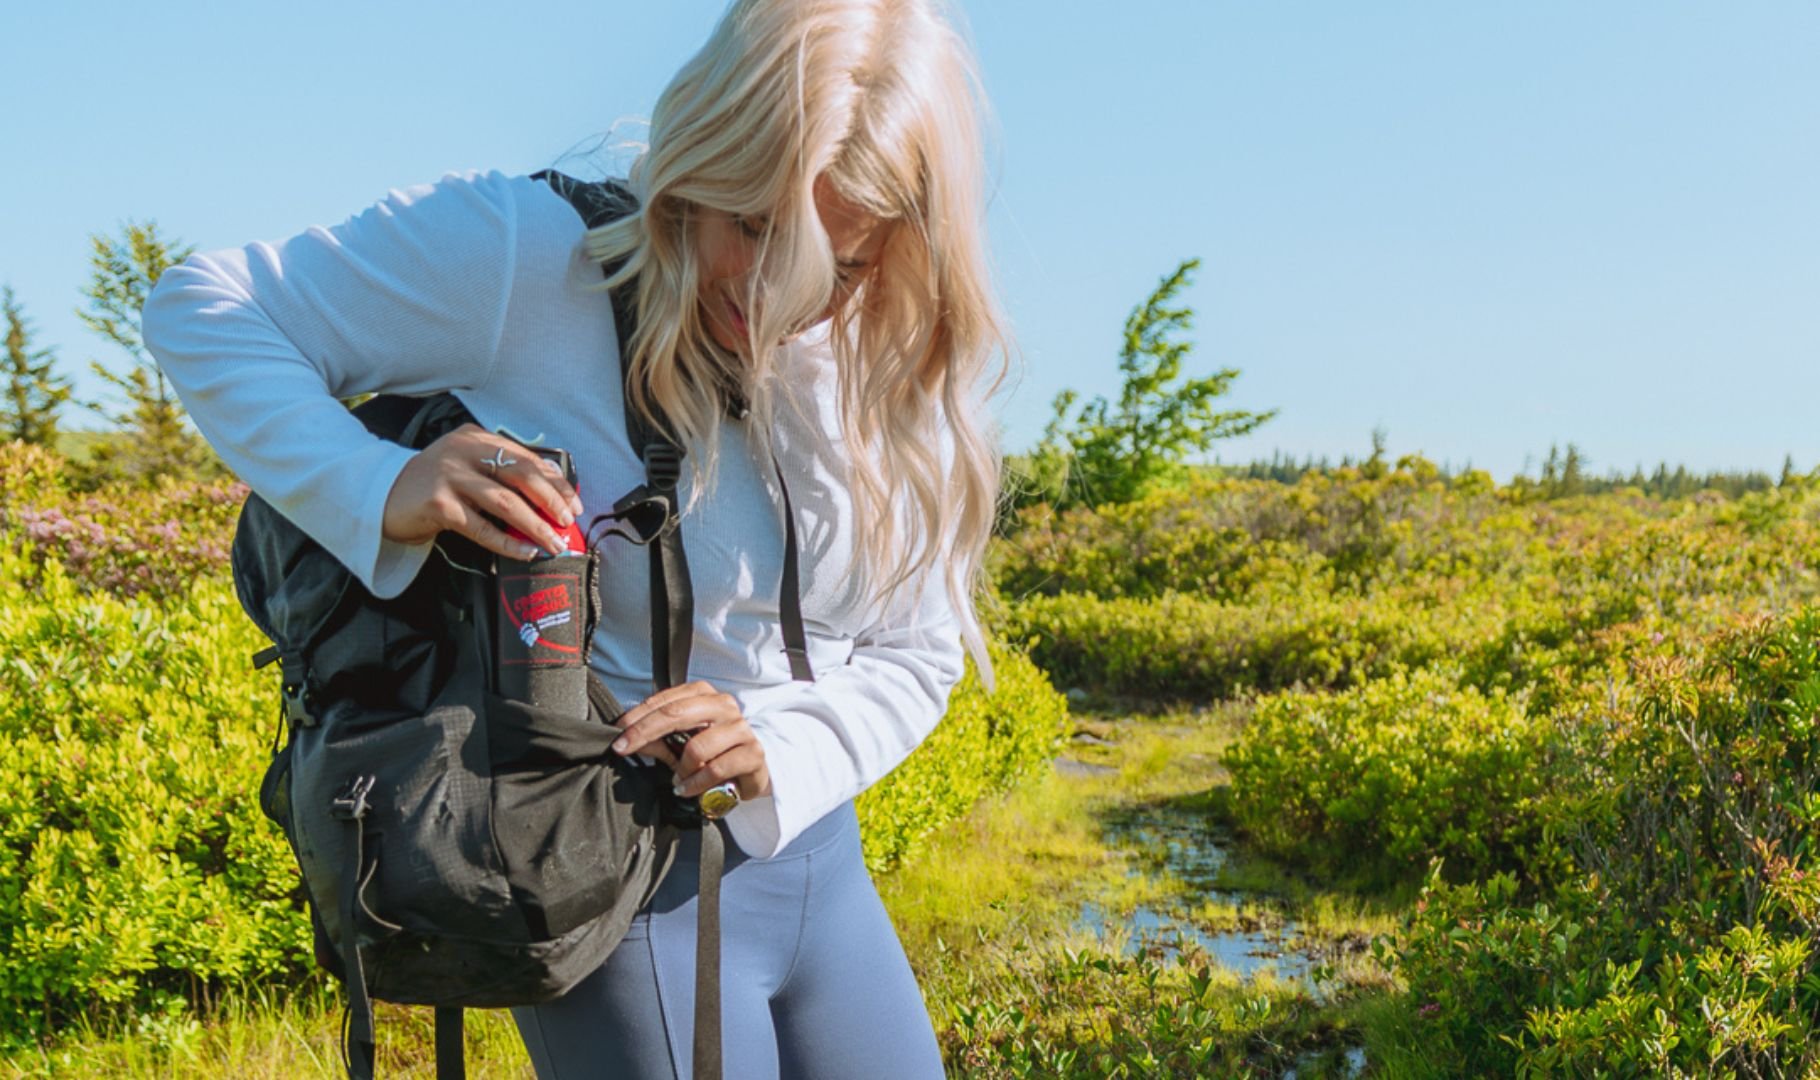
In bear country, this belongs on your body, not buried in your pack. The 10.2 oz Counter Assault bear spray stands out because it sprays up to 44 feet and comes with a holster, which matters when an encounter turns sudden and there's no time to dig through a backpack (product page). Counter Assault's formulation is 2% capsaicin and related capsaicinoids, and the brand positions it as effective on all bear species, as well as mountain lions and coyotes.
Why this is the first tool to prioritize
Bear spray is not a comfort item, it's a field tool for a very specific job. Counter Assault's long reach gives a wider buffer between a hiker and an aggressive animal, and that extra distance can matter when a bear is charging or acting aggressively within the 30 to 60 feet range used in practical guidance. The can belongs on a belt holster or chest harness, never deep in a pack where it's useless in a fast-moving encounter.
Practical rule: Carry one can per person, keep it immediately accessible, and learn the deployment sequence before stepping onto the trail.
Use it only on wildlife, not on people. That's not just good ethics, it's the whole point of carrying a non-lethal deterrent that helps protect both hikers and animals. For a deeper look at how bear spray fits into field safety, review Counter Assault's own bear spray guidance and keep the can where your hand can reach it without thinking.
2. Navigation Map, Compass, and GPS or Satellite Messenger
A phone map is a backup, not the backbone. The most reliable navigation setup still starts with a physical map and compass, because they don't depend on battery life or cell service, and REI's Ten Essentials guidance explicitly includes a map, compass, altimeter or GPS device, and even a PLB or satellite communicator for more advanced trips (REI navigation guidance). On the trail, that redundancy matters more than convenience.
What works and what gets people in trouble
A compass and topo map are light, quiet, and failure-resistant. They're also only useful if someone knows how to use them, which is why practice beats gear collecting every time. A downloaded offline map on a phone or a dedicated GPS device helps on complicated routes, but those tools are still battery-dependent, so they should supplement, not replace, paper navigation.
The practical trade-off is simple. A map and compass demand skill. A GPS device demands power. A satellite messenger or PLB adds off-grid communication, which is especially valuable when a route gets remote or weather closes in. Counter Assault's backcountry safety gear guidance fits that same mindset, carry what works when conditions stop being cooperative.
A good navigation system is layered. If one piece fails, the others still keep the hiker oriented.
For lightweight packing, use waterproof maps and a small button compass as your bare-minimum backup. For bigger objectives, add a GPS unit or satellite messenger and keep the phone's battery as a reserve, not the plan.
3. First-Aid Kit For Treating Injuries and Ailments
Trail injuries are usually small until they aren't. A blister changes gait, a cut introduces infection risk, and a sprain can turn a simple walk-out into a slow, painful exit. The Red Cross hiking first aid checklist goes beyond a bandage tin and includes blister treatment, closure strips, gauze pads, gloves, medical tape, SAM splints, triangular cravat bandages, a CPR mask, and a first aid manual (Red Cross hiking first aid checklist).
Build for the injuries that actually happen
A lot of hikers overpack antiseptics and underpack the items that solve common field problems. Blister care should be high on the list because friction issues are far more common than dramatic injuries. The same goes for splinting materials, especially when the nearest trailhead is still miles away.
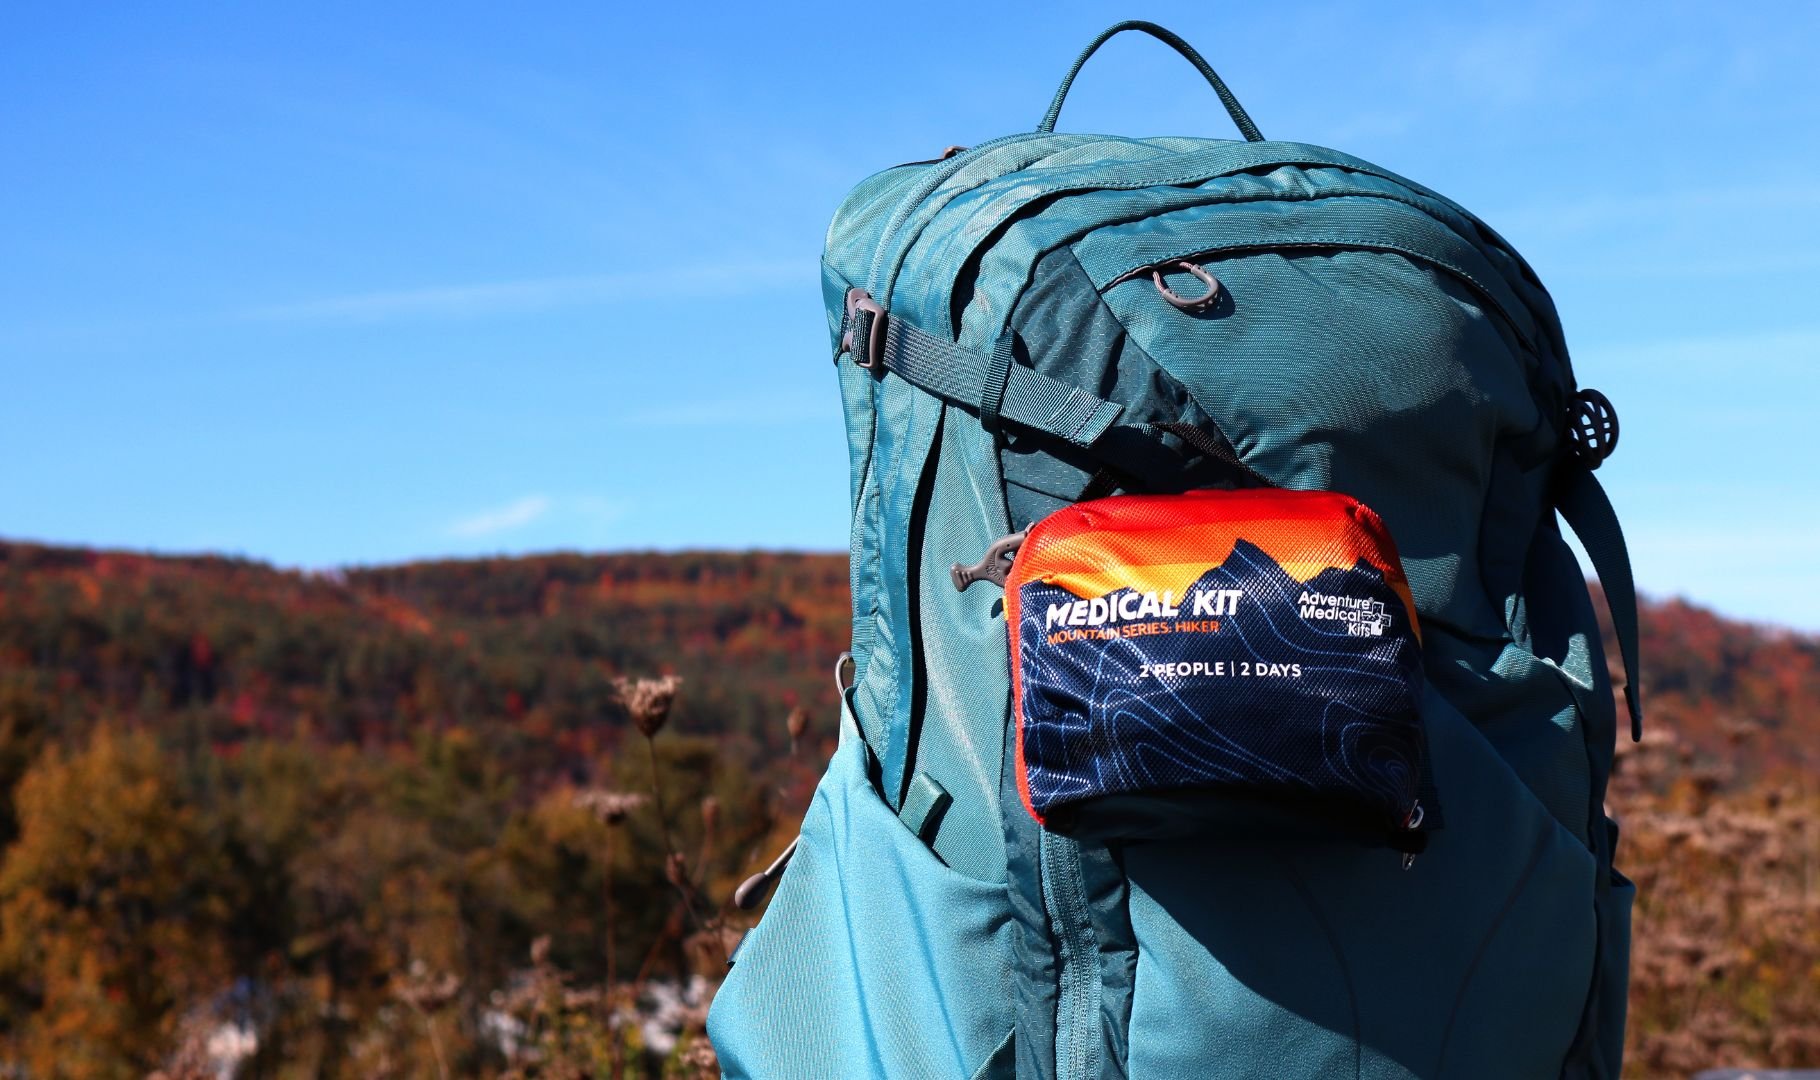
Pre-made kits save time, and a serious option from Adventure Medical Kits is worth a close look for trip-specific organization, with the brand's Mountain Series being a strong place to start, Adventure Medical Kits. For bite relief, a small add-on like After Bite can be a smart comfort item if insects are part of your normal conditions, and that keeps the main kit from getting cluttered.
Packing rule: Keep the kit easy to reach, because injuries get worse when people have to unpack the entire bag just to find tape.
The best first-aid setup is the one matched to the hike, the group, and known medical needs. Expiry dates need regular checking, and any prescription medication should live in the kit, not in a pocket where it can get forgotten.
4. Illumination Headlamp or Flashlight
Darkness arrives faster than people expect, especially when a loop trail takes longer than planned. A headlamp beats a flashlight for almost every hiking situation because it keeps both hands free for trekking poles, balance, map reading, or first-aid work. REI's essentials guidance specifically calls for a headlamp plus extra batteries, which separates lighting from wishful thinking (REI lighting guidance).
A small LED headlamp is usually the best lightweight answer. It's brighter than older lamps, easier to pack, and less awkward than holding a light in your hand while you climb over roots or descend rocky terrain. If the plan includes a campsite or an overnight bailout, a rechargeable lantern can make the evening much safer and less stressful.
For that purpose, LuminAID solar-inflatable lanterns are a practical companion, especially for emergency camp lighting, LuminAID. They're not a replacement for a headlamp, but they do create area light that can help with map work, meal prep, or shelter setup.
Light fails when power management fails
That's the trade-off. A headlamp is only as good as its batteries, so test it before every hike and keep spares in the pack. If the model uses rechargeable power, make sure it's topped off before leaving the trailhead.
Field habit: Put the light where it can be reached without digging, then keep the spare batteries in the same pocket or pouch.
A flashlight can still work for signaling or general camp use, but it's clumsier than a headlamp in most hiking emergencies. The hands-free advantage is hard to beat when the ground is uneven and the clock is against you.
5. Emergency Shelter To Protect You from the Elements
If a hike turns into an unplanned night out, shelter becomes more important than almost anything else. Wind, rain, and cold pull heat away quickly, and the goal is to stop that heat loss before it becomes a hypothermia problem. The Ten Essentials framework already recognizes shelter as a core survival need, and modern lists often favor compact emergency bivys or space blankets because they pack small and weigh very little (Ten Essentials overview).
Compact warmth beats empty optimism
A simple foil blanket can be better than nothing, but a durable emergency bivy is a more practical option when conditions turn rough. S.O.L. emergency bivys are a strong example of that upgrade, Survive Outdoors Longer. They're designed to reflect body heat and give the hiker a real barrier against wind and precipitation, which is exactly what an emergency shelter should do.
The trade-off is straightforward. Emergency shelters are excellent at warmth-to-weight efficiency, but they're not a substitute for a real tent on planned overnights. They can also build condensation inside, so a dry layer and good site selection still matter.
Pick the most sheltered ground available, get off wet soil if possible, and use the shelter to trap as much body heat as you can conserve.
Put the shelter deep in the pack where it won't be crushed by daily-use items, because it's a true last-resort tool. The best emergency shelter is the one that stays compact, survives repeated packing, and comes out fast when the weather shifts.
6. Fire-Starting Kit For Warmth, Signaling, and Water Purification
Fire has multiple jobs in a survival context. It warms cold hands, gives morale a lift, marks location for rescuers, and can help make water safer when a boil is possible. A hiking survival kit should never depend on a single fire source, which is why a disposable lighter, waterproof matches, and a reliable tinder source make sense together.
A lighter is fast. Matches provide redundancy. Tinder gives the flame something to catch. That combination is stronger than carrying one fancy gadget and hoping it performs under stress. The Northbound Gear survival-items guide reinforces that logic with a practical list that includes a high-pitch whistle, fire starter, and water filtration, along with a reminder that two or three topo maps improve route redundancy, Northbound Gear survival items.
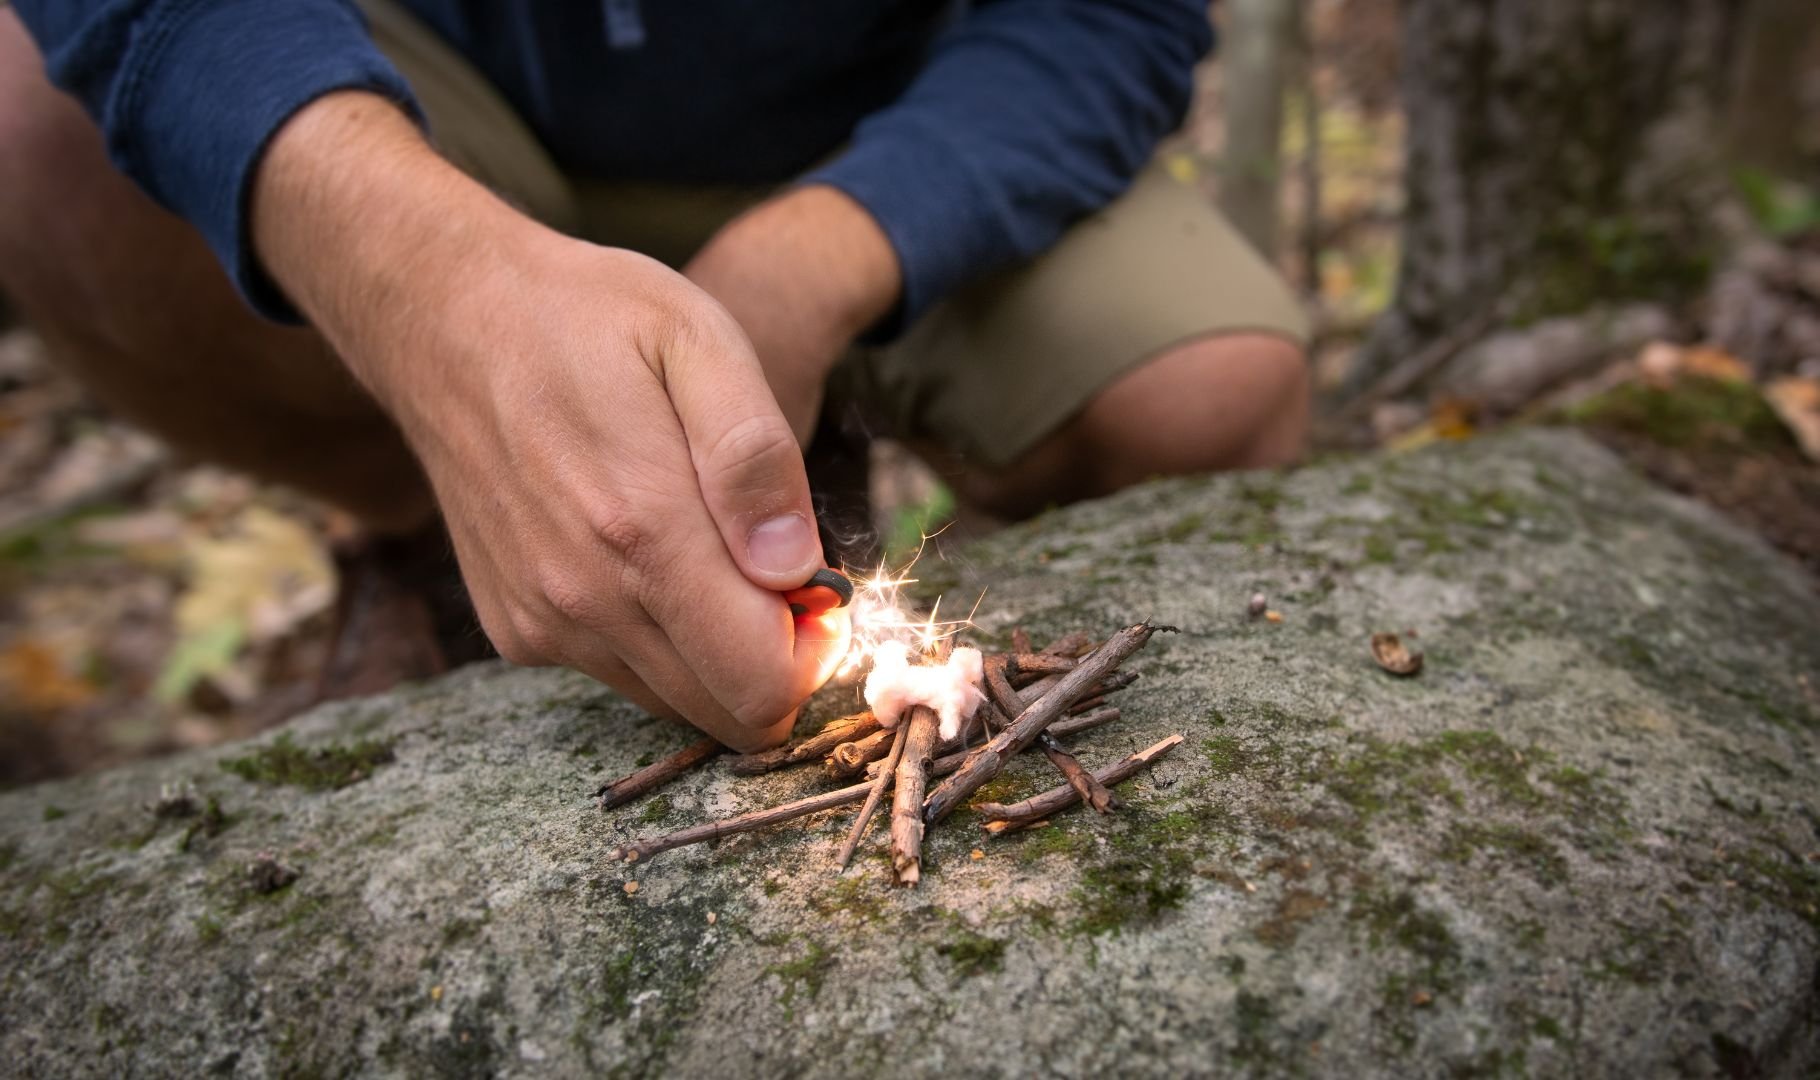
What deserves space in the fire kit
- Disposable lighter: Fastest first strike, and the easiest tool to use with cold fingers.
- Waterproof matches: Backup ignition when the lighter fails or runs low.
- Reliable tinder: Commercial tinder, waxed dryer lint, or other dry starter material.
- Dry storage: A waterproof pouch keeps the whole system usable when weather gets wet.
A miniature lighter and a small ferro rod are good lightweight alternatives, but they still need dry tinder and a user who knows how to spark and sustain a flame. Keep the kit protected from moisture, because wet fire gear is dead weight.
7. Repair Kit and Knife For Gear Fixes and Utility
A knife earns its place because it solves a lot of small problems quickly. A multi-tool adds pliers and screwdrivers, which makes it more useful for gear repair, but that extra function often comes with extra weight. For many hikers, the sweet spot is a compact folding knife or a modest multi-tool, plus a small repair strip of duct tape or Tenacious Tape.
Build a repair kit that fixes the right failures
A broken tent pole, a torn rain shell, a loose strap, or a leaky bottle can ruin a good hike if nobody can patch the problem. A short run of tape wrapped around a water bottle or trekking pole saves space and still gives a usable field repair. That's the trade-off hikers want, a small penalty in organization for a big gain in readiness.
A strong utility setup also supports improvisation. Paracord, cordage, or tape can help stabilize gear, create lash points, or secure broken items long enough to get out safely. The key is not carrying every possible tool, it's carrying the few that solve the most likely problems without turning the pack into a toolbox.
Good habit: Put the knife where it can be reached quickly, then keep the repair tape in a place it won't pick up dirt or peel off in the pack.
Avoid oversized blades and bulky tools unless the trip demands them. The best repair kit is compact, sharp, and honest about what it can fix in the field.
8. Extra Nutrition More Than You Plan to Eat
Food is easy to underestimate because the hike starts with a lunch plan and ends with an unplanned delay. A smart hiking survival kit list includes at least one extra day's worth of food, and that food should be high-energy, non-perishable, and ready to eat without cooking. The Hungry Hiker specifically notes a target of 2 to 3 liters over 6 to 8 hours for water planning, and the same planning logic applies to food, carry margins, not assumptions (The Hungry Hiker).
The best choices are compact and calorie-dense, things like energy bars, nuts, jerky, and dried fruit. That matters because extra food is only helpful if hikers can carry it without resenting the weight. A lightweight snack system from a brand like RIP VAN healthy travel snacks can help with planning, but the main rule is still the same, pick foods that survive the pack and your appetite.
Food strategy changes in bear country
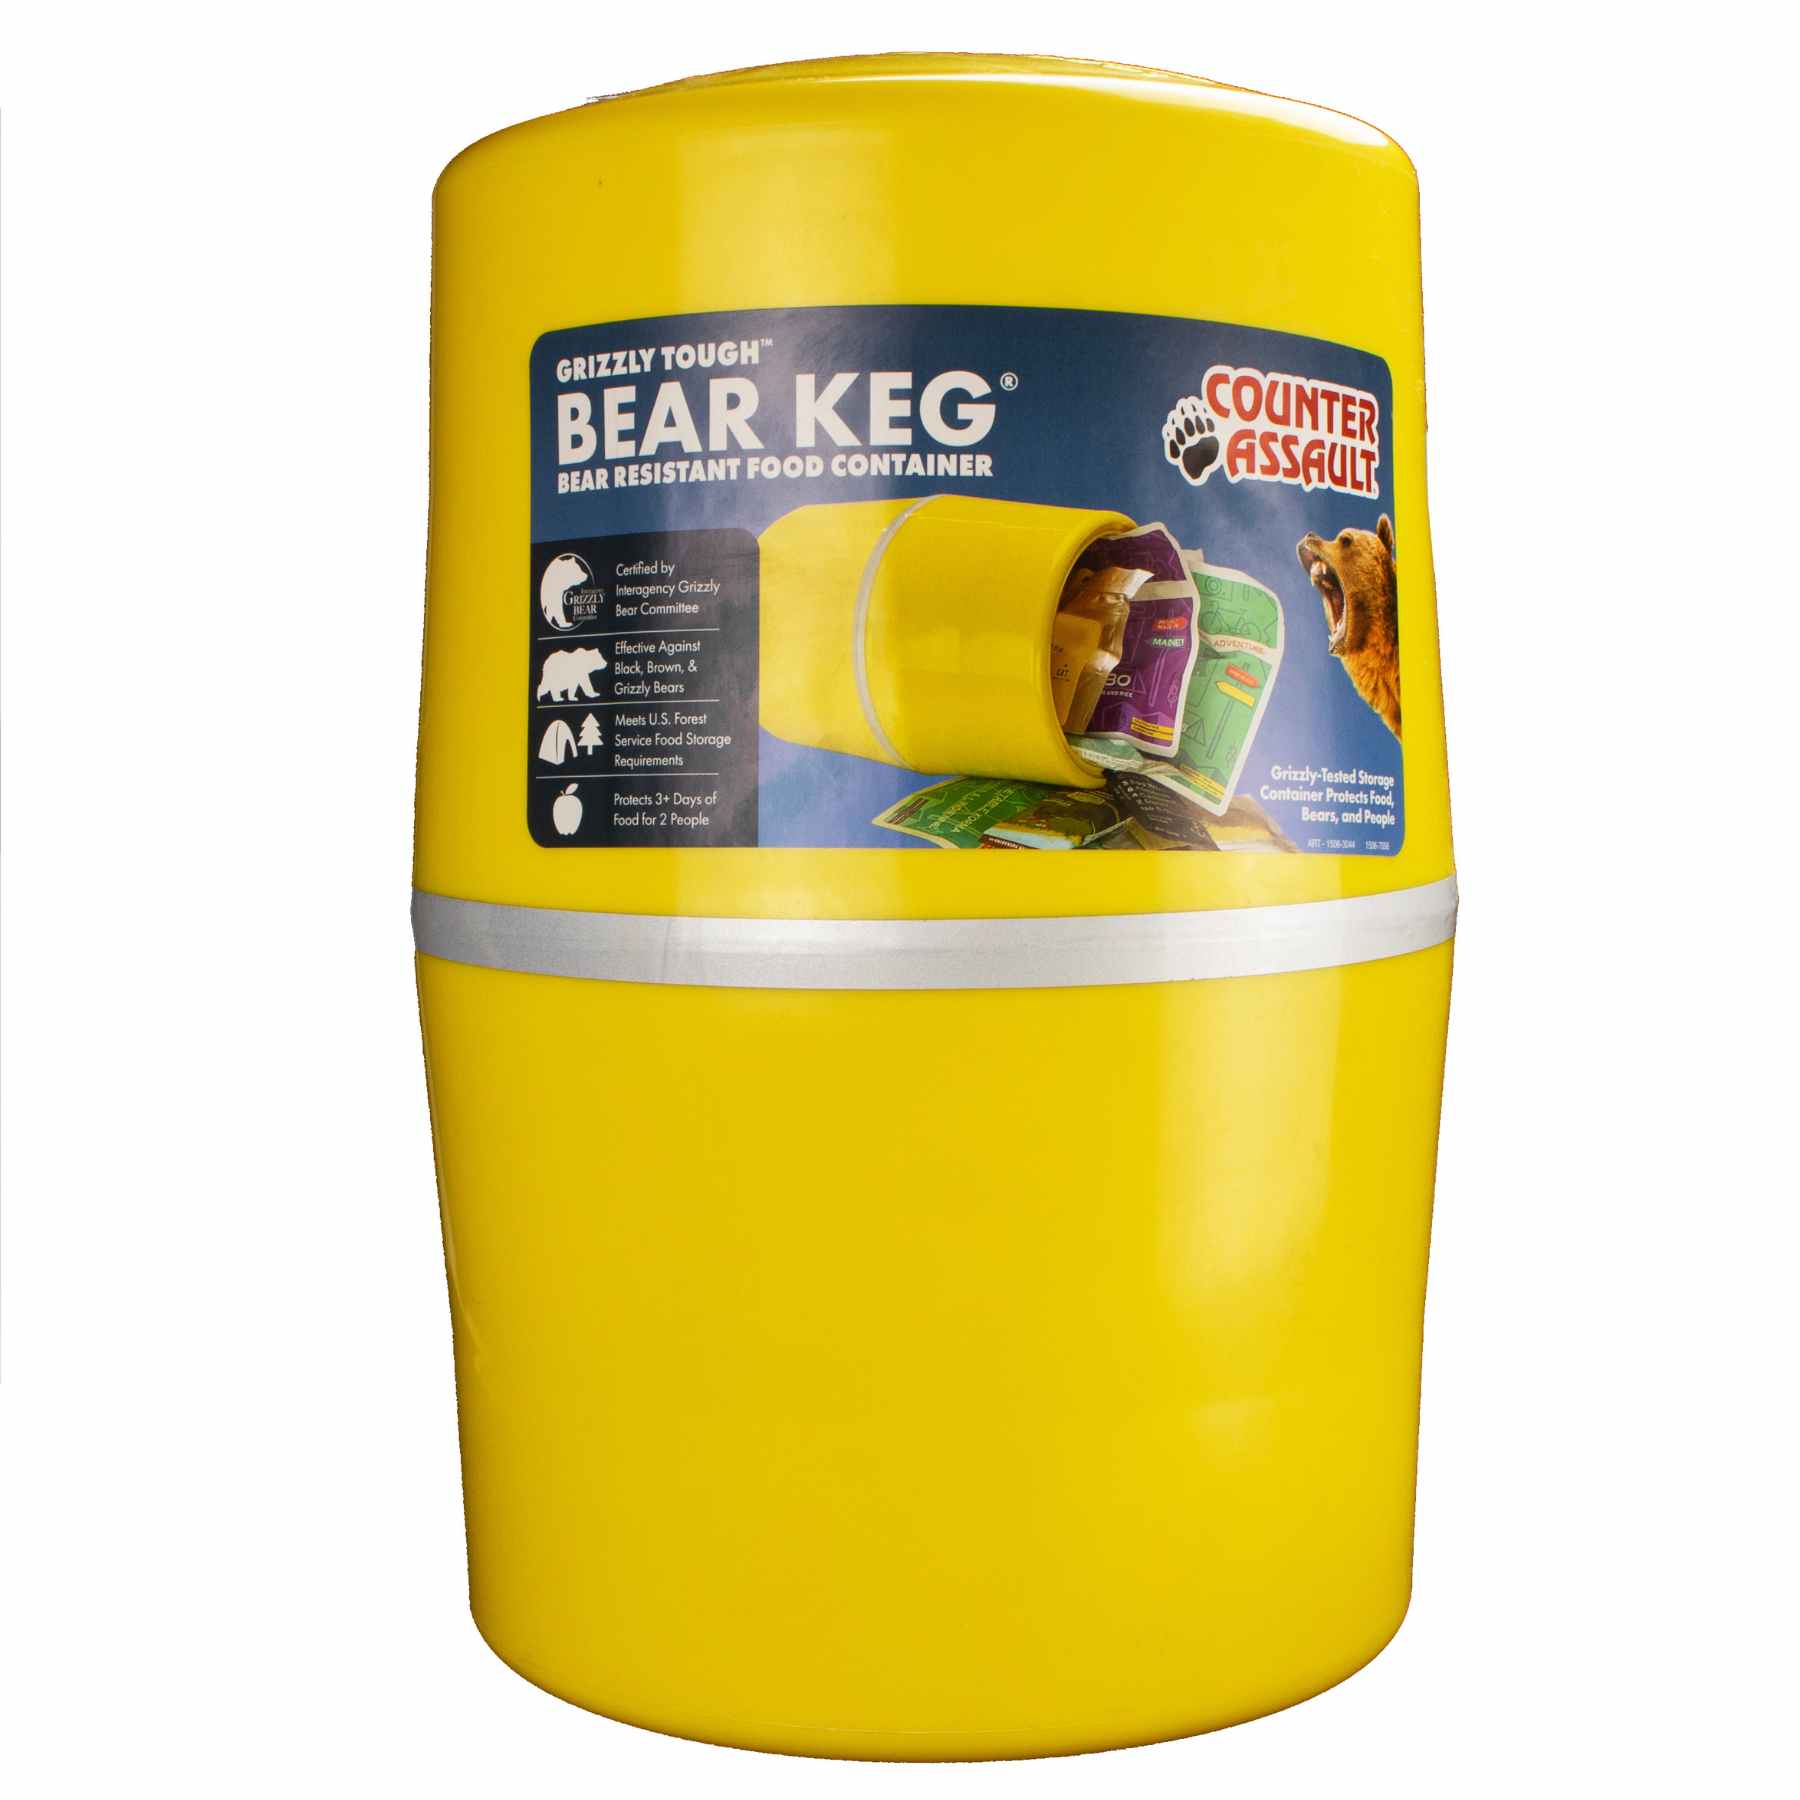
In bear country, food storage matters as much as the food itself. Everything smelly should be kept in a bear-resistant container or hung properly at night, because food discipline protects both hikers and wildlife. Counter Assault's own high-calorie hiking foods guidance fits neatly with that mindset, compact fuel is useful only when it's stored responsibly.
Don't pack treats you need to cook, hydrate, or refrigerate. Survival food should be edible when tired, cold, and short on time.
The right emergency food is boring on purpose. It's there to keep decisions clear, pace steady, and morale intact if the trail goes long.
9. Extra Hydration Water and a Purification Method
Water shortages unravel judgment quickly. Before thirst feels serious, concentration drops and movement gets slower, which is why outdoor guidance commonly recommends 2 to 3 liters for a backcountry outing, with some day-hike advice pushing at least 2 liters or even 1 gallon per person per day when conditions are hot, remote, or uncertain (American Mountain Club guidance). The point isn't to memorize one number, it's to carry enough margin that a small delay doesn't become a crisis.
Carry some water, then plan for more
A filter or purification tablets belong in every serious kit because water weight gets heavy fast. Filters let hikers refill on the move, while tablets are the lightest backup for stream, river, or lake water. Either way, treatment gives options if carried water runs out before the hike does.
A practical hydration setup is simple. Bottles ride in side pockets, the filter or tablets sit in a dry bag inside the pack, and the hiker knows how to use the system before leaving home. That matters because a clogged filter or an aftertaste from tablets is annoying, but dehydration is far worse.
The survival tools market data supports this emphasis on compact, portable gear. It was valued at about USD 1.45 billion in 2024 and is forecast to reach roughly USD 3.04 billion by 2034 at a 7.69% CAGR, with pocket tools expected to hold a significant share (survival tools market report). Lightweight, carryable water tools fit that trend perfectly.
For a hydration-specific product example, hydration pack options for trails can help some hikers manage easier access, but a pack alone doesn't replace treatment. Water planning only works when there's a way to make more safe water.
10. Sun and Element Protection Extra Layers and Repellent
“Extra clothes” does not mean a spare T-shirt. It means an insulating layer that can be added when the temperature drops, plus a waterproof shell that can go on fast when rain or wind moves in. That one part of the Ten Essentials often decides whether a hiker stays merely uncomfortable or starts sliding toward hypothermia, because wet fabric and wind strip heat faster than many anticipate (Ten Essentials overview).
Layering is the real survival system
Start with the shell at the top of the pack so it's easy to grab. Keep the insulating layer deeper inside, because it usually comes out after the weather change is already underway. Modern synthetic insulation and wool are useful here because they stay warmer when damp than cotton, which is exactly what a mountain day demands.
Insect protection matters too. Natrapel and Ben's are practical repellent options for ticks and mosquitoes, and the right choice depends on terrain, season, and exposure level, Natrapel. A small bottle can save a lot of scratching and distraction later.
Field standard: Put on the extra layer at the first sign of getting chilled or wet, not after shivering starts.
The best clothing system is flexible, not fashionable. It should let the hiker adapt quickly to shade, wind, rain, and elevation changes without needing a gear overhaul at the trailhead.
10-Item Hiking Survival Kit Comparison
| Item | Core features & use | Key USPs (✨) | Experience & reliability (★) | Audience & value (👥 / 💰) |
|---|---|---|---|---|
| 🏆 Counter Assault, Bear Spray | 10.2 oz can; 44 ft range; 2% capsaicinoids; holster; hip/chest access | EPA-registered, US-made; farthest reach; trusted by rangers | ★★★★★ Proven in field; single-use; wind sensitivity | Best for hikers in bear country who need immediate access, premium safety value |
| Navigation: Map, Compass & GPS/Satellite | Paper map + compass; offline GPS; satellite messenger backup | Failure-proof navigation; remote comms option | ★★★★☆ Extremely reliable with skill; GPS = convenience | Best for all hikers, especially remote routes, strong value for safety redundancy |
| First-Aid Kit | Blister care, bandages, antiseptic, meds; premade or custom | Trip-specific kits (Adventure Medical Kits) | ★★★★☆ Essential; check expirations; can be heavy | Best for solo hikers and groups, high value because small injuries escalate fast |
| Illumination: Headlamp / Flashlight | Hands-free headlamp; extra batteries/power bank; lantern option | High-lumen LEDs; solar inflatable lanterns (LuminAID) | ★★★★☆ Bright and lightweight; battery-dependent | Best for every hike, affordable and essential for delays or night travel |
| Emergency Shelter | Emergency bivy / space blanket; ultralight; heat-reflective | High warmth-to-weight (S.O.L. bivy upgrade) | ★★★★ Minimal but life-saving; limited in extreme weather | Best for emergency-only use, excellent value because it packs small |
| Fire-Starting Kit | Lighter + waterproof matches + ferro rod + tinder in dry bag | Redundant ignition methods for warmth, signaling, water | ★★★★☆ Critical utility; vulnerable if wet | Best for cold, wet, or remote conditions, low cost and high usefulness |
| Repair Kit & Knife | Folding knife/multi-tool + duct/Tenacious tape; compact repairs | Multi-tool versatility; tape patches almost anything | ★★★★☆ Highly versatile; choose weight-appropriate gear | Best for hikers who want field-fix options, great value at low weight |
| Extra Nutrition | Extra day's worth; calorie-dense no-cook foods (bars, jerky) | High calorie-to-ounce options for rationing | ★★★★ Adds weight but critical energy reserve | Best for all trip lengths, inexpensive insurance against delays |
| Extra Hydration | Carry extra water + portable filter or tablets; hydration pack | Filters allow refills; tablets lightweight backup | ★★★★☆ Essential; filters can clog/freeze | Best for hot weather and longer routes, very high safety value |
| Sun & Element Protection | Insulating layer + waterproof shell + repellent/sunscreen | Layering system; effective insect repellents (Natrapel/Ben's) | ★★★★ Bulky but vital for safety in variable weather | Best for changing mountain conditions, high value despite added bulk |
Your Kit Is Packed Now Hike with Confidence
A solid hiking survival kit list starts with the basics, then adds the tools that solve real trail problems. The Ten Essentials remain the backbone because they cover orientation, light, warmth, food, water, and basic self-rescue, and that systems approach still makes sense when the day hike doesn't go to plan (Ten Essentials overview). A smart hiker doesn't carry random gear, the hiker carries redundancy where failure hurts most.
Bear country changes the equation, which is why Counter Assault bear spray deserves special attention. It's the item that should live on your body, not in your pack, and it should be treated as a serious wildlife deterrent, not a casual accessory. The holster, the long reach, and the 2% capsaicin formula all support one purpose, fast access in a dangerous encounter, and that's the reason it belongs at the top of the list for hikers who travel where bears, mountain lions, or coyotes are part of the environment.
Preparation also means practice. Navigation tools should be familiar before the trailhead. First-aid items should be packed to match the trip and checked for expiration. The headlamp batteries should be tested, the shelter should be easy to reach, and the food and water plan should assume the hike may take longer than hoped. That's not pessimism, it's competence.
Responsibility matters outside the gear, too. Hike in groups when possible, make noise around blind corners, avoid dusk and dawn in bear country, keep a clean camp, and never approach wildlife for a photo or video. Stand your ground if an animal acts aggressively, don't run, and get your spray ready instead. The best survival kit does not replace good judgment, it supports it.
If the next hike crosses bear habitat, build the kit around what can keep a normal day from becoming a dangerous one. Review every item, practice with your navigation tools, and make sure your bear spray is on your person before you step onto the trail.
Counter Assault builds the kind of bear protection serious hikers can trust, with the flagship 10.2 oz can, a 44-foot reach, and a holster that keeps it ready when seconds matter. If your hiking survival kit list needs a dependable wildlife deterrent for bear country, visit Counter Assault and choose gear that's made for real trail conditions.