
The night before a trip, the gear pile usually looks reasonable until the mind starts running ahead. Extra layer. Water filter. Map. Headlamp. Then the question shows up: what happens if the weather turns, a partner gets hurt, the route disappears under fresh snow, or wildlife closes the distance fast?
That uneasy feeling is useful. It's the part of backcountry travel that keeps people honest. Remote country rewards calm preparation and punishes casual assumptions. A strong backcountry safety gear setup isn't a heap of gadgets. It's a system. Each piece has a job, and each job supports the others when conditions get ugly.
Most preventable problems in the backcountry begin small. A wrong turn becomes a late exit. A soaked layer becomes a cold night. A surprise animal encounter becomes panic. Good gear helps, but gear only works when it's chosen for real conditions and carried where it can be used. That's why solid preparation matters more than buying random equipment the night before. For hikers still building that foundation, these hiking safety basics are a practical place to start.
Table of Contents
Introduction: Planning for the Unexpected
Backcountry travel feels simple when the forecast is clean and the route is familiar. A small daypack can make a person feel quick and capable. That confidence is fine until a boot lace snaps miles from the car, a creek crossing soaks insulation, or an animal appears on the trail where the brush is thick and visibility is poor.
Prepared travelers don't pack for the postcard version of the trip. They pack for the trip that goes sideways. That means building a kit that can handle injury, weather, navigation problems, and wildlife encounters without depending on luck or cell service.
A ranger or guide learns this fast. The people who cope well in the field are rarely the ones carrying the most expensive equipment. They're the ones carrying the right equipment, in working order, and knowing exactly where it is. They also understand that avoidance beats reaction. Noise on blind corners, smart timing, clean camps, and respectful distance do more for safety than bravado ever will.
Field rule: The best gear is the gear that solves a problem quickly and can be reached without unpacking the whole bag.
That mindset changes how a pack gets built. Instead of asking what might be useful, the better question is what problem each item is there to solve. A deterrent handles an aggressive animal. A first-aid kit handles injury. Navigation and communication prevent a wrong turn from becoming an emergency. Shelter and sustainment keep a delayed return from turning into a survival situation.
The Four Pillars of Backcountry Safety
Backcountry safety gear works best when it's organized around a few basic functions. That keeps packing focused and exposes weak spots before the trip starts. If one pillar is missing, the whole system gets shakier.

Wildlife deterrents
This is the gear carried to prevent an animal encounter from becoming a physical conflict. In bear country, that means non-lethal spray carried where it can be reached immediately, not buried in a pack lid under snacks and gloves. The same category also includes habits that lower the chance of an encounter in the first place.
First-aid
Minor injuries are common in the backcountry. Hot spots, cuts, sprains, stings, and small burns can usually be managed on the spot if the kit is stocked for actual use. A first-aid kit doesn't need to be huge, but it does need to match the trip, the group, and the distance from help.
Navigation and communication
A dead phone battery has ended plenty of easy days badly. Reliable navigation starts with a physical map and compass, then adds digital tools as backup. Communication matters just as much. Once a party moves beyond dependable cell coverage, a satellite device changes the margin for error.
Shelter and sustainment
Even short trips need a plan for an unplanned stop. That means insulation, emergency shelter, light, water treatment, and enough food to stay functional if the return takes longer than expected. In snow country, that system also expands. Every backcountry traveler in avalanche terrain must carry an avalanche beacon, probe, and shovel because without all three, effective location and rescue of a buried partner is impossible. The beacon transmits and receives a 457 kHz signal, and shovel blades need to be metal because plastic can fail in dense avalanche debris, as noted by Treeline Review's avalanche safety gear guide.
A quick way to pressure-test a kit is to ask four questions:
- Animal problem: What's available if a bear, mountain lion, or coyote acts aggressively?
- Injury problem: What treats the most likely medical issues on this route?
- Lost problem: What still works if the phone dies?
- Delay problem: What keeps a forced overnight uncomfortable instead of dangerous?
Wildlife Deterrents Your First Line of Defense
A bear steps out of the brush at bad distance on a blind corner. That is not the moment to start digging through a pack, second-guessing the safety clip, or hoping noise alone will fix it. Wildlife deterrents work best as one layer in a larger system: avoid the encounter, read the animal early, carry the right tool where your hand can find it, and know exactly how to use it under stress.

Prevent the encounter first
Good deterrent use starts long before an animal closes the gap. In the field, the safest encounter is the one that never develops.
- Travel in a group when you can: Larger groups are easier for wildlife to detect and often less likely to trigger a close approach.
- Call out in thick cover and near moving water: Brush, creek noise, and windy timber hide both your approach and the animal's.
- Give wildlife room: Photos are never worth crowding a feeding site, carcass, cubs, or a travel corridor.
- Manage food and smells in camp: A dirty camp changes animal behavior fast.
- Choose your timing carefully: Low light can mean more animal movement and less reaction time for you.
None of that is glamorous. It prevents more trouble than any canister ever will.
Carry deterrent spray where you can reach it
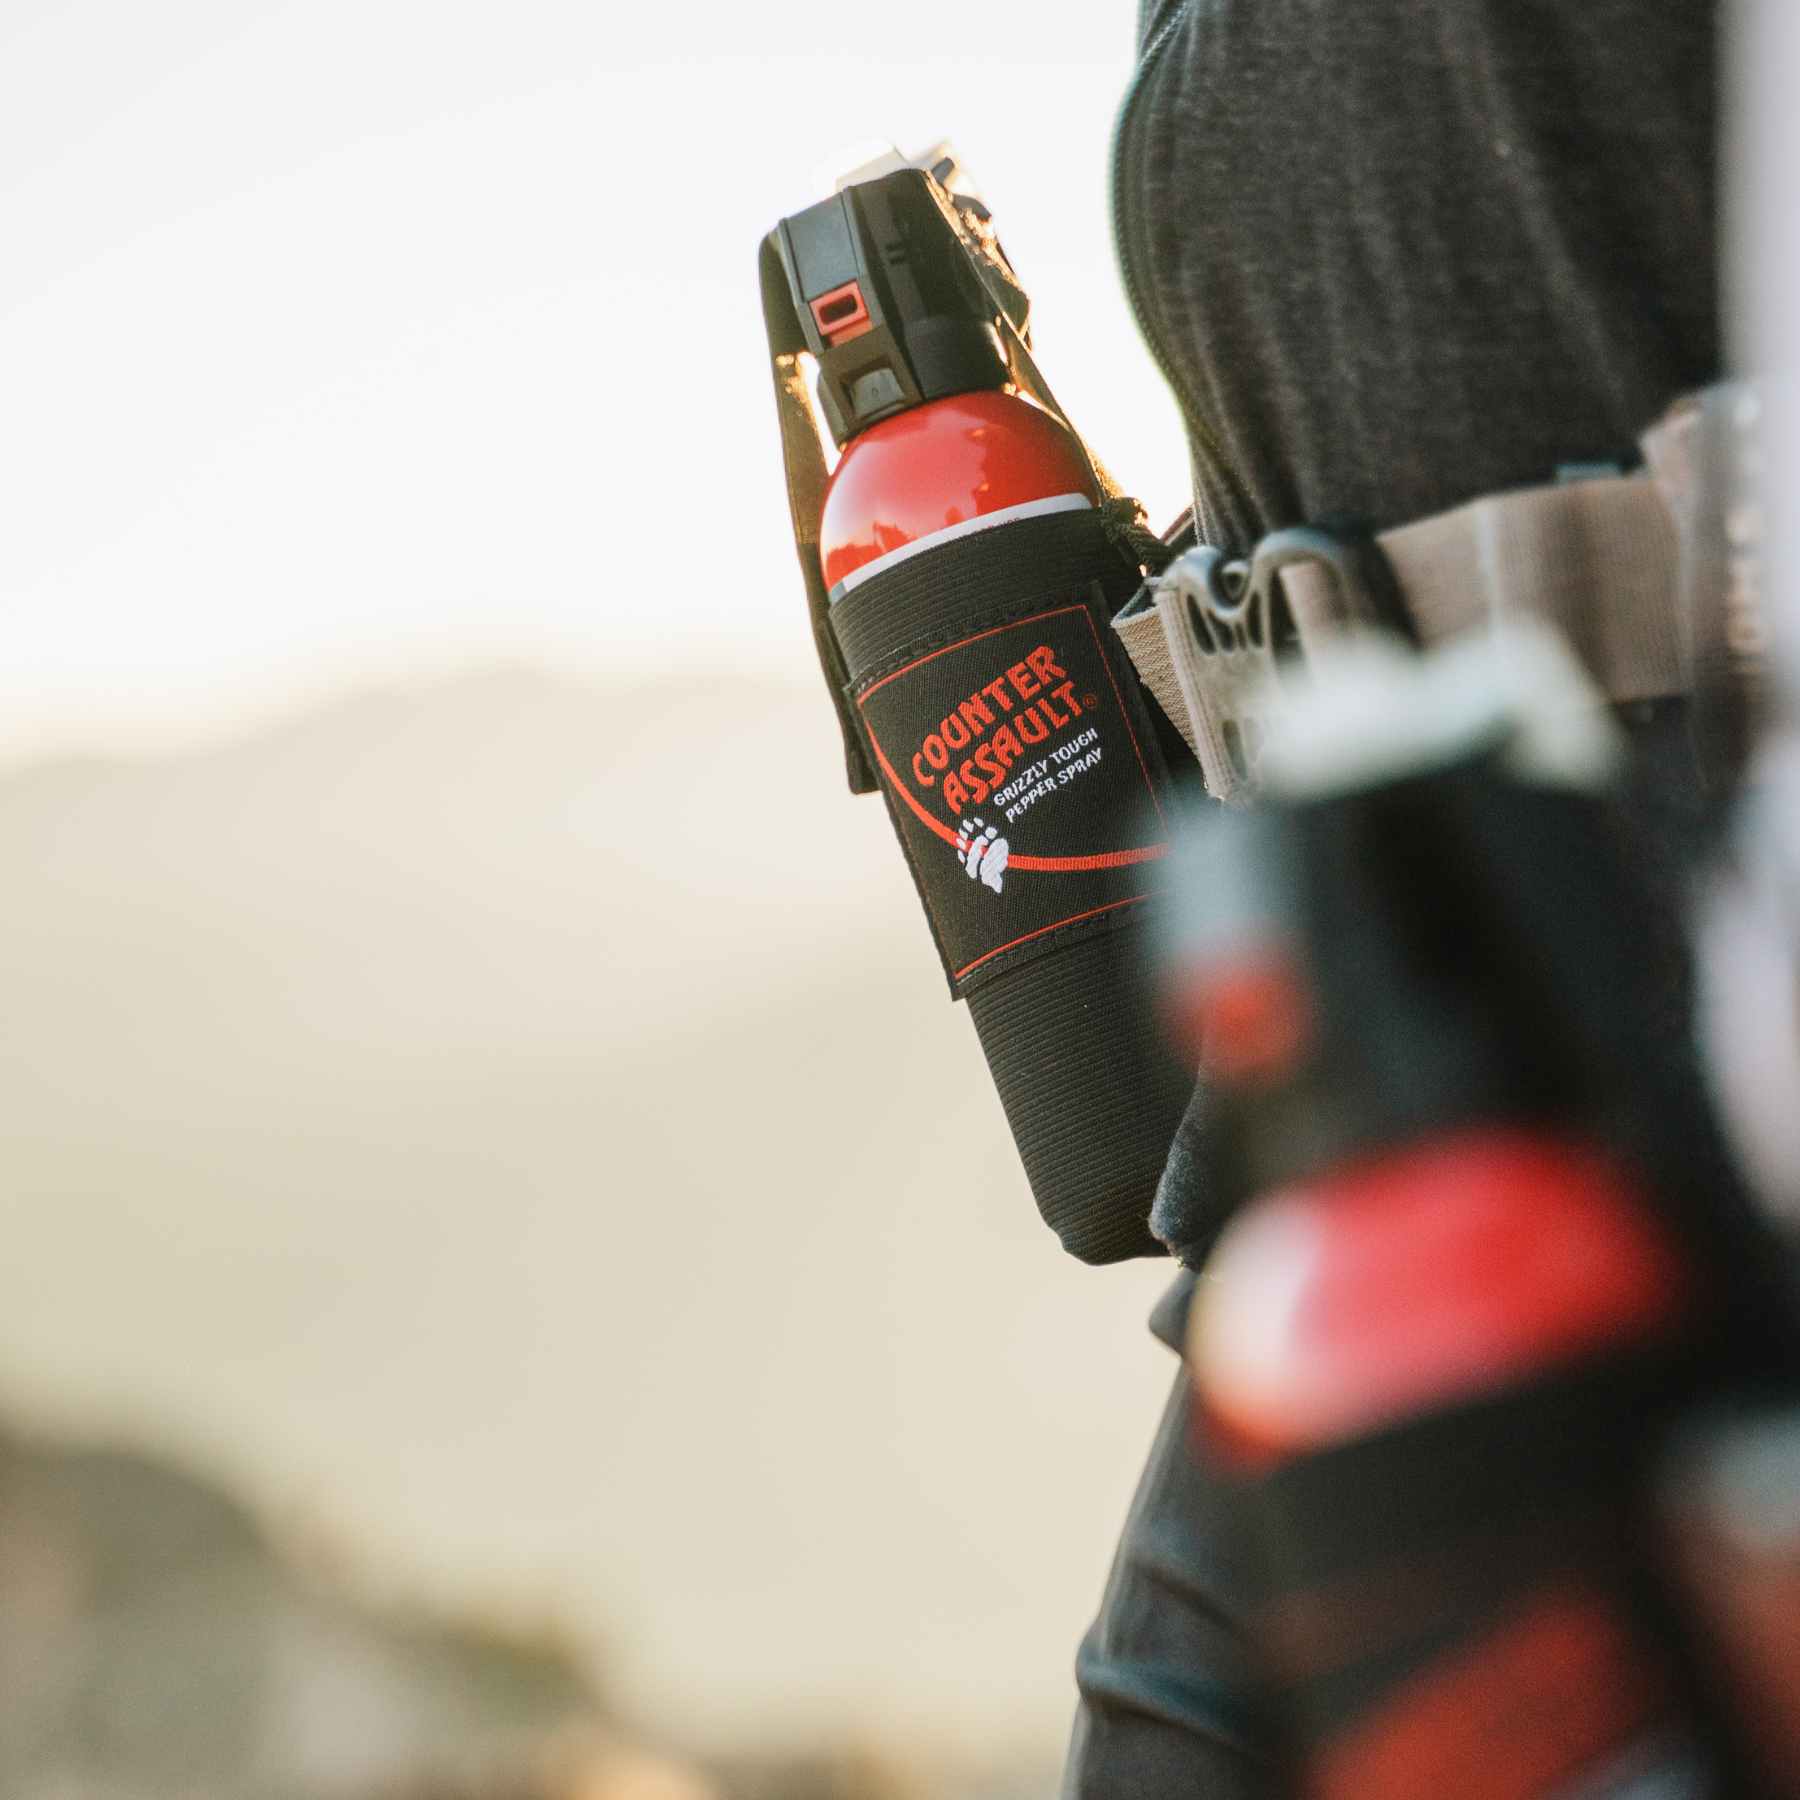
Accessibility decides whether spray is a real tool or dead weight. Belt carry, chest carry, or another exterior position works. Buried in a pack does not.
Bear spray is built for aggressive wildlife encounters, including bears, mountain lions, and coyotes. It is not a substitute for camp hygiene, spacing, or calm behavior around animals. It is also not a general-purpose spray for people, clothing, or gear.
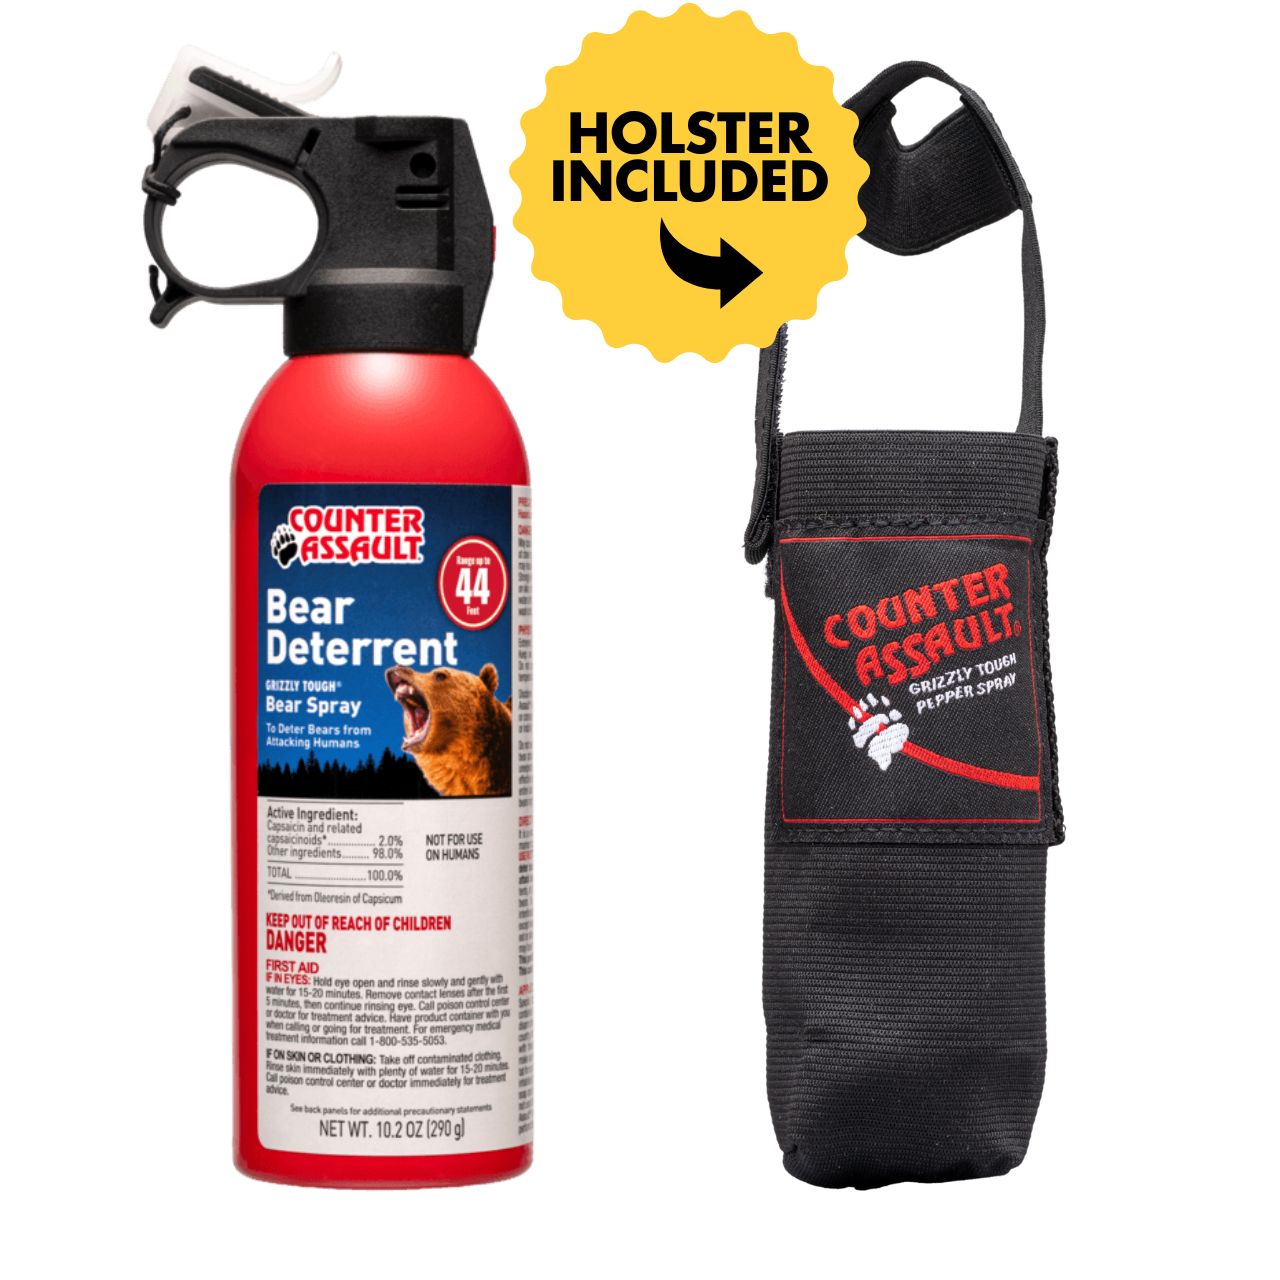
One commonly carried option is the Counter Assault 10.2 oz Bear Spray with Holster. It's a 10.2 oz canister with a 44-foot spray range, includes a holster, and is described by the brand as effective on all bear species as well as mountain lions and coyotes. The practical point is the carry setup. A holster keeps the canister available with either hand and cuts down on fumbling. If you want a clearer breakdown of canister size, carry style, and trail use, see this guide to choosing bear spray for hiking.
A deterrent you cannot reach in one motion is not part of your first line of defense.
Canister size matters, too. Small novelty sprays get mistaken for true bear spray all the time, and that confusion leads to poor decisions in bear country. Use an EPA-registered product with enough volume and range for the animal you may encounter.
How to deploy it under stress
People rarely rise to the occasion in a wildlife charge. They default to what they have practiced.
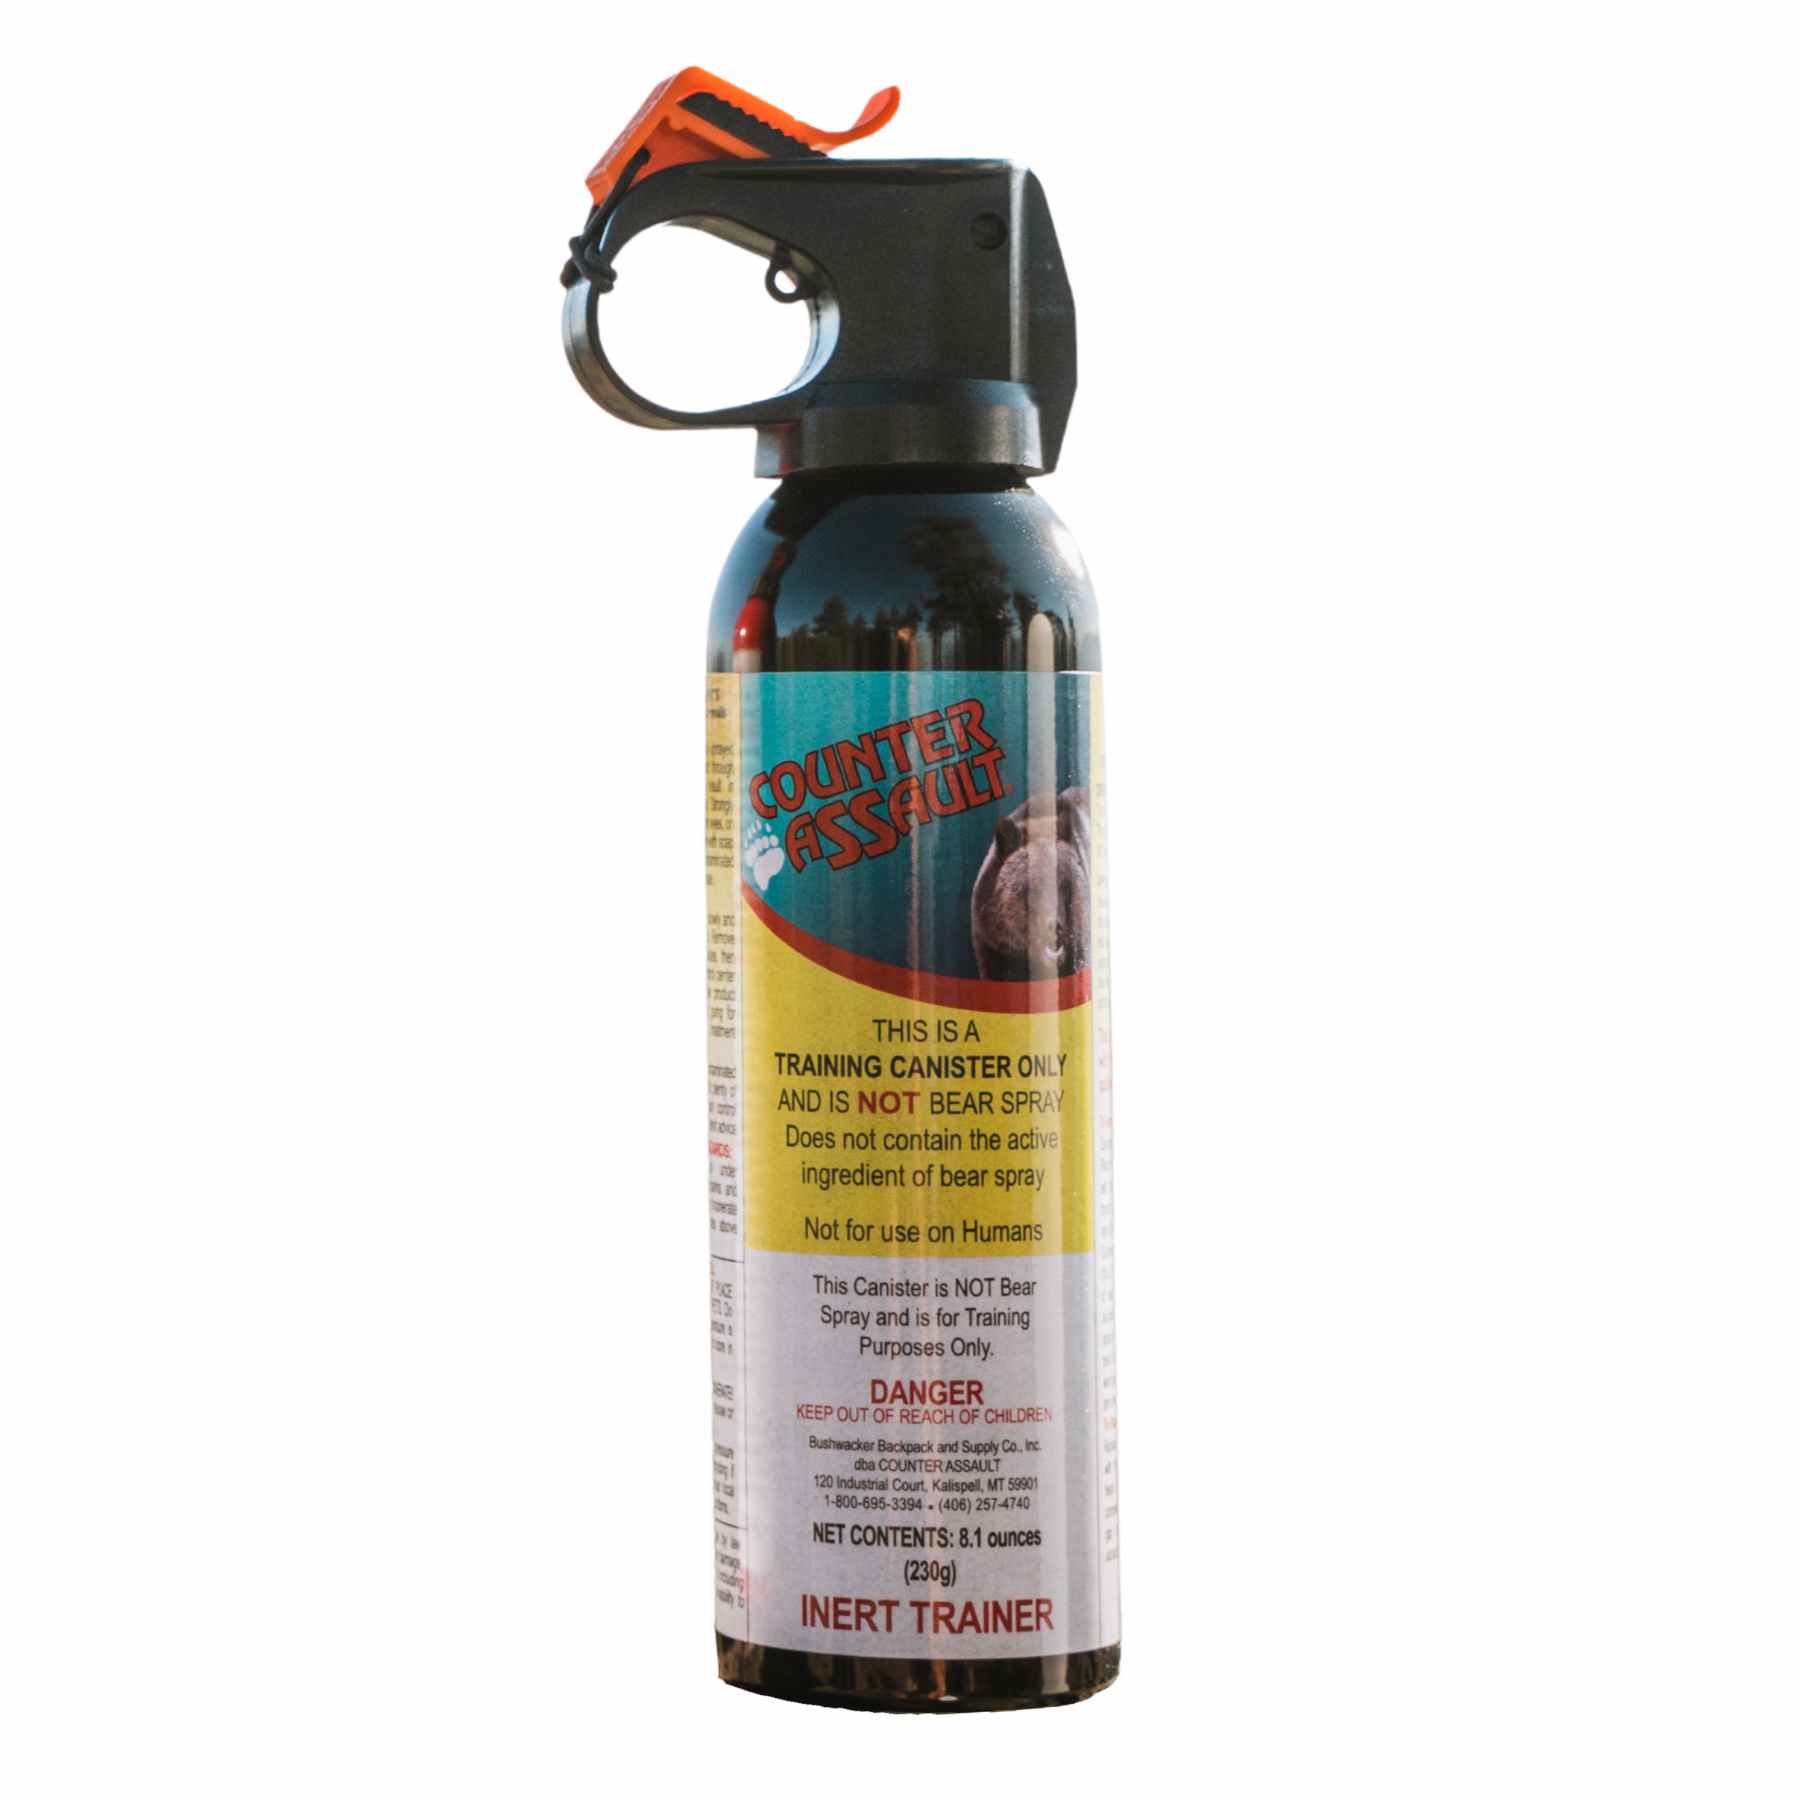
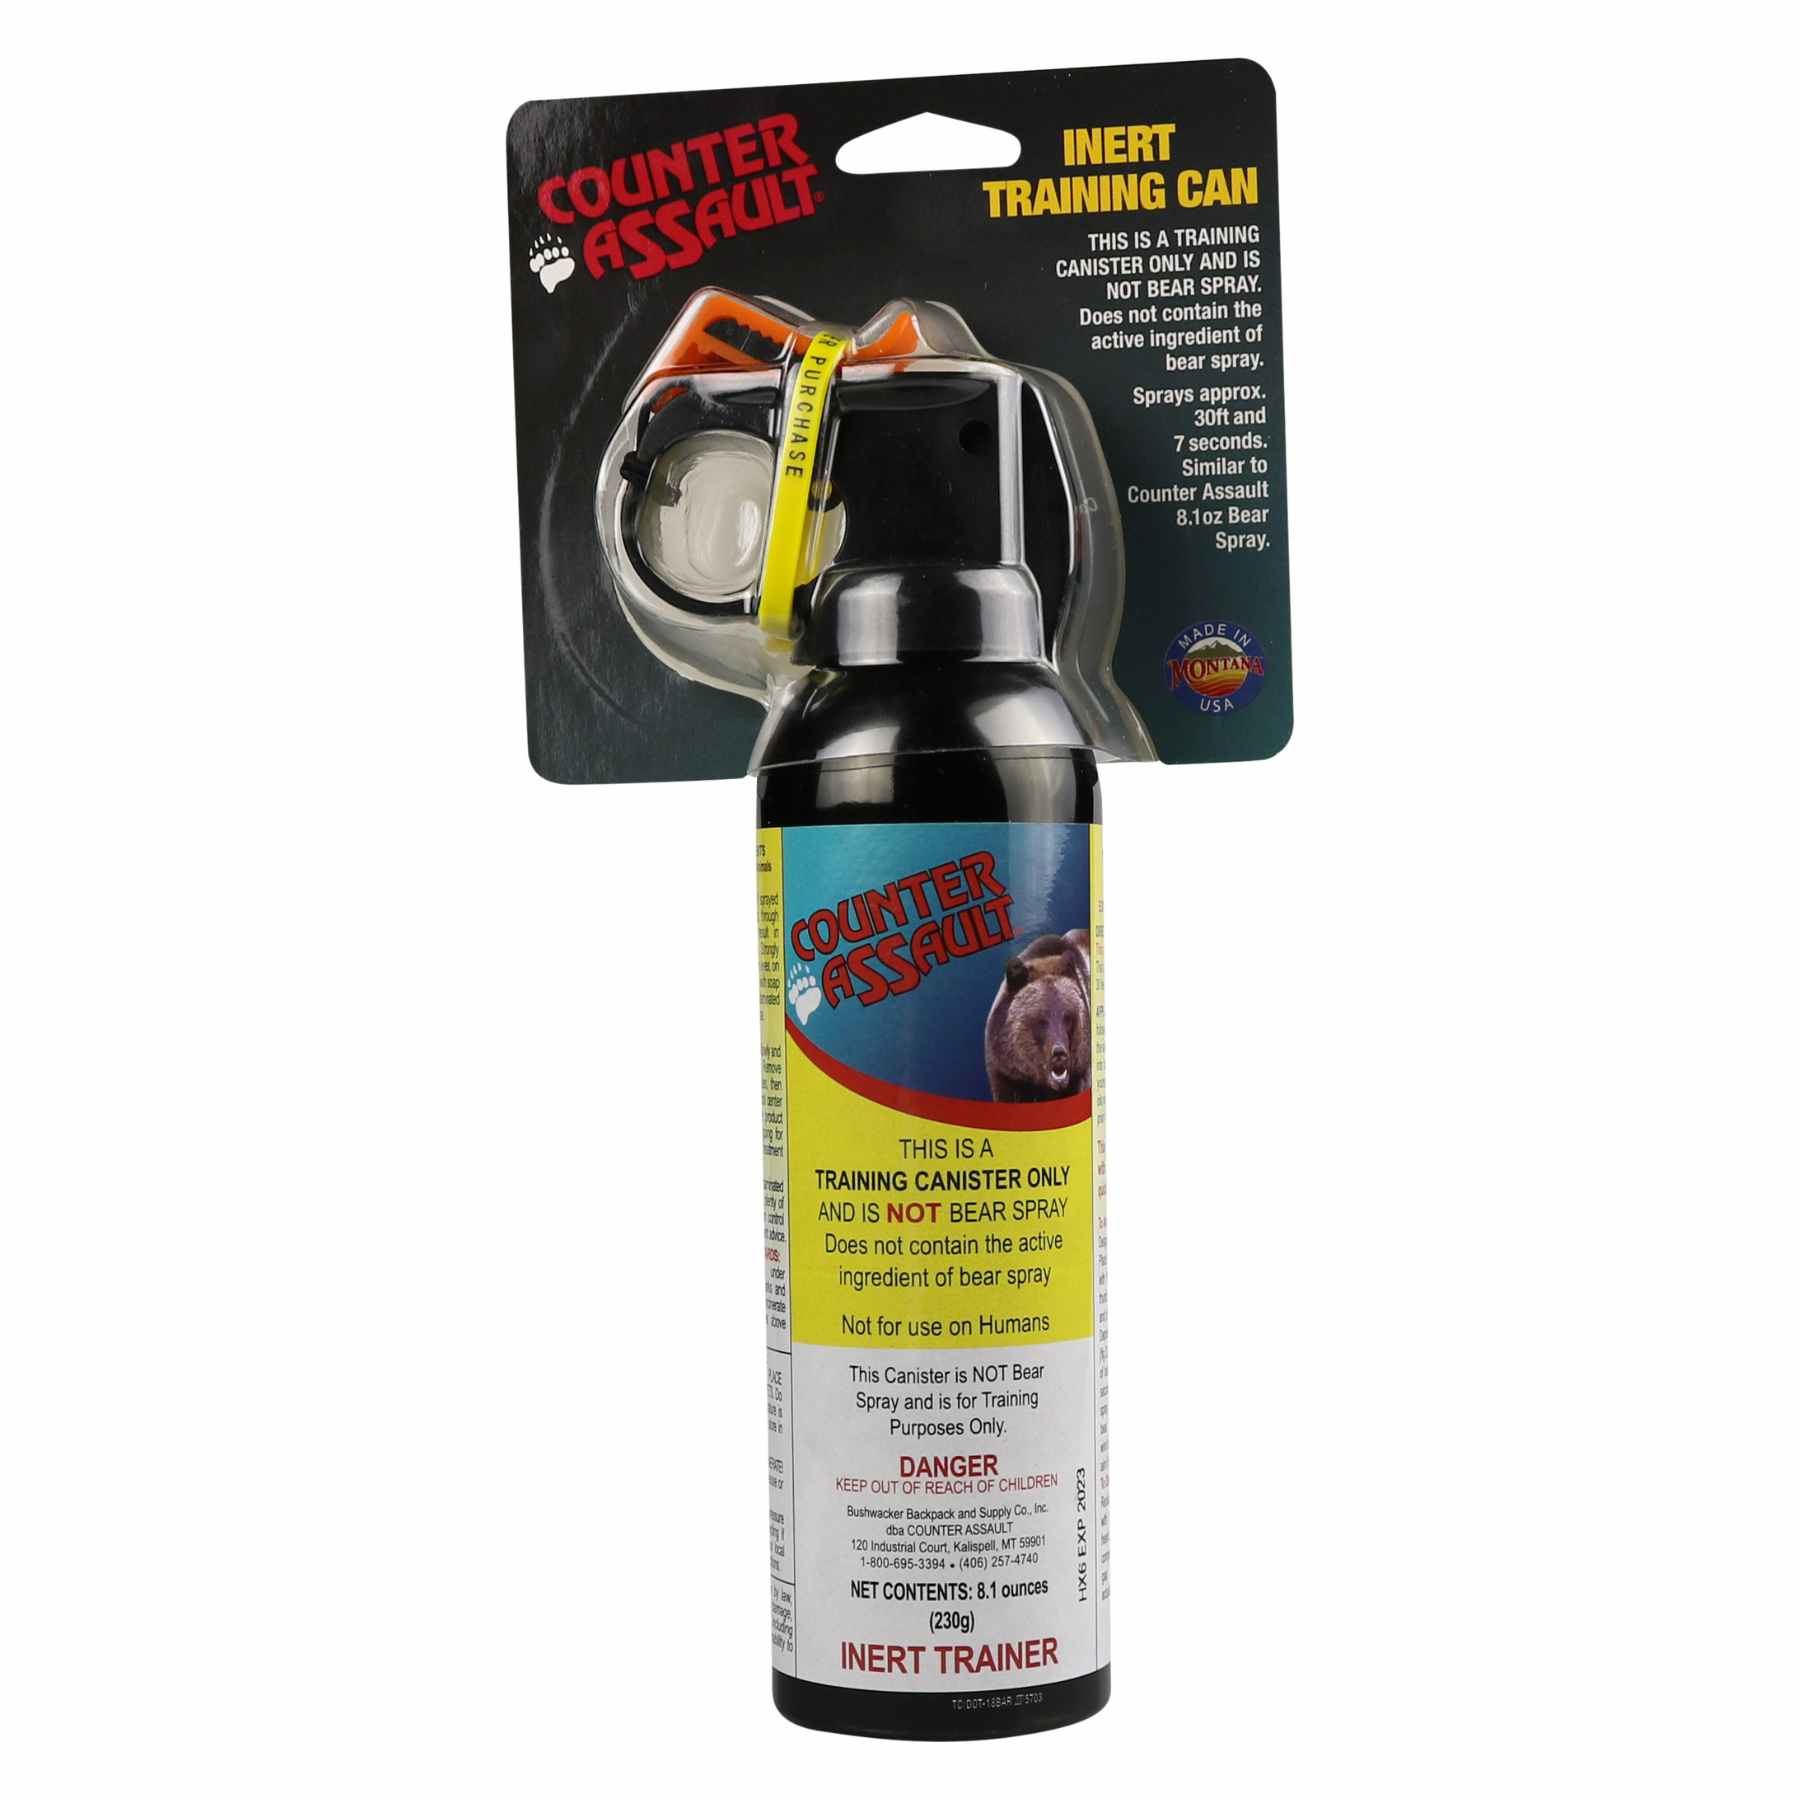
Rehearse the draw before the trip. Practice releasing the safety clip, extending the canister, and indexing your grip without looking down. Do it while wearing the same pack, layers, and gloves you expect to use outside.
- Draw the canister cleanly: No digging, no untangling straps.
- Remove the safety clip: Use a deliberate motion so you do not drop the can.
- Aim low and forward: Put the spray cloud in the animal's path, not over its head.
- Spray when the animal is inside the product's working range: Too early wastes the canister. Too late leaves no buffer.
- Move out once the animal breaks off: Create distance and leave the area without running blindly into thicker cover or separating from your group.
The psychological piece matters here. Under adrenaline, fine motor control drops fast, tunnel vision sets in, and people fixate on the animal instead of their sequence. Spray gives a wider margin for error than tools that depend on precise placement in a fast, chaotic encounter.
That does not mean spray is magic. Wind can shift. Terrain can trap you. Some users wait too long, carry the canister in the wrong place, or have never practiced. Treat deterrents as part of a layered safety system, not as permission to get closer, stay longer, or act casually around wildlife.
Debunking Common Bear Spray Myths
A bad bear encounter usually starts with a bad assumption. Someone clips the spray to the wrong place, treats it like a magic shield, or decides a firearm will be easier under stress. Those mistakes happen before the animal is even in view.

Myth one guns work better
This claim sounds confident right up until distance collapses.
In a fast charge, people lose fine motor control, overfocus on the animal, and struggle to place a precise shot. Spray asks less of the user. It creates a defensive cloud and gives you a wider margin for error during a chaotic few seconds.
There is also a field reality people skip over. An injured bear can still cover ground, and a marginal hit may intensify the encounter instead of stopping it. Deterrence and lethal force are different tools with different consequences. For hikers, anglers, and trail crews who need a fast response at close range, spray is usually the more forgiving option.
Under pressure, the tool that tolerates human error usually wins.
Myth two spray does not work
A lot of this myth comes from people lumping bear spray together with small personal defense sprays or cheap novelty products. They are not interchangeable. As noted earlier, effective bear spray uses a larger canister and a spray pattern built for short-range wildlife encounters, not human assaults.
Cold-weather claims get distorted too. BearWise's bear spray safety guidance states that bear spray remains effective above freezing and can still function in much colder conditions, which matters in shoulder season and at elevation. That does not mean every can performs the same after years in a hot car or at the bottom of a pack. Expiration dates, storage, and practice still matter.
The deeper problem is psychological. People buy a can, never drill with it, then conclude the tool failed if they fumble the draw or freeze. In the backcountry, poor deployment often gets blamed on poor equipment.
A short demonstration helps people see how carry position and draw speed affect outcomes in real time.
Myth three wind makes spray useless
Wind changes how you use spray. It does not erase its value.
In real terrain, airflow is inconsistent. Timber, brush, gullies, and uneven ground often break it up. Blowback is possible, especially in a headwind, and anyone who carries spray should expect that. The answer is technique. Aim low, put the cloud in the animal's path, and use short, controlled bursts instead of emptying the can in panic.
I have seen people fixate on avoiding any self-exposure at all, as if a little overspray is the worst possible outcome. It is not. Temporary discomfort is manageable. An animal that keeps closing distance is the bigger problem.
The myth persists because people want a perfect tool. Backcountry safety does not work that way. It works in layers, with deterrents, distance, group behavior, and calm decision-making all supporting each other.
Assembling Your First-Aid and Survival Kit
A backcountry first-aid kit should treat the problems that occur, not the problems that look impressive laid out on a table. Most hikers need a kit that handles feet, skin, minor trauma, pain, insects, and the small mistakes that grow bigger when ignored.
Start with a real base kit
A prebuilt kit saves time and gives a solid baseline. The Adventure Medical Kits Hiker line is a practical starting point for day hikes and short overnights because it covers common trail injuries without forcing a new hiker to build everything from scratch.
That said, no stock kit should stay stock forever. Terrain, season, trip length, and group size should change what gets added. A solo day hiker on a familiar route needs something different from a family with children or a pair of backpackers heading several drainages from the nearest road.
A useful first-aid and survival kit usually includes:
- Blister care: Moleskin, tape, or similar foot-care supplies matter because hot spots are easier to stop early than to walk through later.
- Wound basics: Bandages in a few sizes, gauze, and antiseptic wipes handle cuts and scrapes.
- Medication: Pain relievers and personal medications belong in every kit.
- Elastic support: A wrap helps with sprains and joint support.
- Gloves: Clean hands are hard to come by in the field.
A first-aid kit earns its keep on the small stuff long before it ever sees a major emergency.
Add the items people use most
Insect protection is part of trail medicine in a lot of country. Constant bites wear people down, distract them, and lead to scratching that can damage skin. In bug-heavy areas, Natrapel's picaridin insect repellent is a sensible addition because it's built for outdoor travel and avoids DEET.
For the bites that still happen, After Bite Outdoor is the kind of small item that gets used more than many larger pieces of kit. It doesn't replace repellent, but it can make a miserable evening a lot more manageable.
A compact survival layer belongs in the same pouch or an adjacent one. Think in terms of “stuck longer than planned,” not cinematic survival. A small repair wrap, a lighter, water treatment, and an emergency heat-reflective layer all fit that role well. The kit should also be checked before every trip.
A simple pre-trip routine catches most failures:
- Restock used supplies: Empty blister packets and half-used dressings have a way of lingering.
- Replace expired items: Medications and ointments don't age forever.
- Match the route: Add more foot care, insect protection, or cold-weather items depending on conditions.
- Pack where it's accessible: First-aid gear buried deep gets ignored until a problem grows.
Navigation Communication and Shelter
Phones are useful. They're not enough. A hard fall, dead battery, soaked pocket, or software problem can erase a hiker's only navigation tool in one step.
Navigation needs redundancy
The old standard still holds because it still works. Carry a physical map and compass and know how to use them. A phone with downloaded maps can be excellent backup, especially when it stays in airplane mode to conserve battery, but digital convenience shouldn't replace foundational tools.
For winter travelers, the consequences of navigation mistakes rise quickly. Avalanche terrain demands a more specialized layer of backcountry safety gear. An avalanche beacon sends a continuous 457 kHz signal in send mode and receives it in search mode, while probes and metal-bladed shovels complete the rescue system. Avalanche airbag packs add another layer by helping users stay closer to the surface, and one such system highlighted by Ski Mag addresses the fact that 75% of avalanche deaths are caused by asphyxiation when victims are buried. Ski Mag also notes that the Ortovox Snow Pro Vest 8L with Safeback SBX is designed to extend survival time from 15 to 90 minutes in temperatures as low as -22°F by moving oxygenated air to the victim's face and venting CO₂ through the system's tubing, as described in Ski Mag's avalanche safety gear overview.
Communication and overnight backup
Once a route leaves reliable cell coverage, a satellite messenger becomes serious safety gear, not a luxury. Devices that can send check-ins and trigger SOS let a party communicate clearly when timing, injury, or weather forces a change.
Emergency shelter should be light enough that there's no temptation to leave it behind. The S.O.L. Emergency Bivvy fits that role well for many hikers because it adds weather protection without much bulk. Light matters too. A compact lantern or inflatable light such as the LuminAID PackLite Max covers camp chores, late exits, and simple signaling without taking much room.
A good shelter and sustainment pocket usually covers these basics:
- Emergency shelter: Bivvy, tarp, or another compact layer against wind and wet ground.
- Reliable light: Headlamp first, secondary light second.
- Fire-starting tools: Kept dry and stored where they can be found fast.
- Water backup: Treatment or purification that still works if the main plan fails.
- Food reserve: Extra calories for delay, not comfort.
Your Backcountry Safety Checklist and Best Practices
Safety in wild country comes from repetition. The same checks done before every trip remove a lot of stupid risk.

Before leaving the trailhead
A final gear scan should be deliberate, not rushed. The easiest way to miss something important is to pack while thinking about departure time instead of conditions.
- Check weather and turnaround logic: Plans should include a reason to turn back, not just a destination.
- Leave a trip plan: Someone at home should know the route, vehicle location, and expected return.
- Inspect critical gear: Test lights, verify navigation tools, and confirm deterrent spray is accessible.
- Carry food and water beyond the ideal timeline: Delays happen.
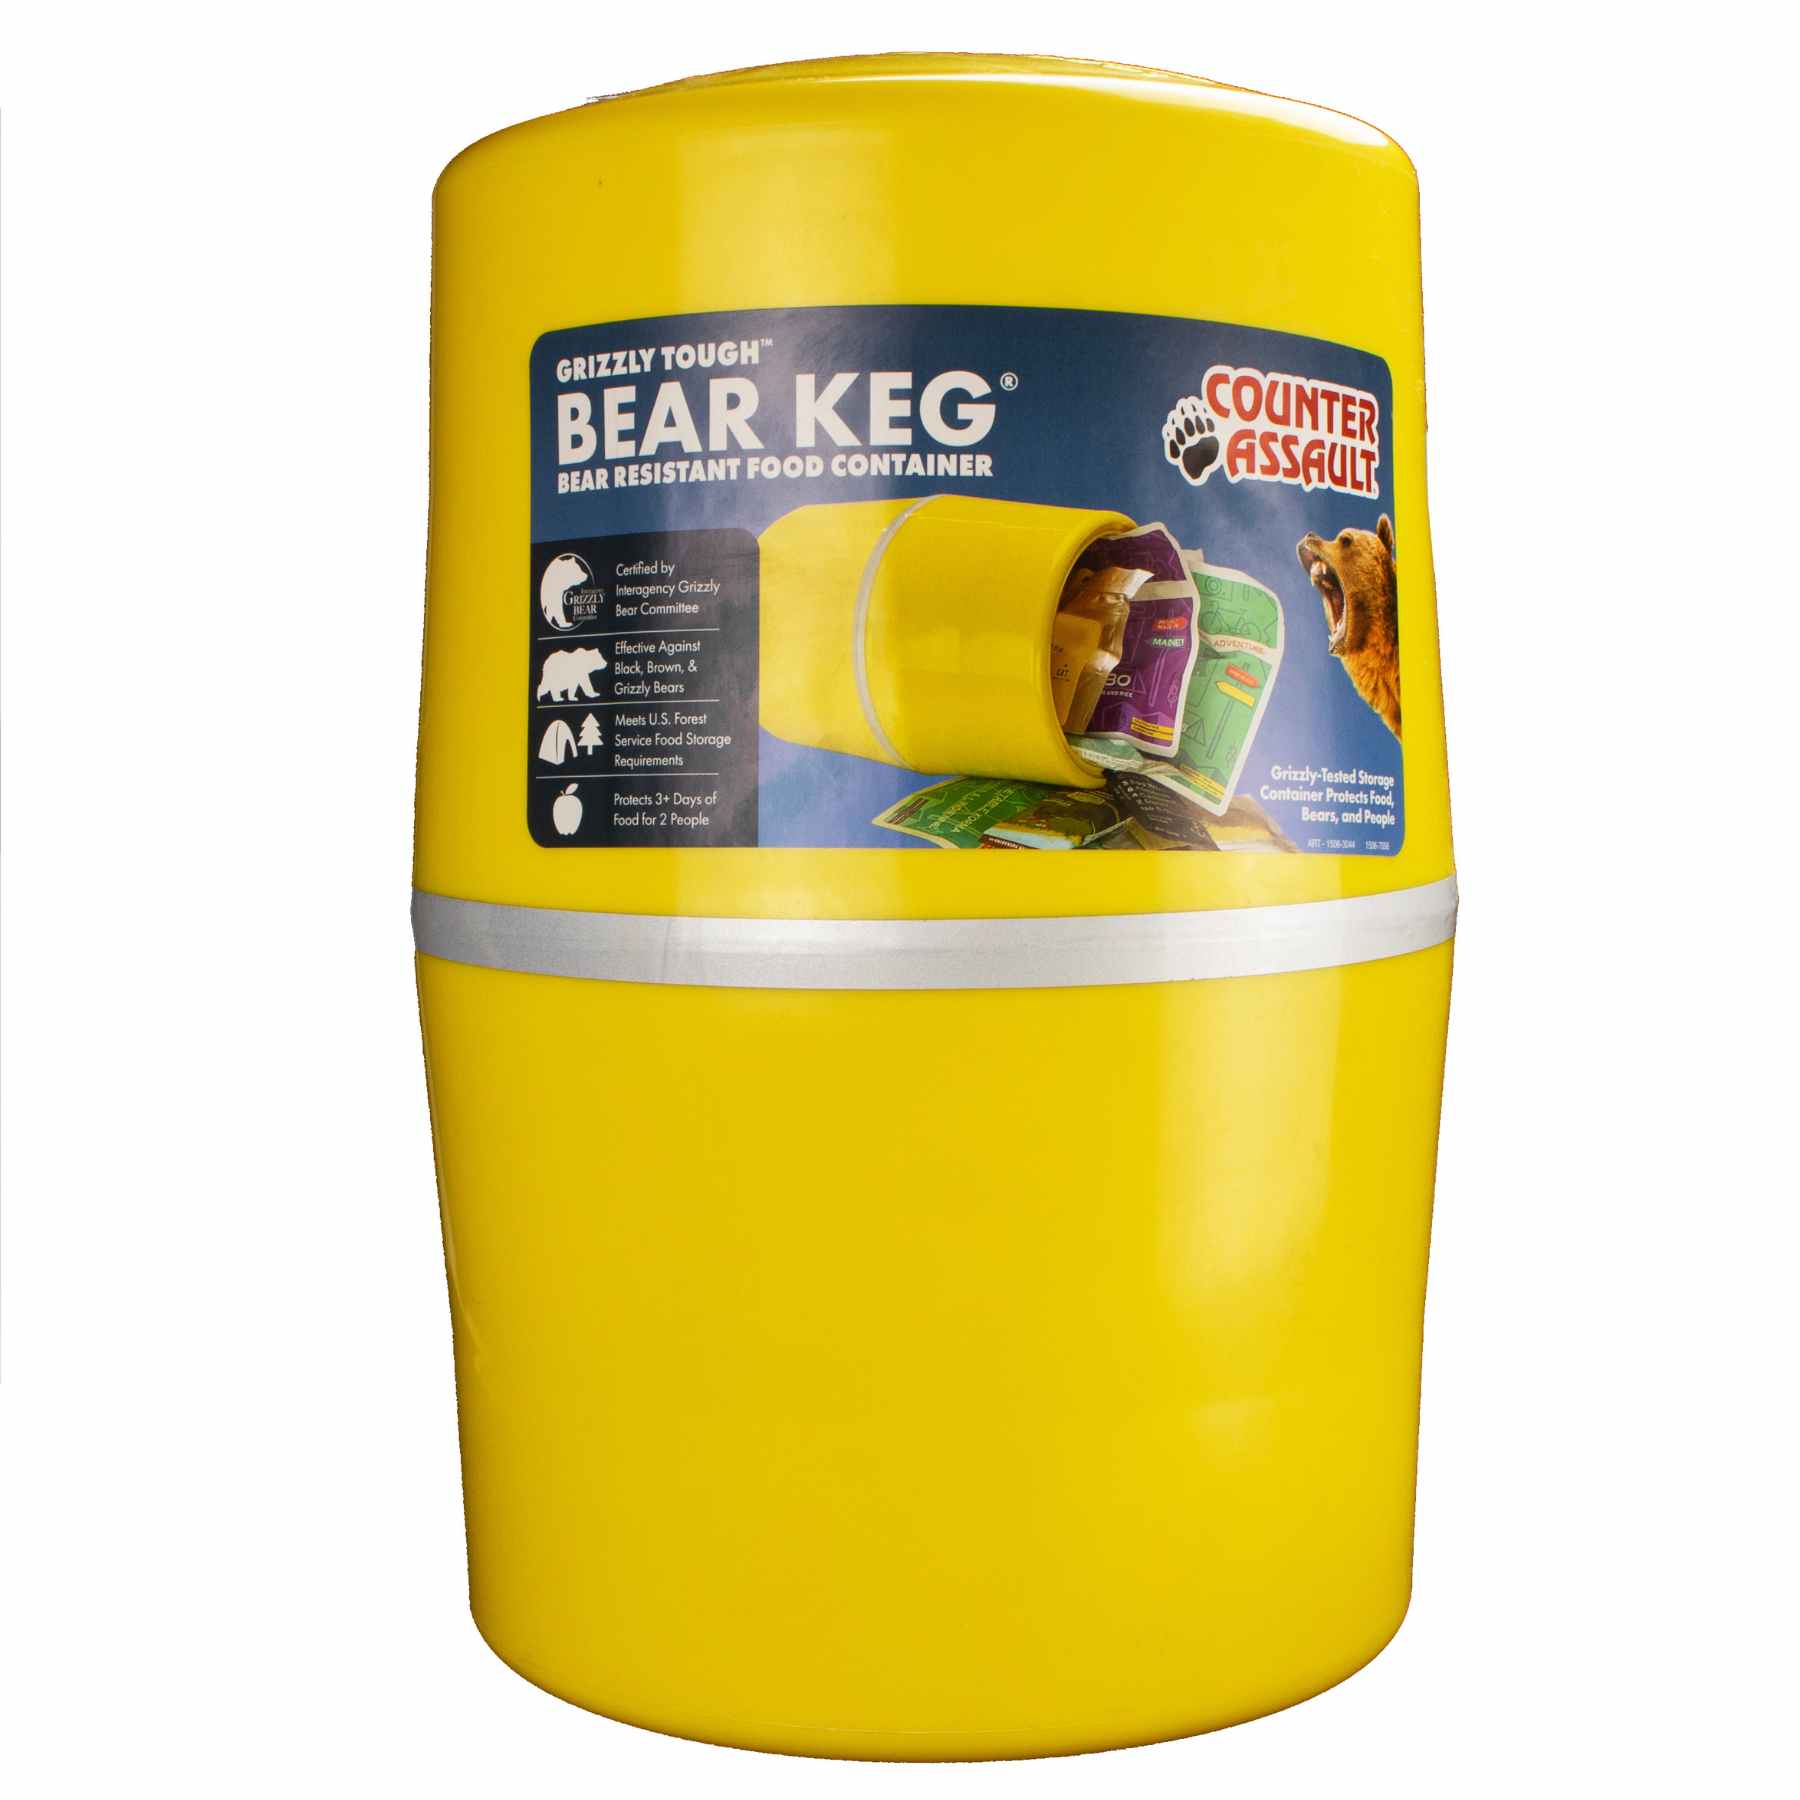
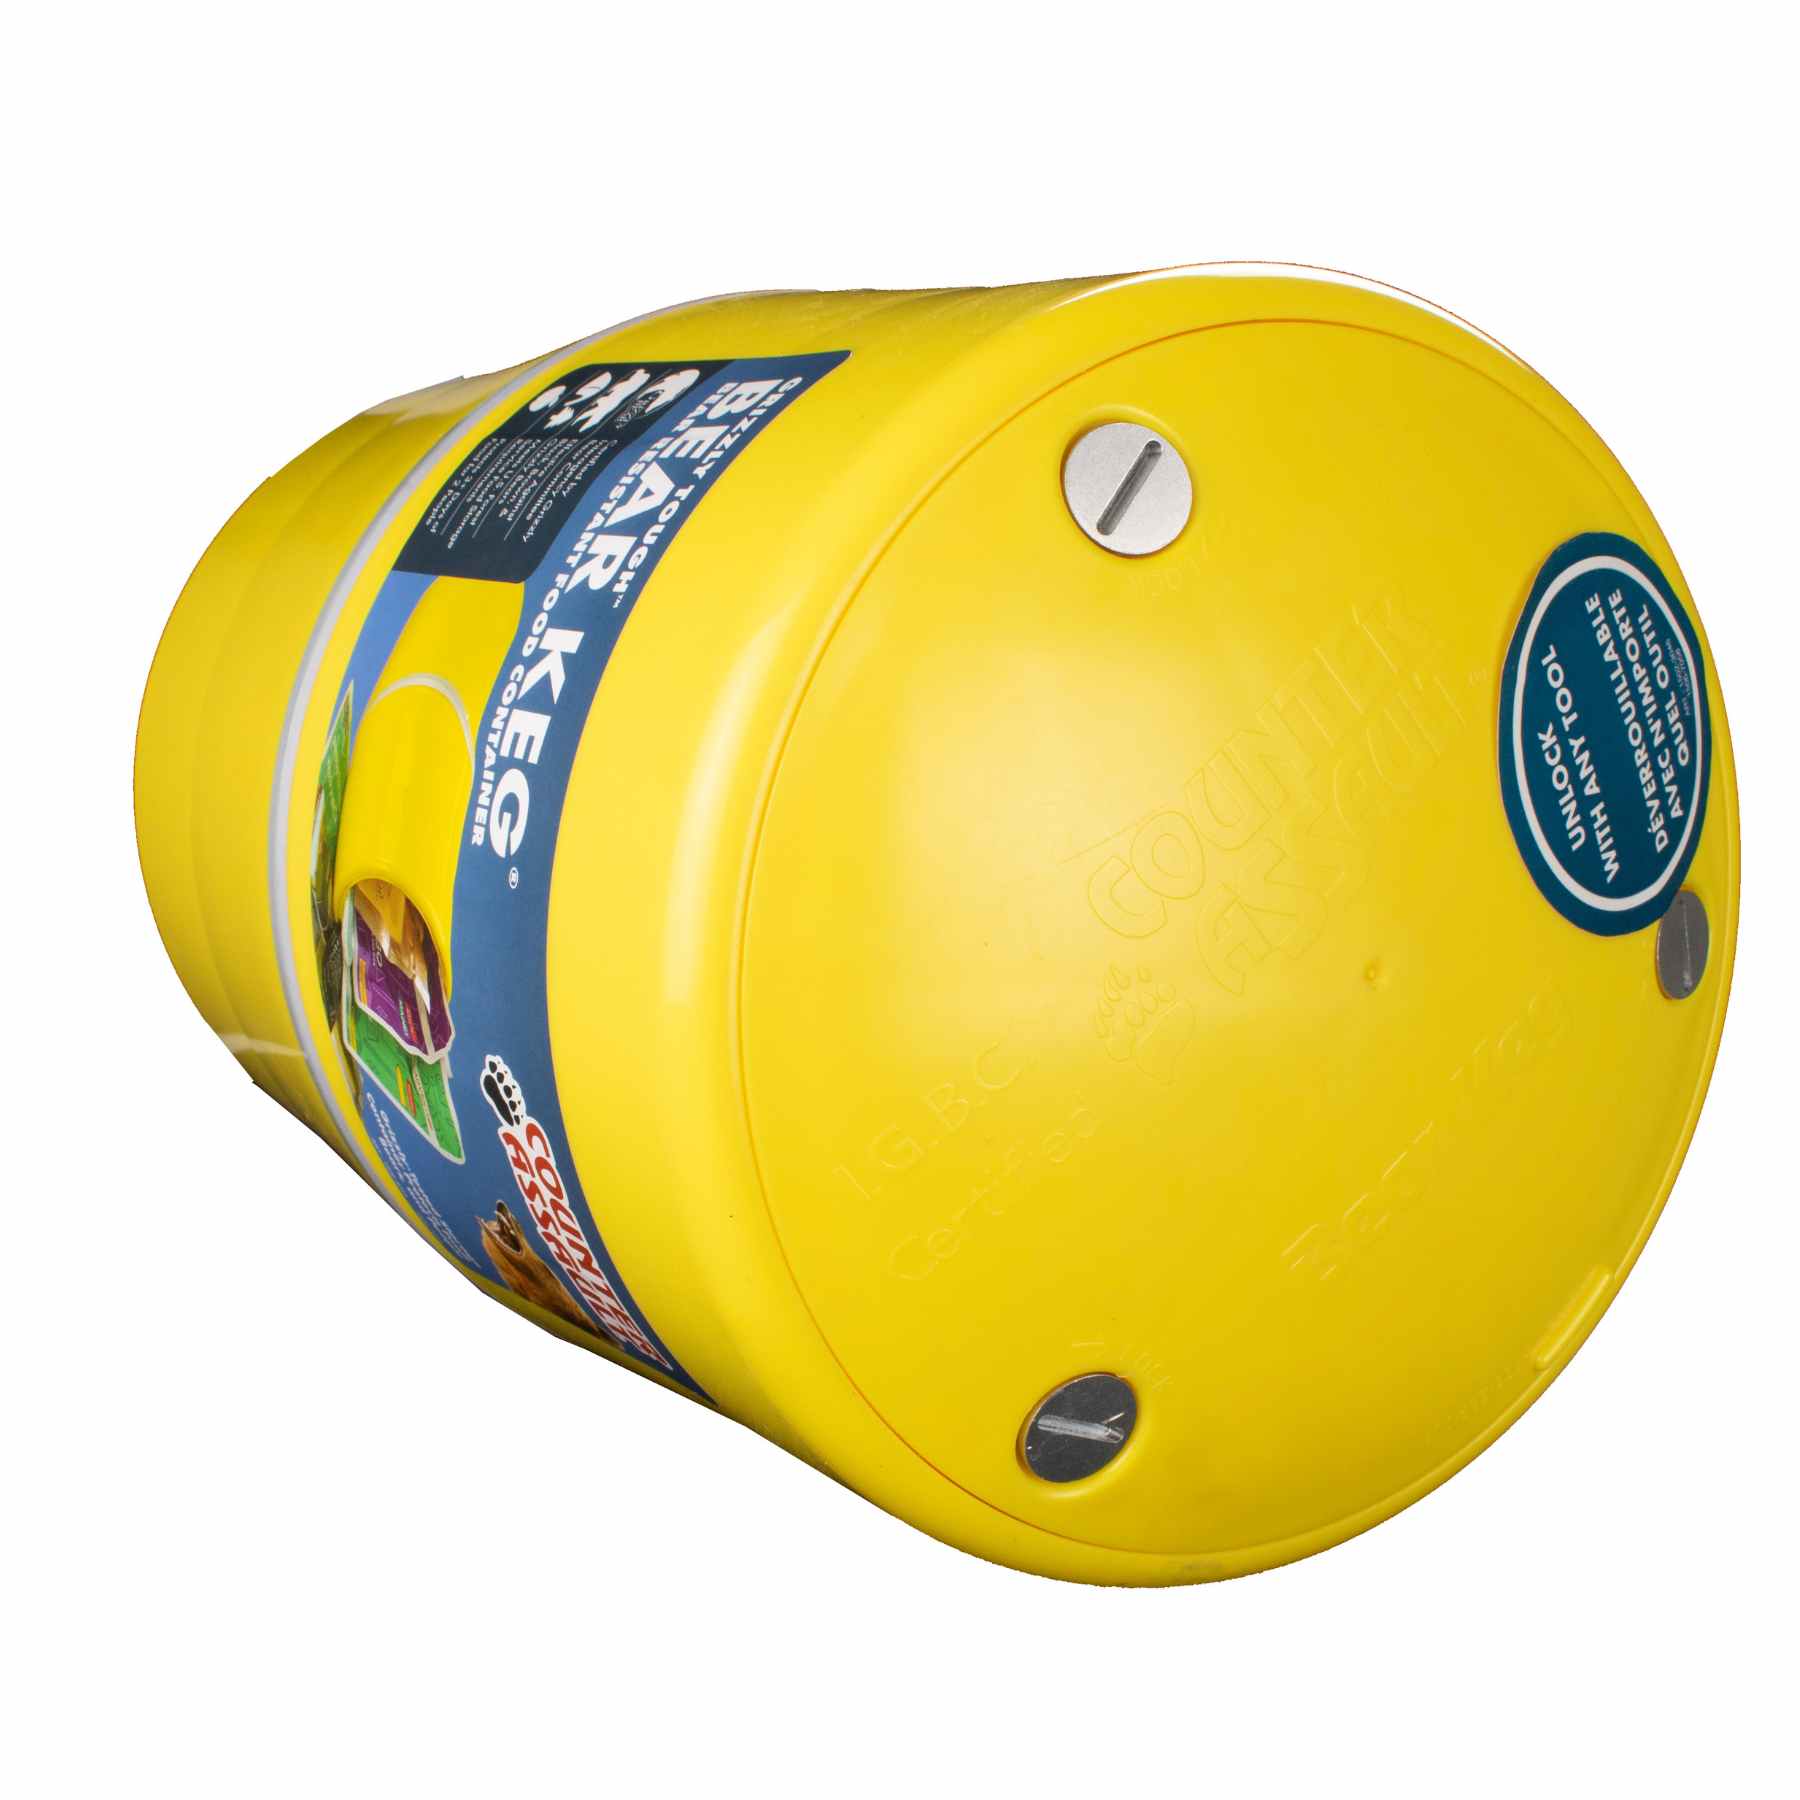
- Use clean-camp habits: Food storage and odor control matter before camp is even made. In bear country, bear-resistant food containers are worth understanding and using where appropriate.
- Practice Leave No Trace: Wildlife problems often start with human mess.
Different users different priorities
Not every traveler should pack the same way. The route may be the same, but the margin for error isn't.
A family group should make sure every capable member understands the plan and knows where the critical items are. Children don't need every tool, but they should know what the group does if it gets separated or delayed.
Solo hikers need more redundancy. If there's no partner to lend a headlamp, find the way, or go for help, backups matter more. That often means extra power, duplicate fire-starting tools, and a stronger communication plan.
Professionals, guides, and frequent backcountry travelers should hold their kits to a higher standard. Worn gear gets replaced early. Medical supplies are restocked promptly. Seasonal hazards change the loadout. In avalanche terrain, rescue tools and training stay paired. One without the other doesn't do much.
The sharpest safety tool in the pack is still judgment.
A final checklist works because it turns experience into habit. That habit keeps avoidable problems small and gives people time to solve the hard ones.
A reliable backcountry kit should do three things well. It should help prevent trouble, manage trouble fast when it starts, and buy time when the day stops going according to plan. In wildlife country, that means carrying deterrent spray accessibly and knowing how to use it before there's any need to. For hikers, campers, hunters, and anyone spending time where bears, mountain lions, or coyotes live, Counter Assault offers bear safety tools built for that specific job.