
The wrong backpack usually announces itself at the trailhead, not halfway up the climb. A hiker shrugs into a pack that looked fine online, tightens the straps, and immediately feels the shoulder pinch, the hipbelt slide, or the awkward sway that turns every step into a negotiation.
That's why how to choose a backpack starts with a system, not a colorway. Fit, capacity, suspension, and access all have to work together, and the right answer for a quick weekend loop isn't the right answer for a wet, gear-heavy shoulder season trip. If bear country is part of the plan, the way the pack carries safety gear matters too, because what you can reach fast matters more than what looks tidy in a closet.
Table of Contents
- Why the Right Backpack Changes Every Mile
- Measuring Your Torso and Dialing In Fit
- Matching Capacity to Your Trip Length
- Suspension, Frames, and Materials That Actually Matter
- Features That Earn Their Weight and Ones You Can Skip
- Testing the Pack With Real Weight Before You Buy
- Loading Smart, Staying Safe, and Caring for Your Pack
Why the Right Backpack Changes Every Mile
At the trailhead, the difference between a decent pack and a bad one is easy to miss. Five minutes later, the shoulder strap starts sawing, the load shifts when a boot catches a root, and every mile feels longer than the map promised. That's the moment a lot of hikers realize the pack wasn't chosen for the trip, it was chosen for the shelf.
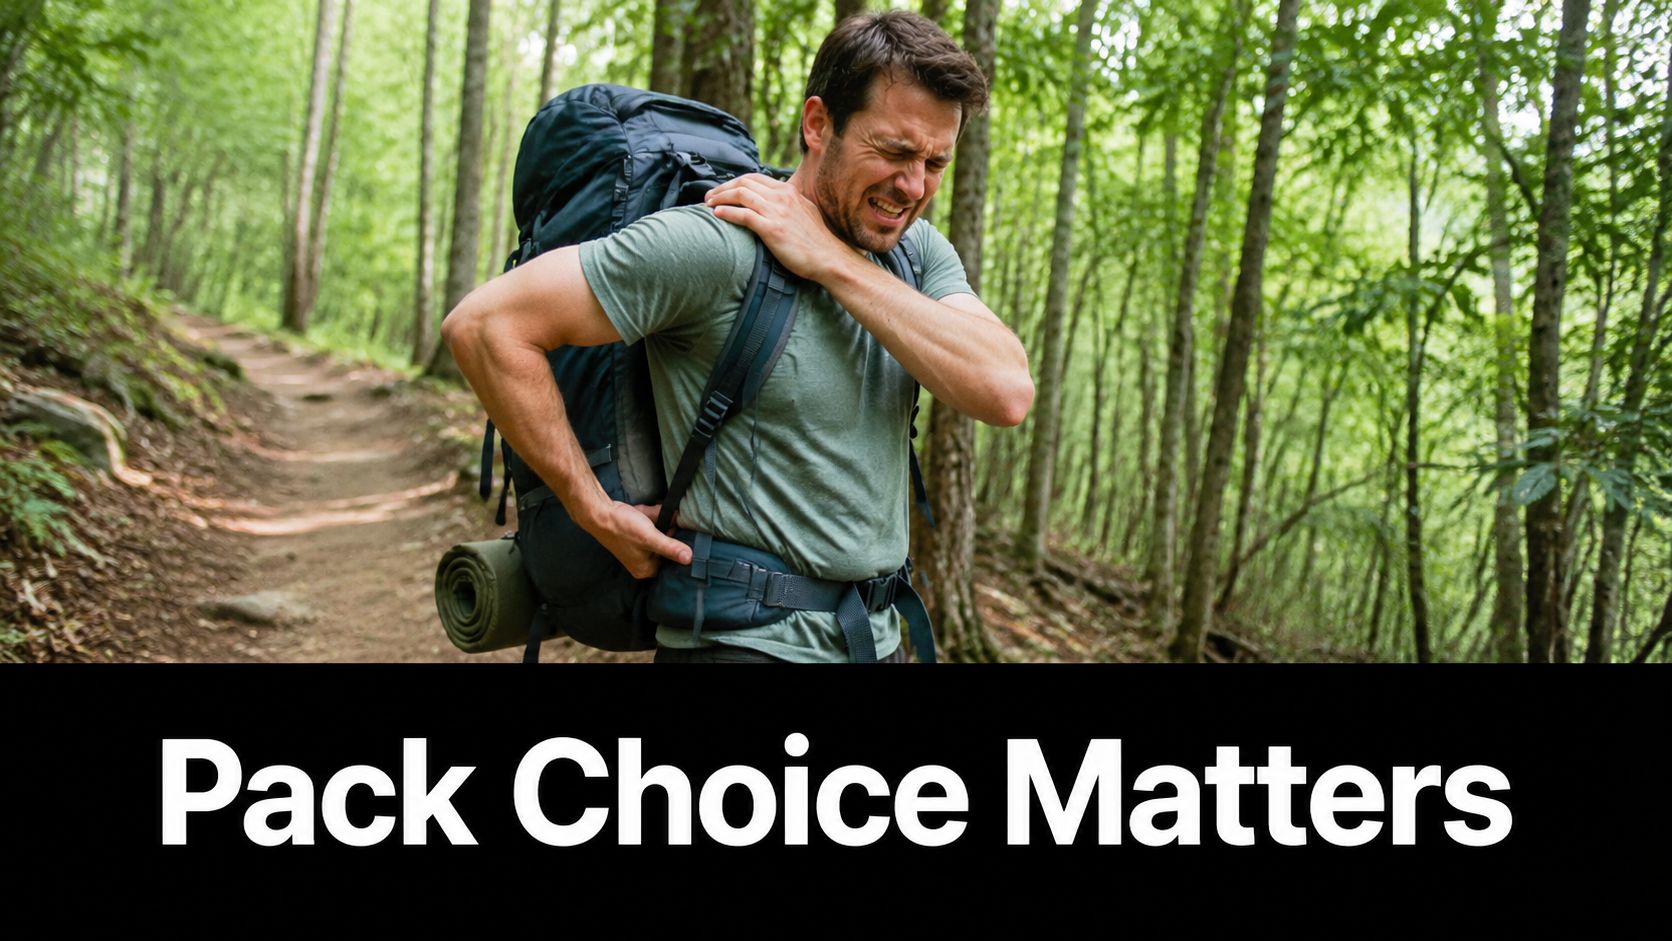
The first three questions are simple, and they decide most of the rest: Where are you going? How long will you be out? How much will you carry? A weekend stroll with a light sleep kit calls for a very different pack than a seven-day traverse with shelter, insulation, camera gear, and wet-weather layers. Capacity, fit, and features are connected, so changing one usually changes the others.
Practical rule: start with the trip, not the pack. A good pack should match the load you expect to carry, the terrain you expect to cross, and the way your body handles weight.
That same logic applies in bear country. A pack that hides safety gear under a sleeping bag is asking for trouble, because a bear encounter is not a time to dig. If travel through cities or hostels is also part of the trip, a helpful comparison is choosing a backpack for Europe trips, since it shows how carry-on needs and daily comfort change the decision.
The shift is mental. Backpack selection isn't one choice, it's a chain of small choices that either support the trip or fight it. Once that's clear, fit becomes the best place to start.
Measuring Your Torso and Dialing In Fit
A pack that matches your height can still fit badly. Torso length is the number that matters most, because a tall hiker can have a short torso and a shorter hiker can have a long one. Use a flexible tape, find the bony bump at the base of the neck, then measure down to the top of the hip bones, not the waistline.
Find the hip anchor first
The hipbelt should sit on the iliac crest, the top of the pelvis, because that is where the pack should move most of the load. Proper fit depends on getting that anchor point right, so the hips carry the weight and the shoulders stay in a supporting role. A pack that fits well should feel like it rests on the body, not on the collarbones.
Purdue Extension gives two useful store checks. The bottom of the pack should sit no more than four inches below the waistline, and the shoulder-strap anchor points should rest one to two inches below the top of the shoulders (Purdue Extension backpack fit guidance).
Load it before you judge it
Empty packs can hide bad fit. Once weight goes in, the weak points show up fast, so REI's fitting advice is to test the pack while it is loaded and the hipbelt is tightened first (REI backpack fitting guide). MEC also recommends putting real weight in the pack before buying, around 8 to 10 kg, because that is the only way to see whether the shoulder straps are stabilizing the load or carrying it.
A pack that feels fine empty can fit terribly once it is loaded. The store test is the closest thing to a real verdict.
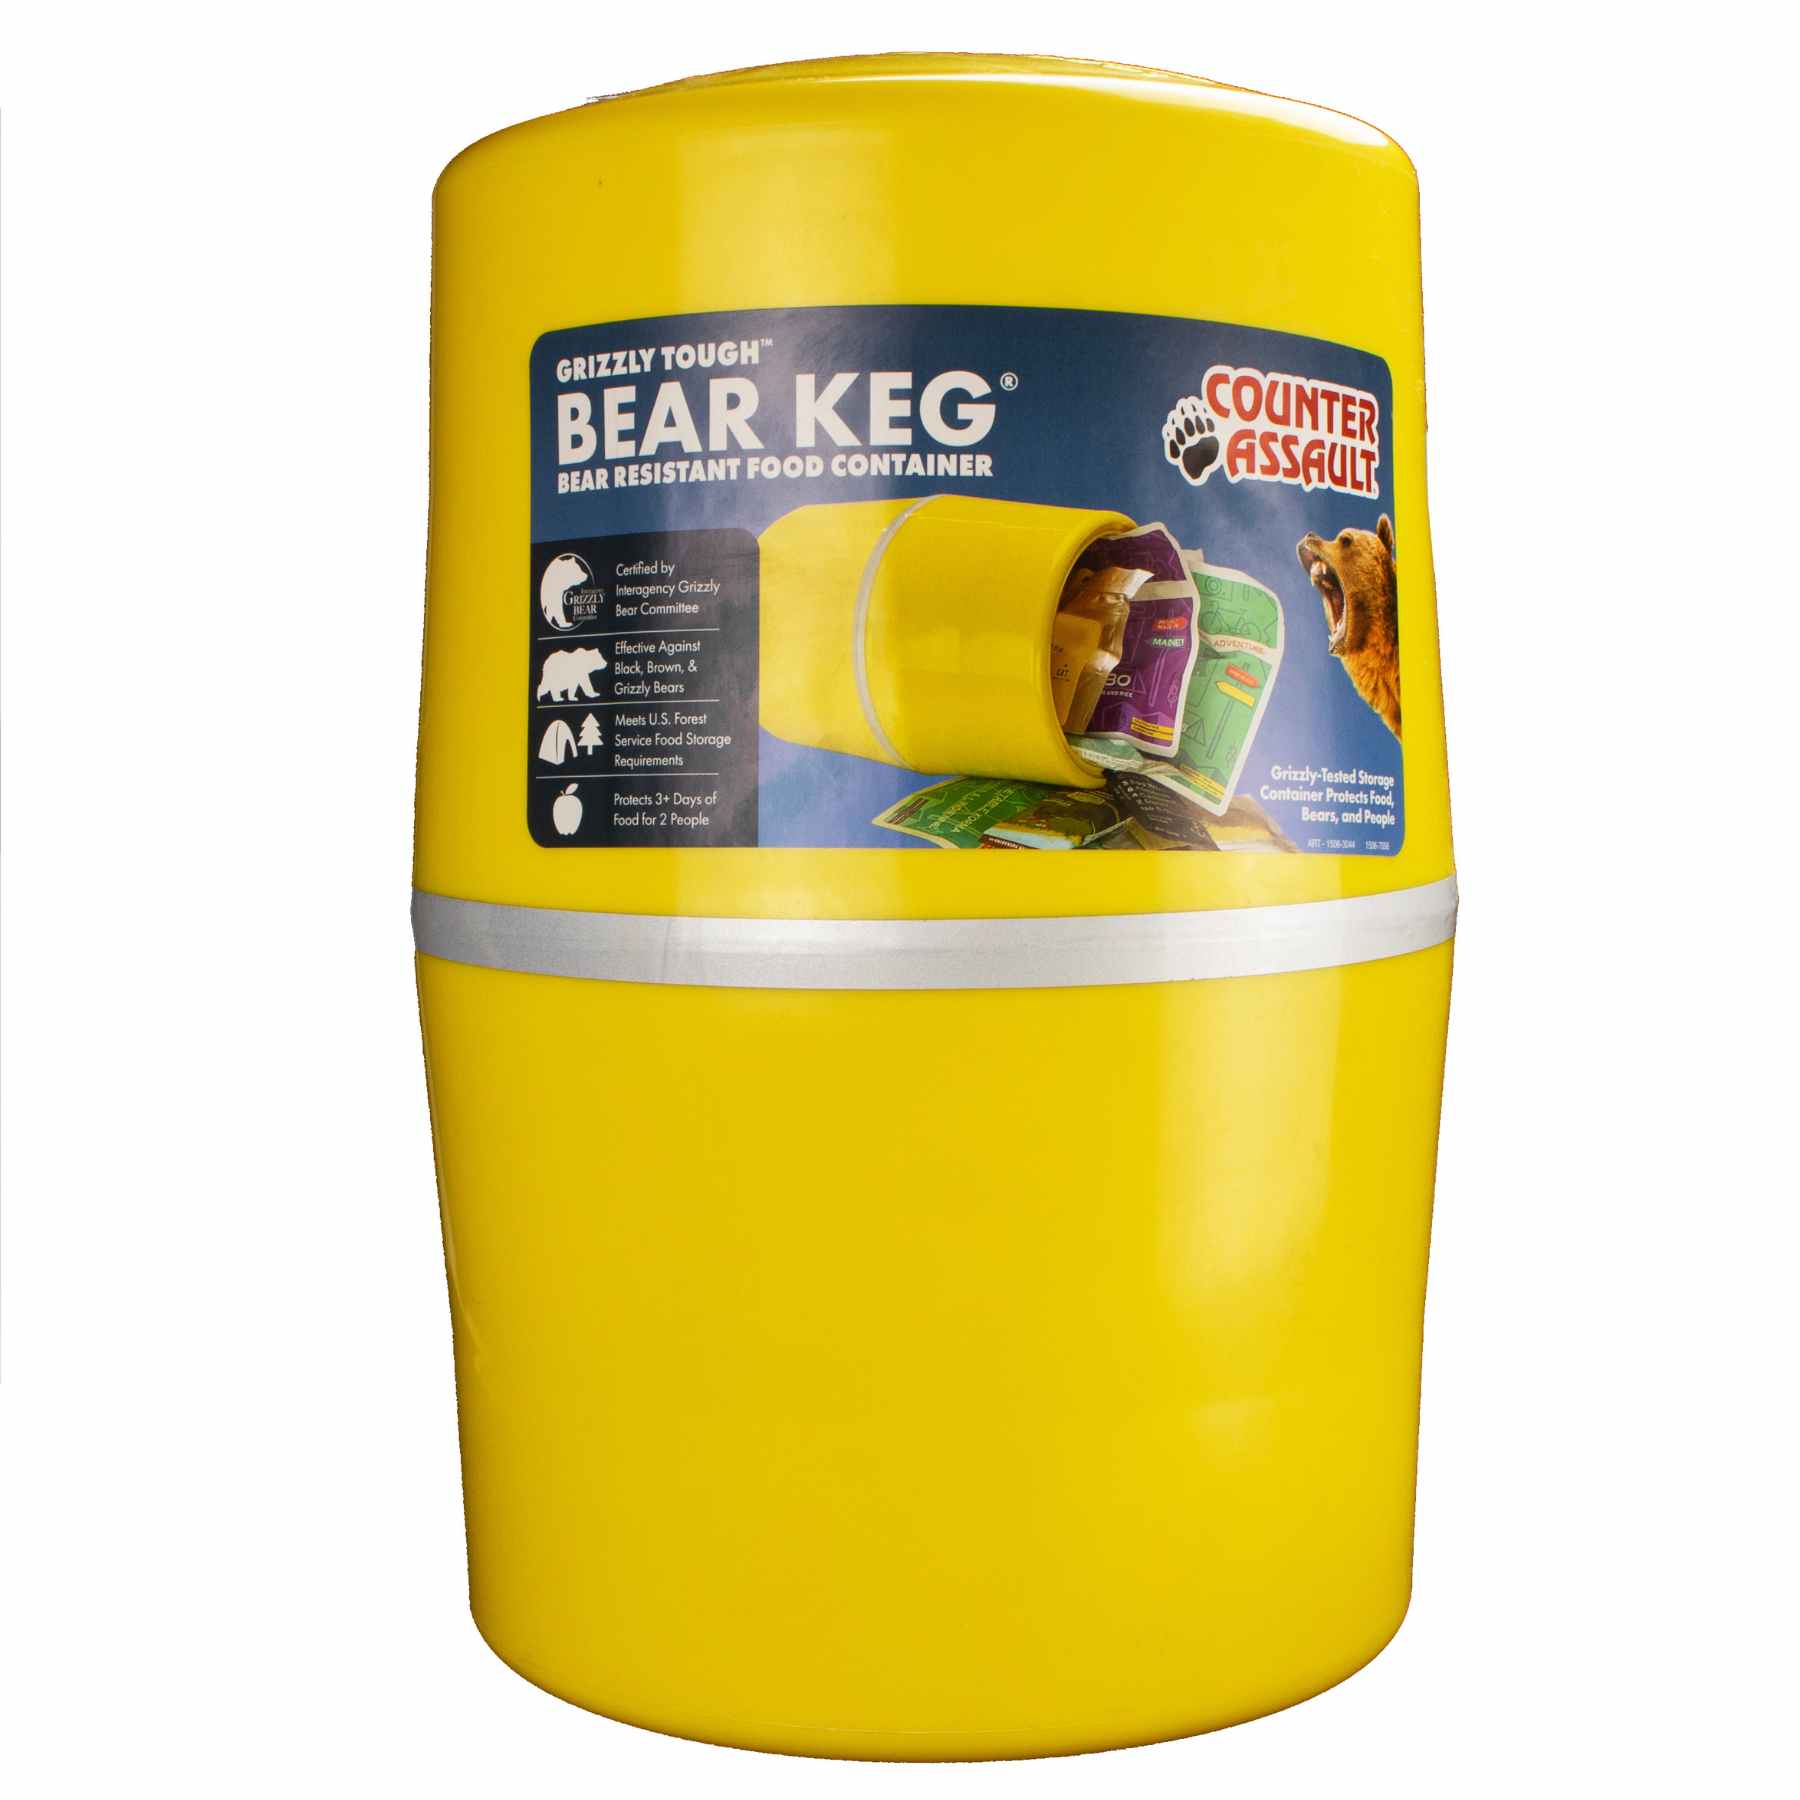
People with short torsos, broad shoulders, chronic back pain, or neck issues should treat those as fit variables, not edge cases. Some packs offer more adjustment in the harness, better load-lifter angle, or a shape that works better with a particular body. That can matter more than brand name or sticker price, especially if the pack will also carry safety gear in bear country, where food storage and access matter just as much as comfort. A practical place to start is bear-resistant food containers, because the right pack needs room for the system you will carry.
Matching Capacity to Your Trip Length
Capacity is where many buyers overthink the wrong thing. A pack shouldn't be chosen by style or by the biggest number that feels future-proof. It should be sized to the trip you take most often, because extra space tempts extra weight and too little space forces bad packing choices.
| Backpack Capacity by Trip Length | ||
|---|---|---|
| Trip Length | Capacity Range | Typical Use |
| 1 to 2 nights | 20 to 50 liters | Weekend backpacking baseline |
| Weekend | 45 to 60 liters | Food, shelter, layers, and a normal sleep kit |
| A week | 55 to 70 liters | Longer self-supported trips |
| Gear-heavy or winter trips | 70 to 90 liters | Bulky insulation, winter shelter, or photography gear |
That table lines up with several common guideposts. REI's baseline for 1 to 2 night trips is 20 to 50 liters (REI backpack sizing guide). Popular Mechanics recommends 45 to 60 liters for all-weekend trips and 65 to 80 liters for extended multiday treks, while Public Lands gives a similar spread of 40 to 55 liters for a weekend, 55 to 70 liters for a week, and 70 to 90 liters for gear-heavy expeditions and winter backpacking (Popular Mechanics pack size guidance).
A useful decision rule is simple. Estimate the trip length, then add a little room if winter layers or shared gear are involved. Stay as close to the actual load as possible, because a pack that's much larger than the trip can encourage sloppy packing and unnecessary weight.
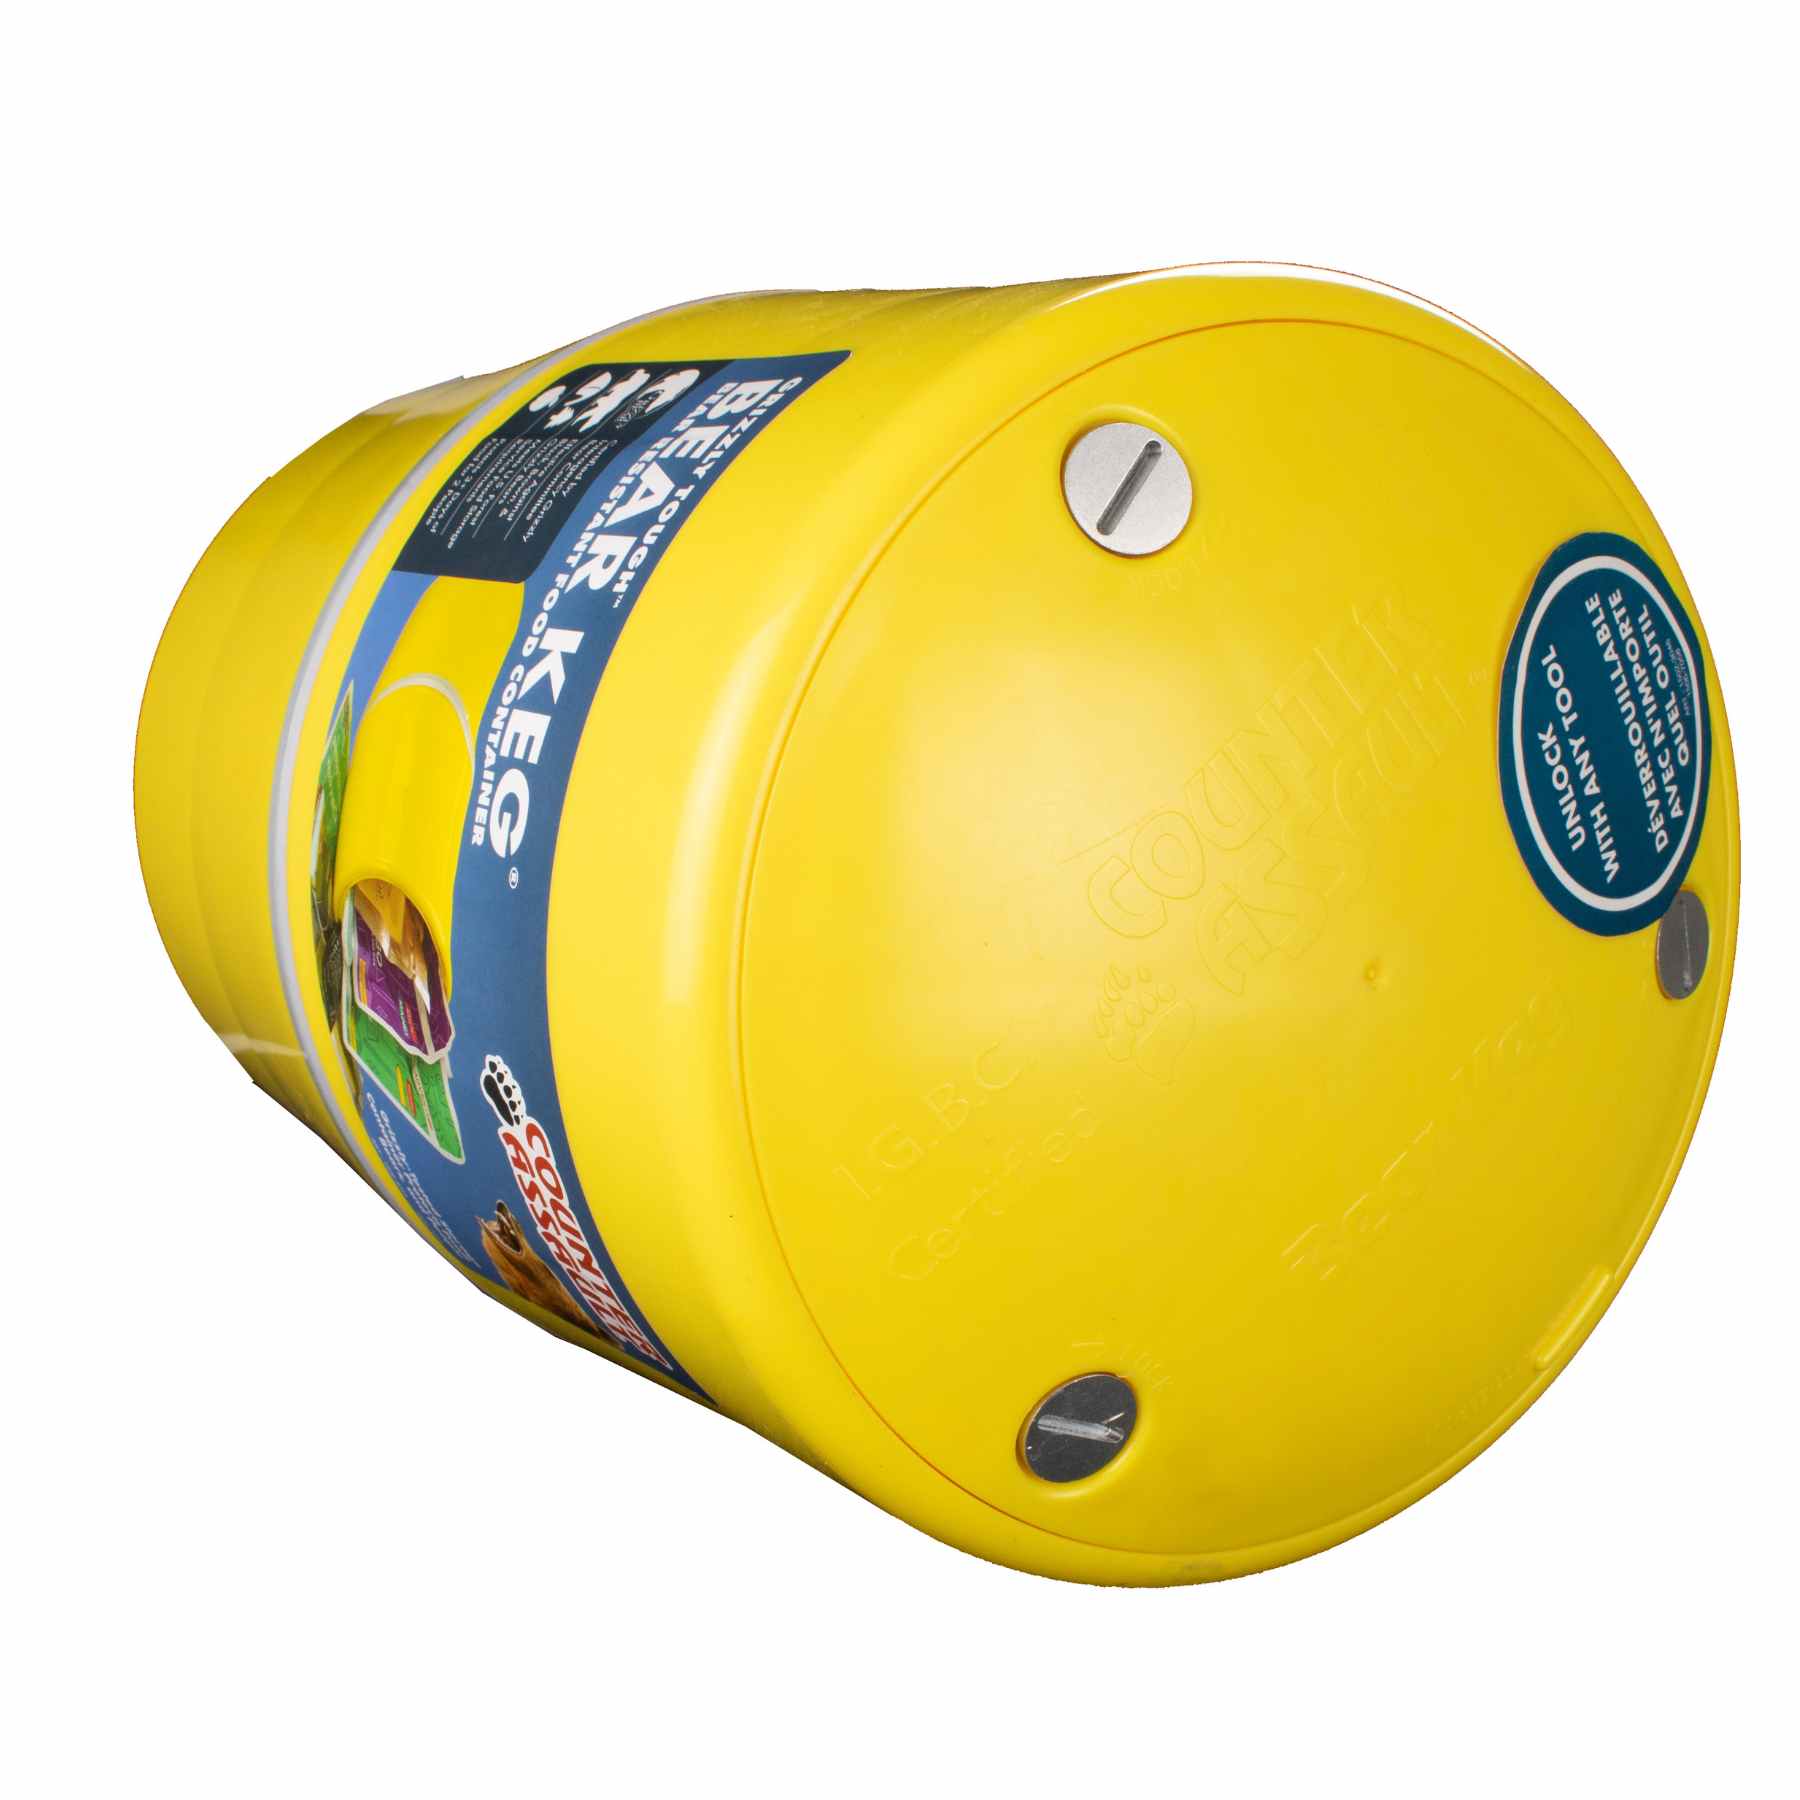
For bear country travel, food storage affects volume too. A bear-resistant canister or other food storage choice can reshape the whole loadout, which is why bear-resistant food containers belong in the same planning conversation as pack size.
Suspension, Frames, and Materials That Actually Matter
The photo on a product page doesn't tell you how a pack will carry after an hour on uneven trail. The hidden parts matter more: the suspension, the frame, the stays, and the fabric that takes the abrasion. A pack can look well built and still ride badly if those pieces don't match the intended load.
Internal frame versus external frame
Internal frame packs are the standard for most modern backpacking because they move with the body and handle uneven ground better. External frame packs are more rigid and can still make sense for specific loads, but they're less common for typical backpacking because they don't hug the body the same way. That difference shows up fast on steep sidehills, log crossings, and tight brush.
What the support system is doing
Load lifters, stay tension, and hipbelt padding aren't decorative. They decide whether the weight settles onto the hips or drags backward on the shoulders. Durability and comfort are also the big purchase drivers in consumer markets, ahead of style, which is a strong hint to care more about construction than color (backpack market and consumer review summary).
Materials and the real trade-off
Denier tells you something about fabric thickness, but not everything about toughness. Heavier fabrics usually resist abrasion better, while lighter fabrics save weight but ask for more care around rocks, rough bark, and repeated hauling. Ripstop nylon, Robic, and Dyneema-style laminates all live somewhere on that spectrum, so the right choice depends on whether the pack will be used gently or hammered on long trips.
If the trip includes winter travel, ski approaches, or mixed alpine use, a beginner backcountry skiing guide can help frame why structure and carry stability matter so much when the load gets awkward. A backpack isn't just a container, it's a load-bearing tool.
Features That Earn Their Weight and Ones You Can Skip
Features should answer a real use case, not decorate a catalog photo. A good pack earns its ounces by making the load easier to carry, faster to access, or safer to manage under stress. Everything else is just packaging.
The features that usually pay off
- A supportive hipbelt with pockets: Hipbelt pockets keep snacks, lip balm, or a compass close enough to matter without stopping the walk.
- Real hydration access: A hydration sleeve and hose port make sense if drinking on the move is part of the trip. If not, they're just extra material.
- A sensible opening system: Top-loading works well for classic backpacking. Panel access helps when the bag doubles as a travel or camera carry. The right answer depends on how often gear gets swapped out during the day.
- Compression straps: These keep a half-full pack from sloshing around and help stabilize weight on technical trail.
The features that often look better than they function
- Overbuilt external attachment points: If the trip doesn't involve hauling tools, skis, or bulky camp items, a web of loops can add clutter more than utility.
- Detachable daypacks: They sound flexible, but they often become dead weight or an awkward compromise.
- Aggressive vented mesh: It can feel nice in a showroom, but once the pack is loaded, fit and carry matter more than airy marketing.
If the trip includes a filter, camera, or bear barrel, the feature list changes. That's the point. A pack for a summer overnighter doesn't need the same setup as one built for food-heavy backcountry use or town-to-trail travel.
For hands-free carry, a sturdy holster setup can matter more than another pocket. A practical example is the Backpacker Cross Draw Holster, which shows how access beats clutter when gear needs to be reachable quickly.
Testing the Pack With Real Weight Before You Buy
A pack can feel excellent on a hanger and awful once it's loaded. That's why the test is simple: put weight in it, walk with it, and pay attention to where the discomfort starts. The goal isn't to find a perfect-feeling pack, it's to find one that stays comfortable under strain.
Load the candidate pack with typical gear, including water, food, and a layer, until it's close to the weight you'd carry. MEC's guidance of about 8 to 10 kg is a useful store test, and REI's fitting advice also pushes buyers toward a loaded check rather than an empty-room judgment (MEC fit test advice, REI loaded fitting guidance).
Then walk a real distance on a real surface. Stairs, curb edges, and a few stair-step motions reveal more than standing in front of a mirror. Watch for shoulder hot spots, sway that pulls the pack away from the body, pressure on the lower back, and whether the hipbelt stays seated when the body bends or climbs.
If the belt slides down while the pack is loaded, the fit is wrong. Tightening the shoulder straps harder usually hides the problem for ten minutes and makes it worse afterward.
Store testing works because weight changes everything. A pack that seems fine empty can fit badly once the frame flexes and the hipbelt starts carrying the load. The right pattern is easy to remember, load, walk, adjust, repeat.
Loading Smart, Staying Safe, and Caring for Your Pack
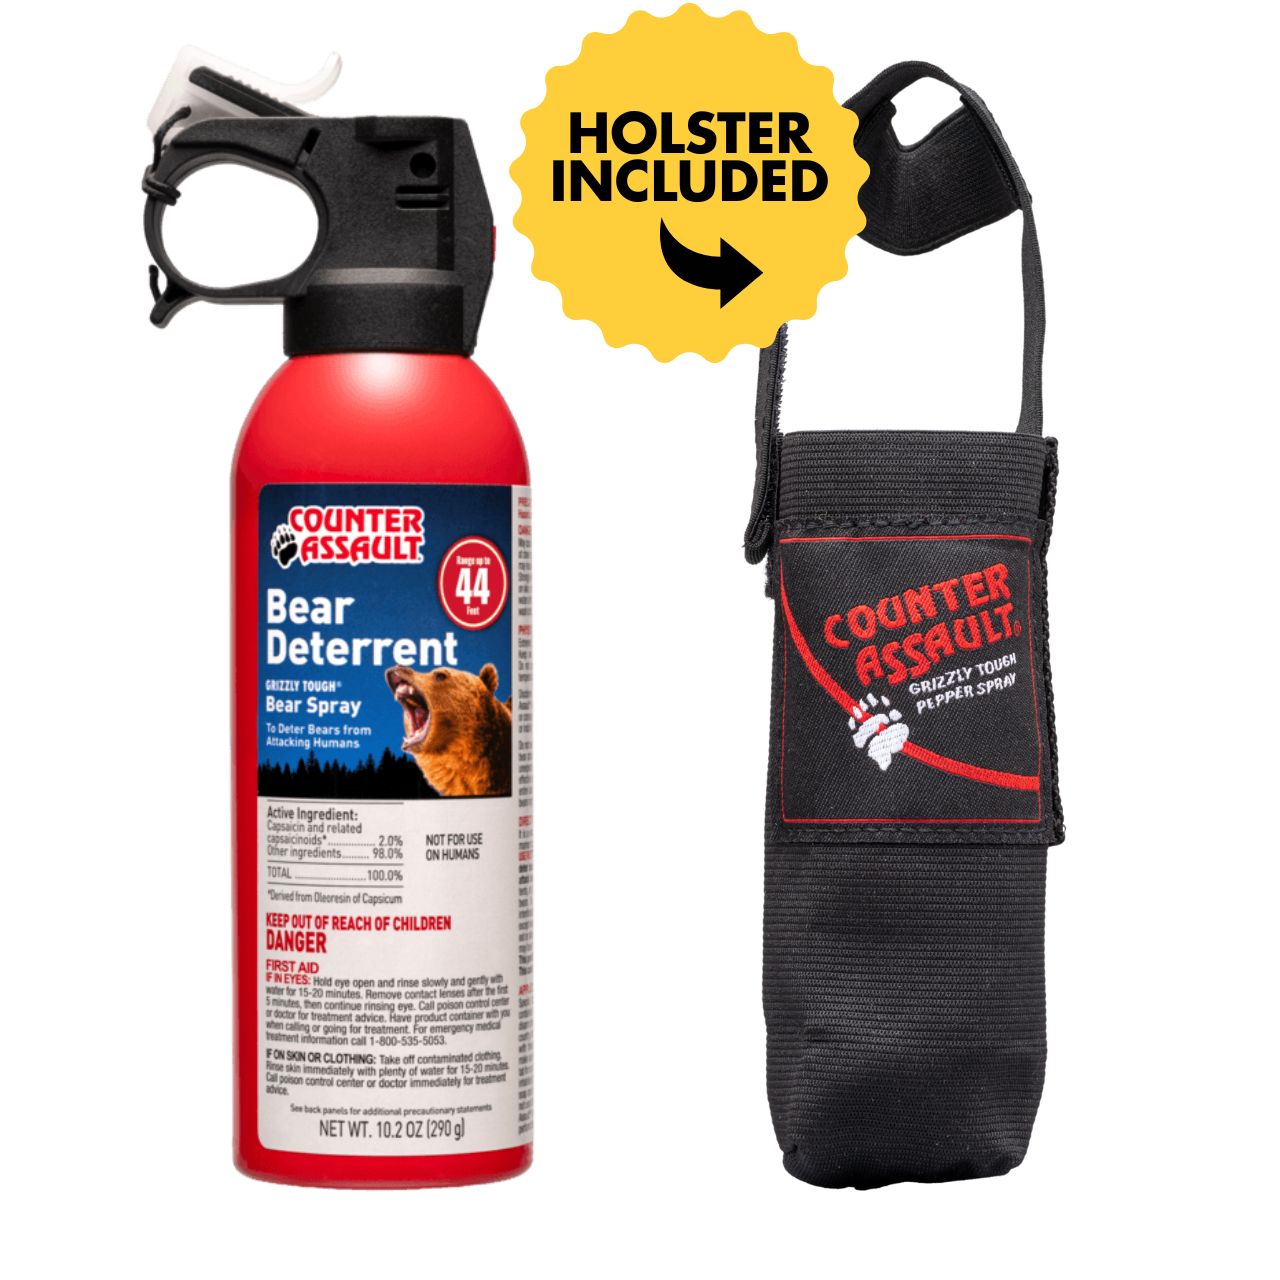
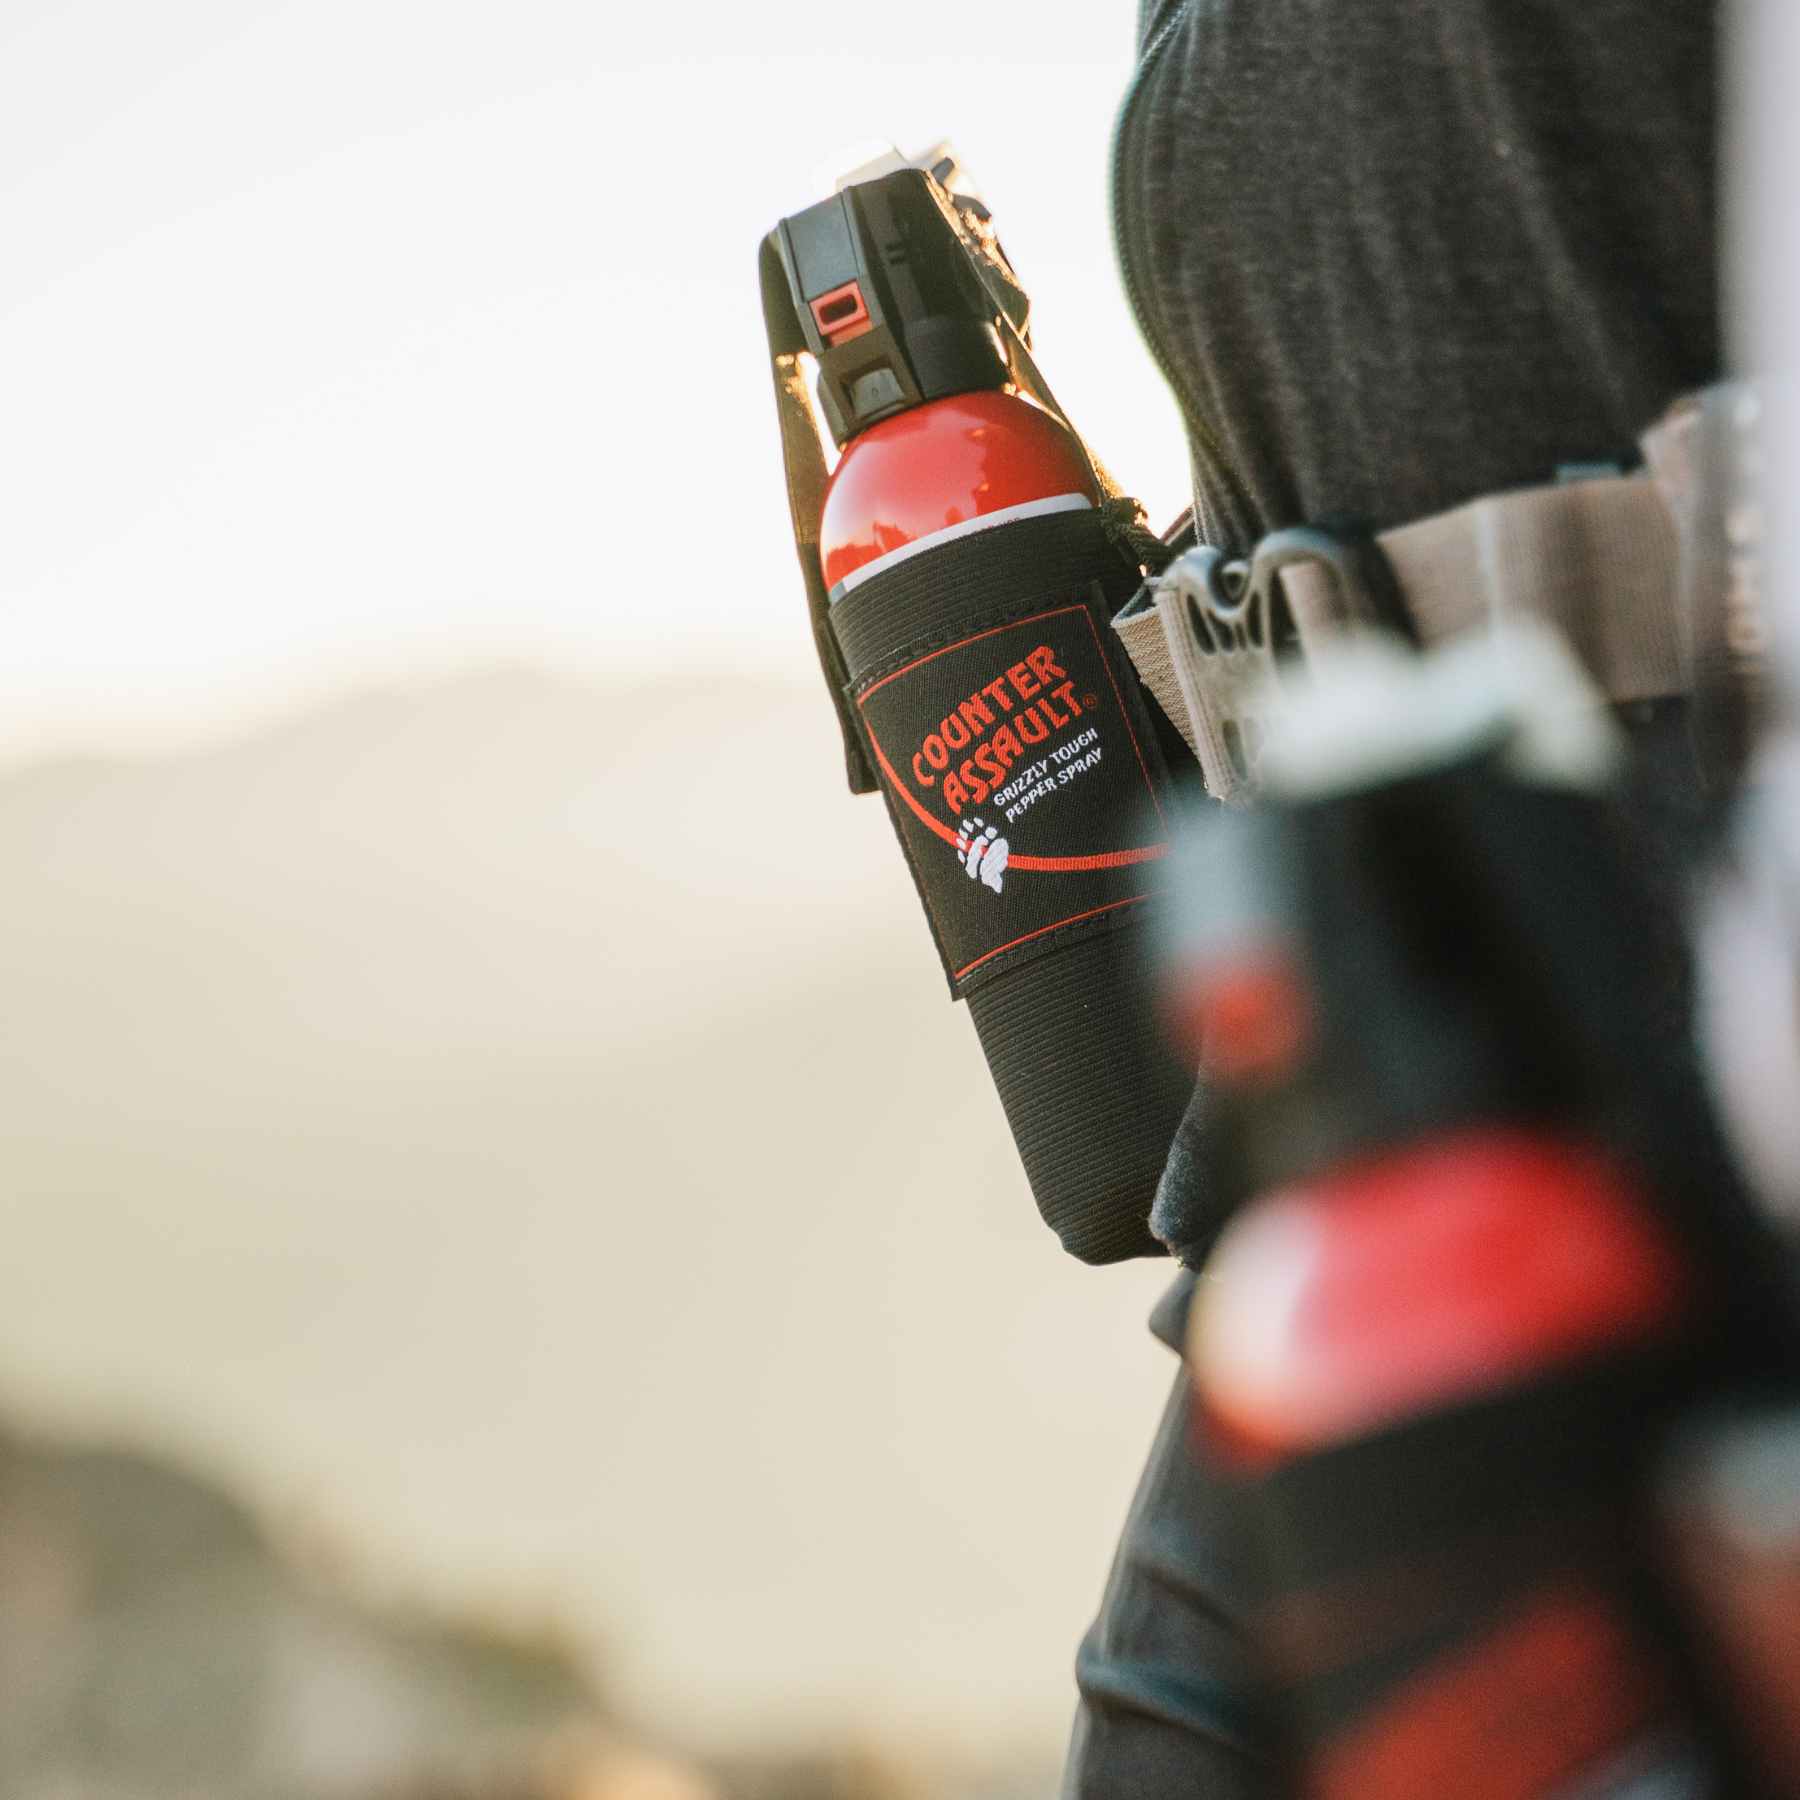
A good backpack doesn't just carry gear, it carries a safety plan. In bear country, that means the pack layout should let critical items stay accessible without digging through the main compartment. Bear spray should ride where a hand can reach it fast, usually on the hipbelt or a holster point, not buried under lunch, a rain shell, and a sleeping layer.
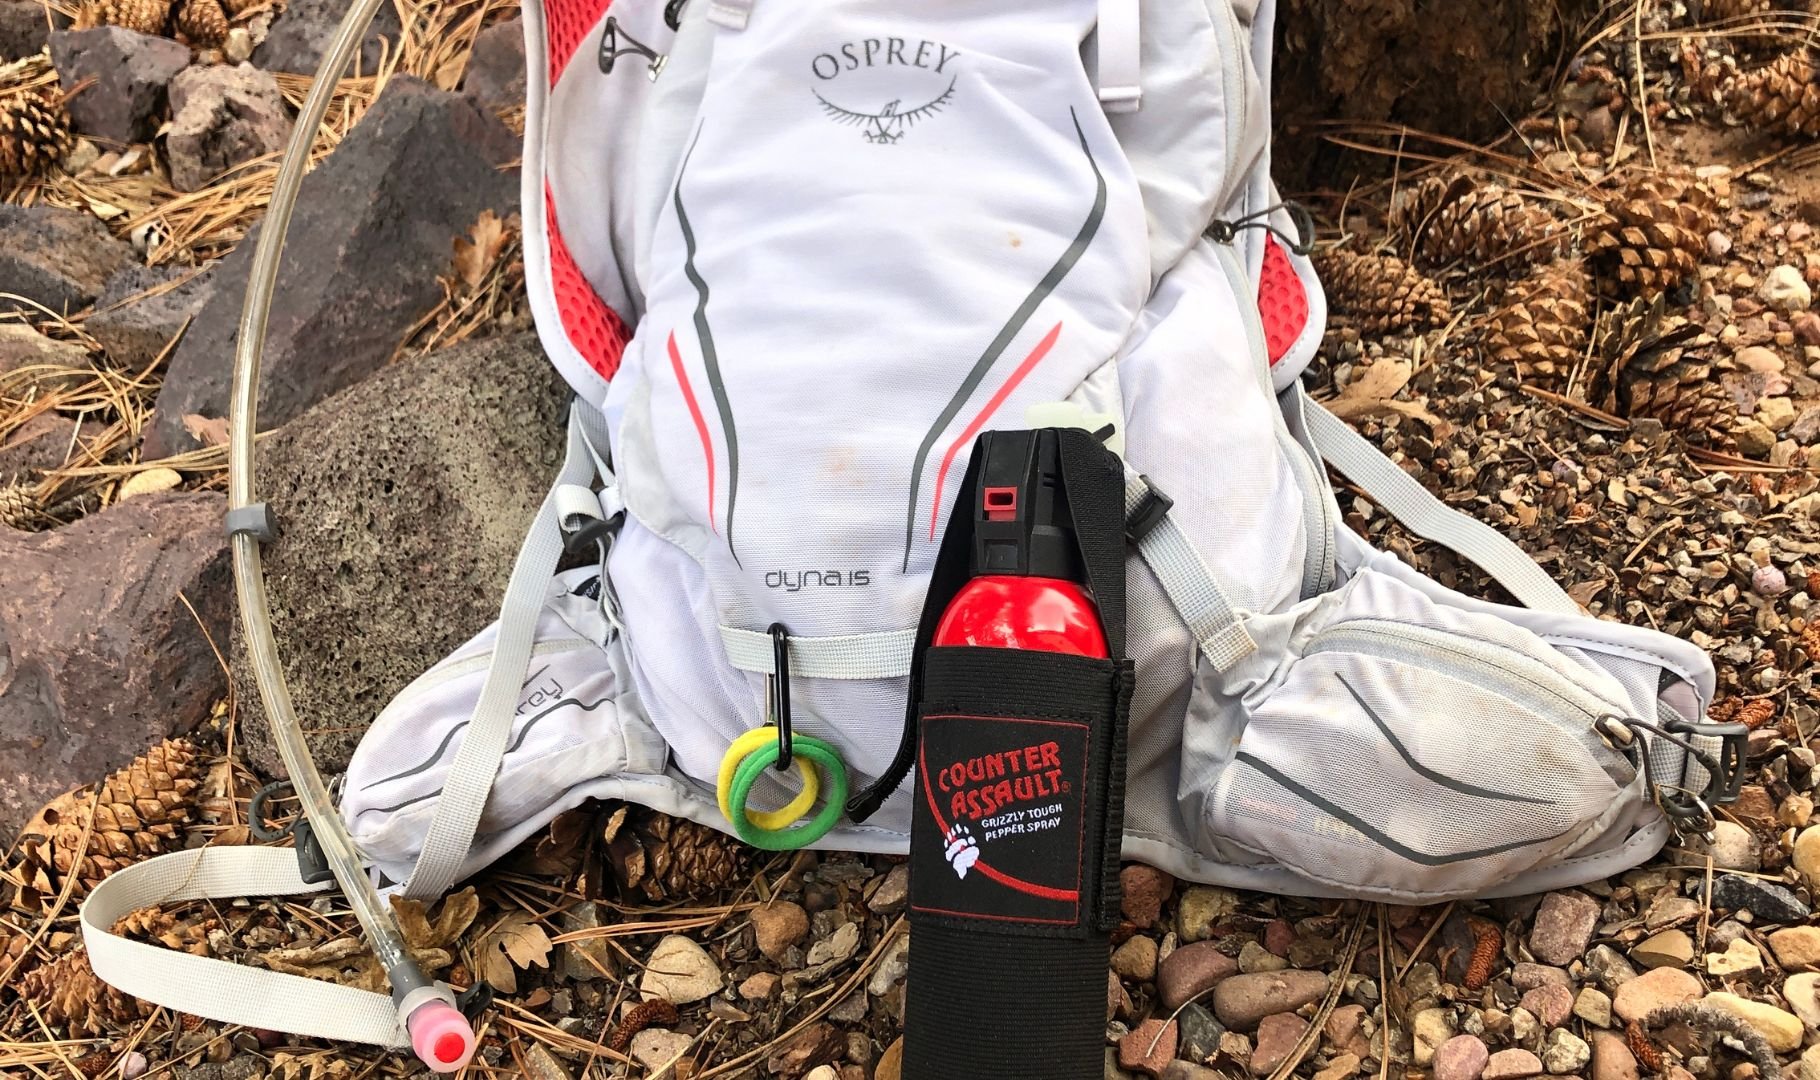
For a long-reaching option, the 10.2 oz 44-foot bear spray with included holster is a reference point because the canister, holster, and carry method are built to work together. Bear spray should only be used on bears, mountain lions, or coyotes, never on people or gear. In a 2008 Alaska study, bear spray stopped aggressive bears more than 90% of the time, and in 72 incidents involving 175 people, only three people were harmed after deployment, none seriously (bear spray incident study summary).
Pack placement matters just as much as the spray itself. Heavy items should ride close to the back, sleeping gear can sit low, and the pieces used during the day belong on top or in hipbelt pockets. That keeps the center of gravity tidy and makes it less likely that the pack will throw the body off balance on uneven trail.
A few other safety items deserve space too. A compact light from LuminAID, a first-aid kit from Adventure Medical Kits or Survive Outdoors Longer, and bite care from After Bite or Natrapel all fit the same logic, carry what solves the problem you're most likely to face.
For broader trip prep, the backcountry safety gear guide is a useful companion piece because the pack should support the whole safety system, not just the sleep system. Good organization helps in an emergency, but it also helps on ordinary days when a glove, a snack, or a map needs to be found fast.
Care matters after the trip too. Dry the pack fully, clean out dirt and spilled food, re-proof the fabric if water starts soaking in, and store it loose instead of jammed into a corner. The best backpack is the one that gets worn often because it fits, stays organized, and makes the next trip easier to start.
Counter Assault builds bear safety gear that belongs on the outside of a pack, where it can be reached fast when it matters. If you're heading into bear country or just want a cleaner, more dependable safety setup for the trail, visit Counter Assault and look at the gear built for real backcountry use.