
In 2023, approximately 3.7 million people in the United States were treated in emergency departments for injuries involving sports and recreational equipment, a reminder that outdoor risk usually looks ordinary until something goes wrong on the trail, at camp, or around wildlife (National Safety Council injury data). Difficulties typically don't stem from overlooking a single dramatic survival tool. Instead, they arise when individuals have skipped basic outdoor safety equipment, carried it where they couldn't reach it, or never practiced using it.
Good gear changes the odds. Better judgment changes them even more. The safest hikers, campers, anglers, hunters, and RV travelers build systems, not random packing lists. They know what to carry, when to use it, and what not to trust.
Table of Contents
- Why Outdoor Safety Equipment Is Your Most Crucial Gear
- The Four Pillars of Outdoor Safety
- Wildlife Deterrents A Deep Dive on Bear Spray
- Building Your Kit Adventure-Specific Checklists
- How to Use and Maintain Your Safety Equipment
- Debunking Common Myths About Bear Safety
- Navigating Rules for Transport and Storage
Why Outdoor Safety Equipment Is Your Most Crucial Gear
Outdoor safety equipment earns its place when the trip stops going to plan. A twisted knee two miles from the trailhead, a wrong turn near dark, cold rain on an exposed ridge, or a bear that keeps closing distance will expose weak planning fast. The right gear buys time and gives you workable choices.
What matters is not how much you carry. It is whether you can solve the problem in front of you with the gear you can reach right away. I have seen hikers carry plenty of equipment and still end up in trouble because the headlamp had dead batteries, the first aid kit was buried under lunch, or the bear spray was strapped to the pack instead of the belt.
A lot of avoidable incidents start the same way:
- Useful gear is packed where it cannot be reached: Minutes matter when someone is bleeding, chilled, or off route.
- The kit matches comfort, not hazard: Camp extras do not replace rain protection, navigation tools, or a wildlife deterrent.
- The user has never practiced with the gear: Under stress, unfamiliar equipment gets fumbled or ignored.
- The trip is treated as too short to prepare for trouble: Day hikes often have the thinnest margins because people leave backup items behind.
Pack for the bad half hour, not the good six hours.
That is the decision standard that keeps this subject practical. Choose gear based on failure points. If the route is easy but remote, communication and first aid move up the list. If weather can turn fast, insulation and rain protection matter more than extra food. If you are in bear country, carry a deterrent you can deploy in seconds and know exactly when to use it. A solid backcountry safety gear checklist helps turn that judgment into a repeatable system instead of a last-minute guess.
Good equipment does not make people invincible. It gives them a better chance to handle the four situations that turn minor mistakes into emergencies: getting lost, getting hurt, getting cold, and having a wildlife encounter.
The Four Pillars of Outdoor Safety
Search and rescue teams see the same pattern over and over. Trouble rarely starts with a dramatic event. It starts with one missing layer, one dead phone, one first aid kit that cannot handle the injury, or one wildlife deterrent buried in a pack.
That is why safety equipment should be judged as a working system. Four pillars cover the failures that turn a manageable problem into an emergency. Build all four for the route, the weather, the remoteness, and the wildlife risk.

Navigation and communication
Getting turned around is often the first mistake. Exposure, dehydration, and poor decisions follow.
Carry a paper map, compass, and a fully charged phone. On remote routes, add a satellite messenger or personal locator beacon, and leave a clear trip plan with someone who will act if you miss check-in. That setup matters more than an extra comfort item in the pack.
The trade-off is weight versus margin. On a short front-country trail, a phone and map may be enough. On a long off-trail day or a route with weak cell coverage, dedicated emergency communication belongs in the kit.
First aid and personal care
A first aid kit should solve the injuries you are likely to face, not just look complete. Blisters, cuts, sprains, minor burns, headaches, allergic reactions, and dehydration problems account for a lot of field issues.
For a day hike, a small kit with bandages, blister treatment, gauze, tape, a wrap, gloves, and personal medications covers the basics. For overnight or backcountry travel, add irrigation for wound cleaning, more dressings, more blister supplies, and enough materials to stabilize a sprain and keep someone functional until they can walk out or wait for help.
Personal care belongs in this pillar because neglect causes real problems. Sunscreen, insect protection, electrolyte support, and toilet supplies prevent small issues from becoming bigger ones later in the day.
Shelter and environmental protection
Bad weather strips away options fast. Wet clothes, wind, and darkness create harder decisions than distance ever does.
Pack this pillar for the worst conditions you could realistically sit through, not the forecast you hope holds. That usually means insulation, rain protection, extra food, water treatment or backup water capacity, a reliable light source, and an emergency shelter layer. On shoulder-season trips, gloves and a warm hat often matter as much as a jacket.
This category forces honest choices. Camp convenience items can be cut. Dry insulation, rain gear, and dependable light should stay.
A hiker with sore feet can keep moving. A hiker who is wet, cold, and losing daylight starts making mistakes.
Wildlife deterrents
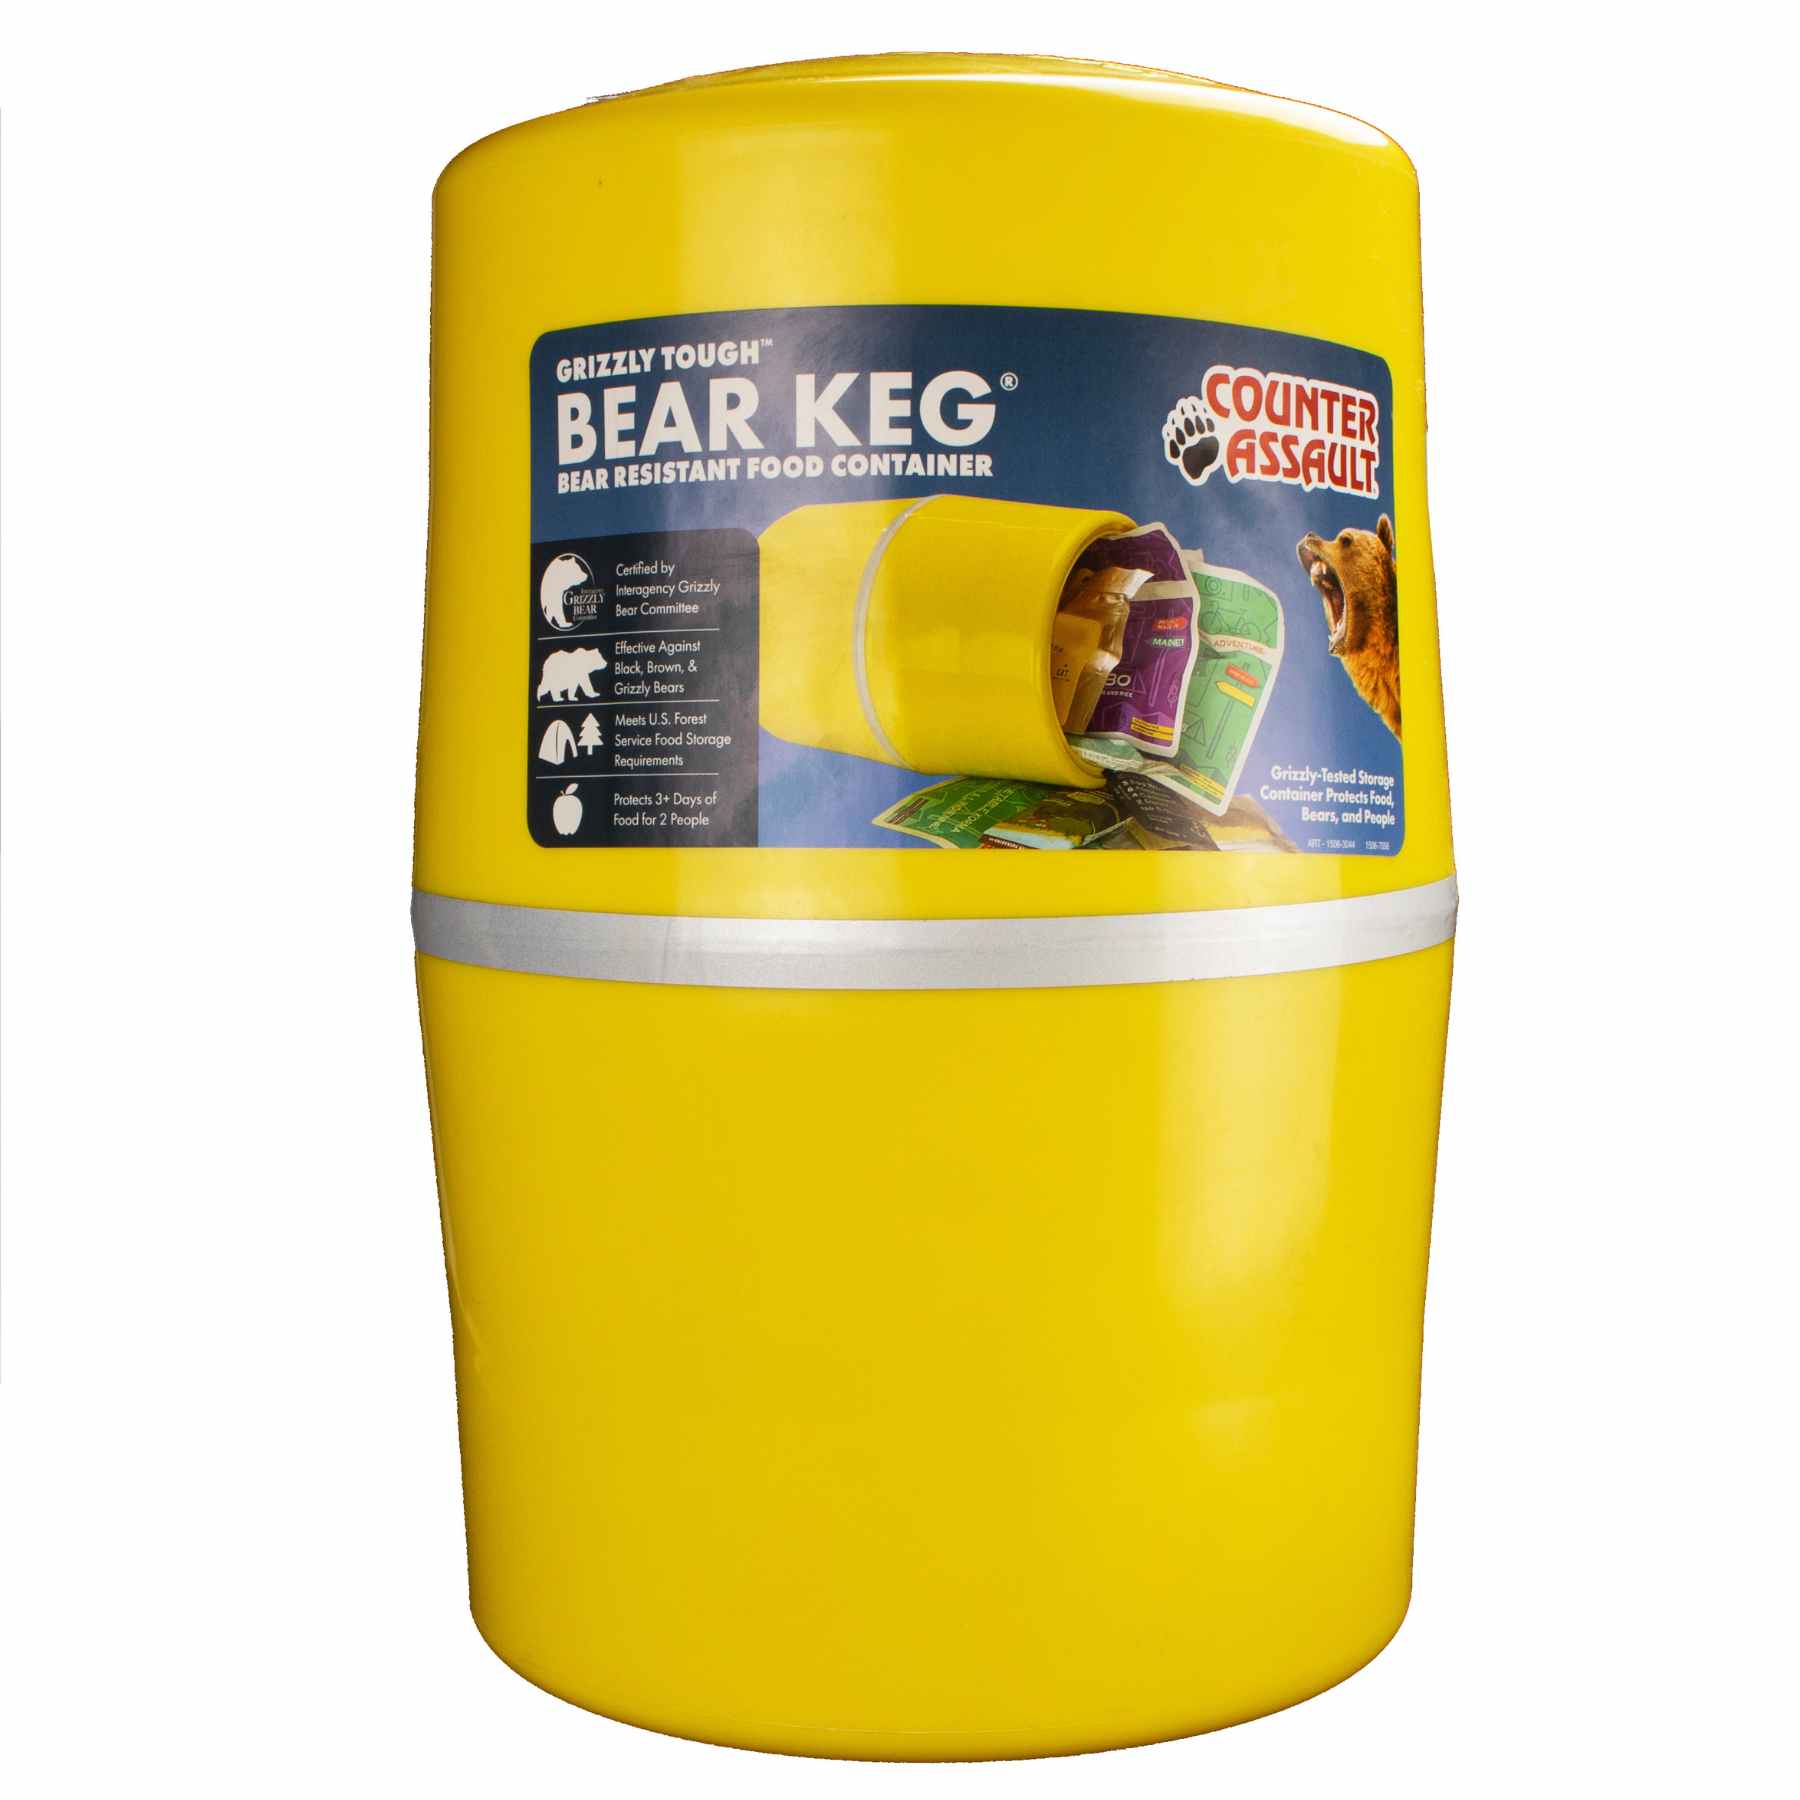
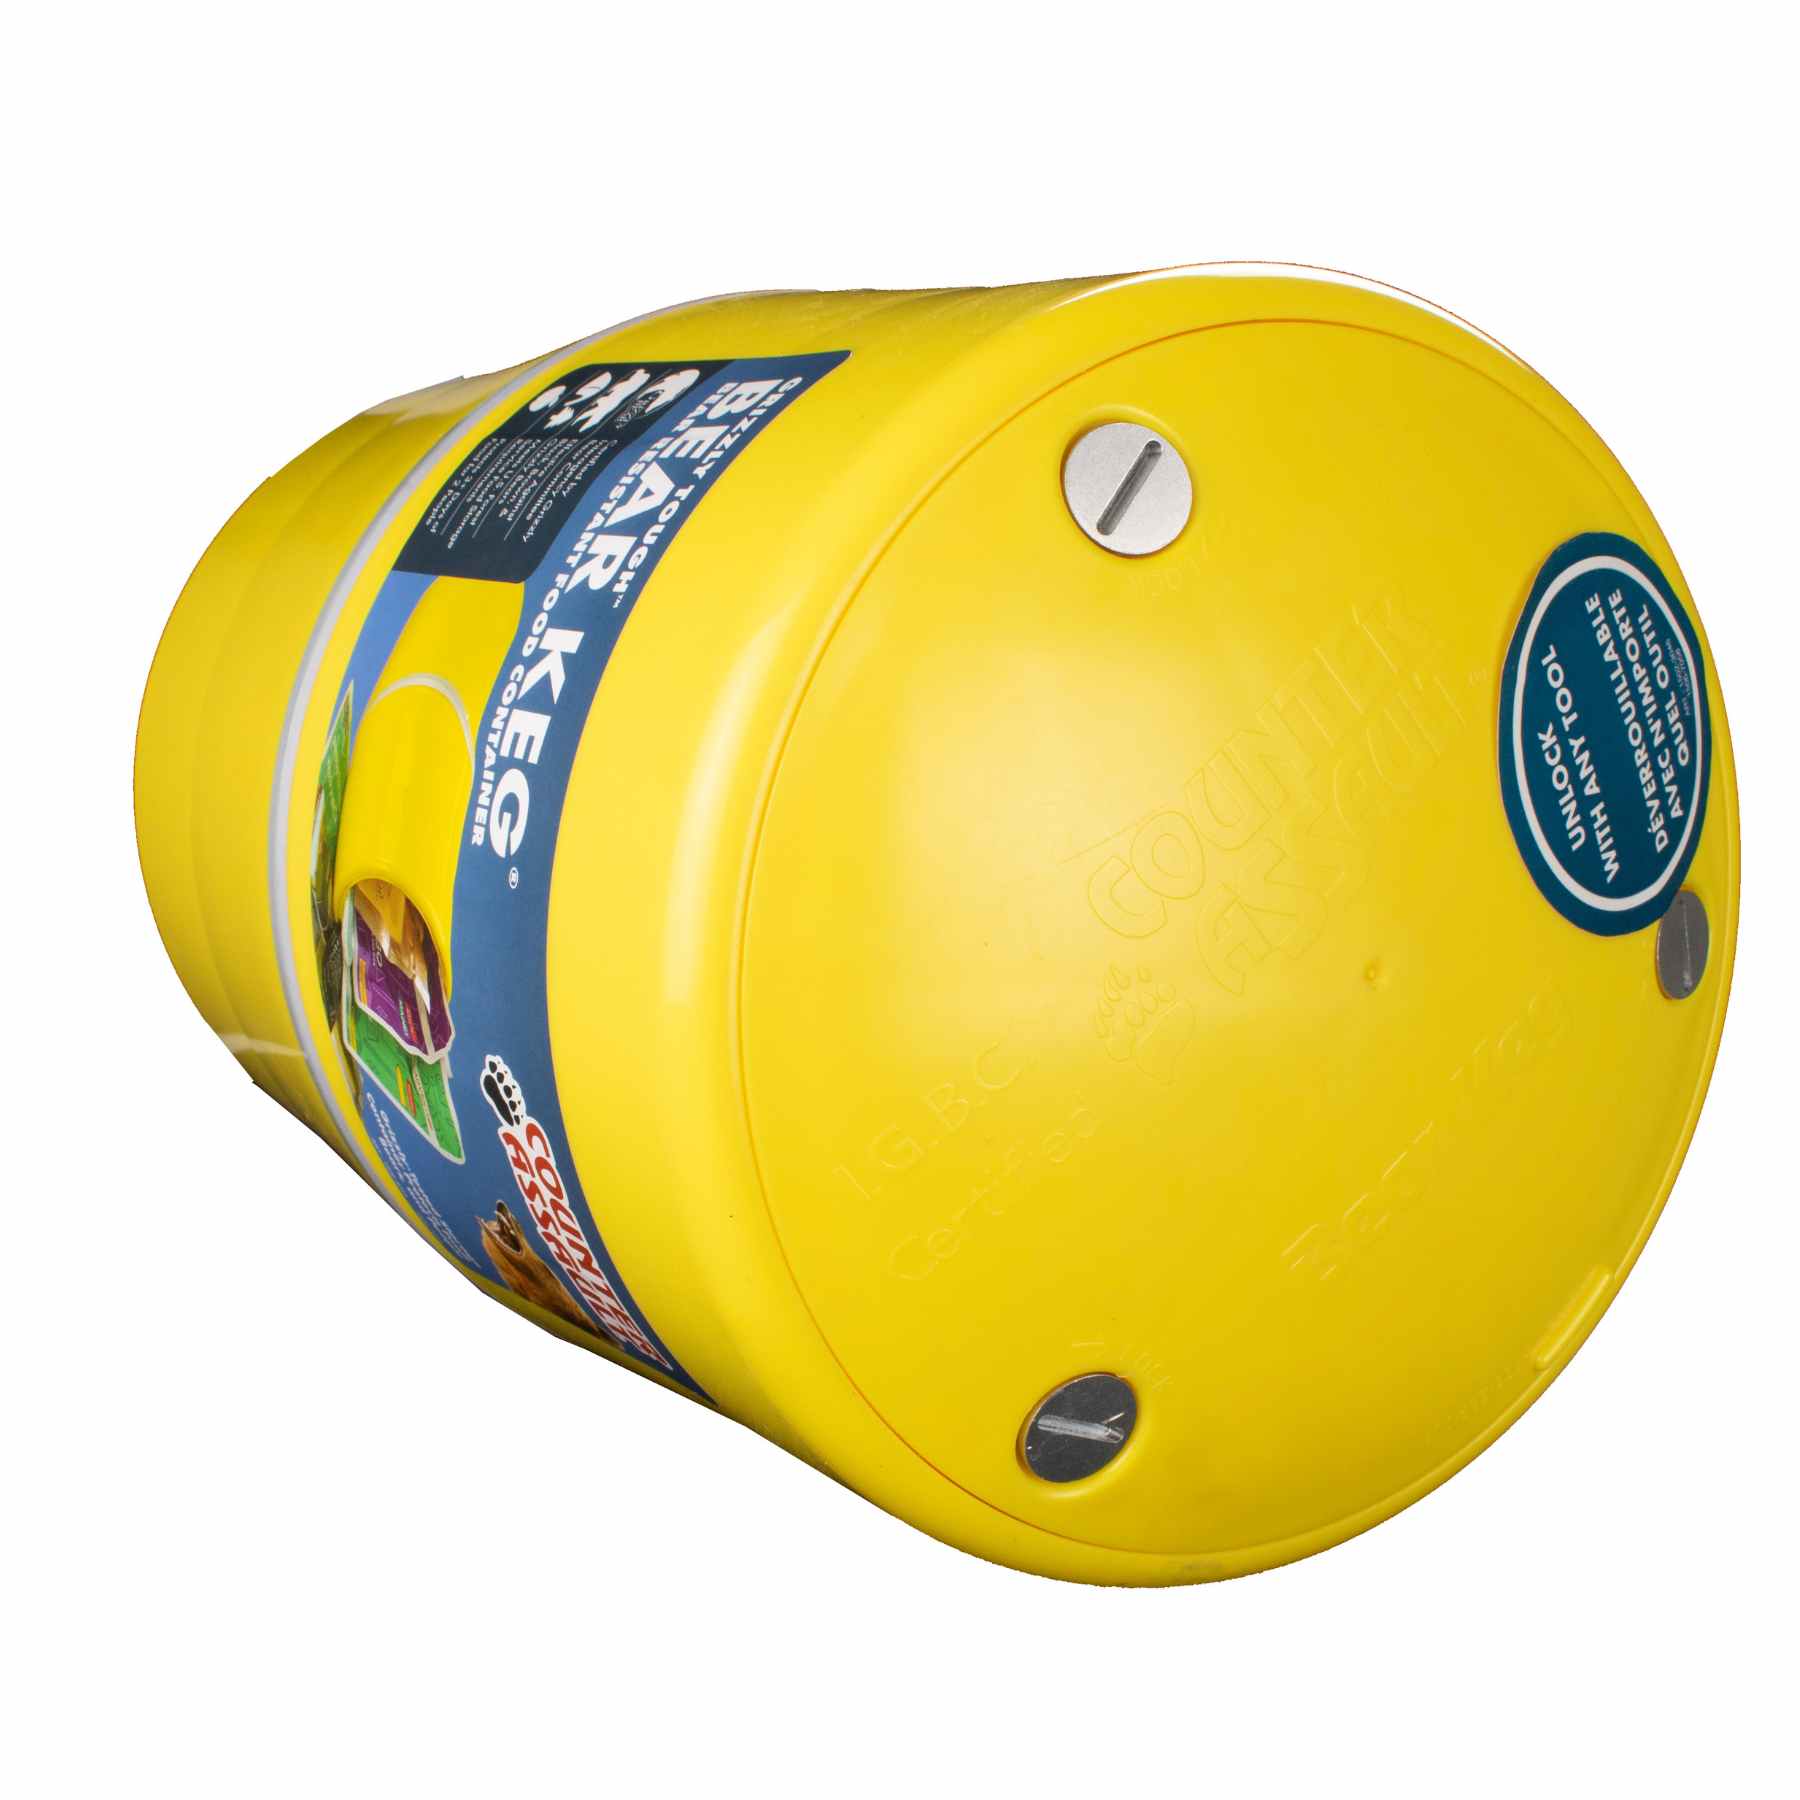
Wildlife safety starts before the encounter. Food storage, clean camps, noise in low-visibility terrain, and giving animals space prevent many incidents. Prevention does not remove the need for a deterrent where risk is real.
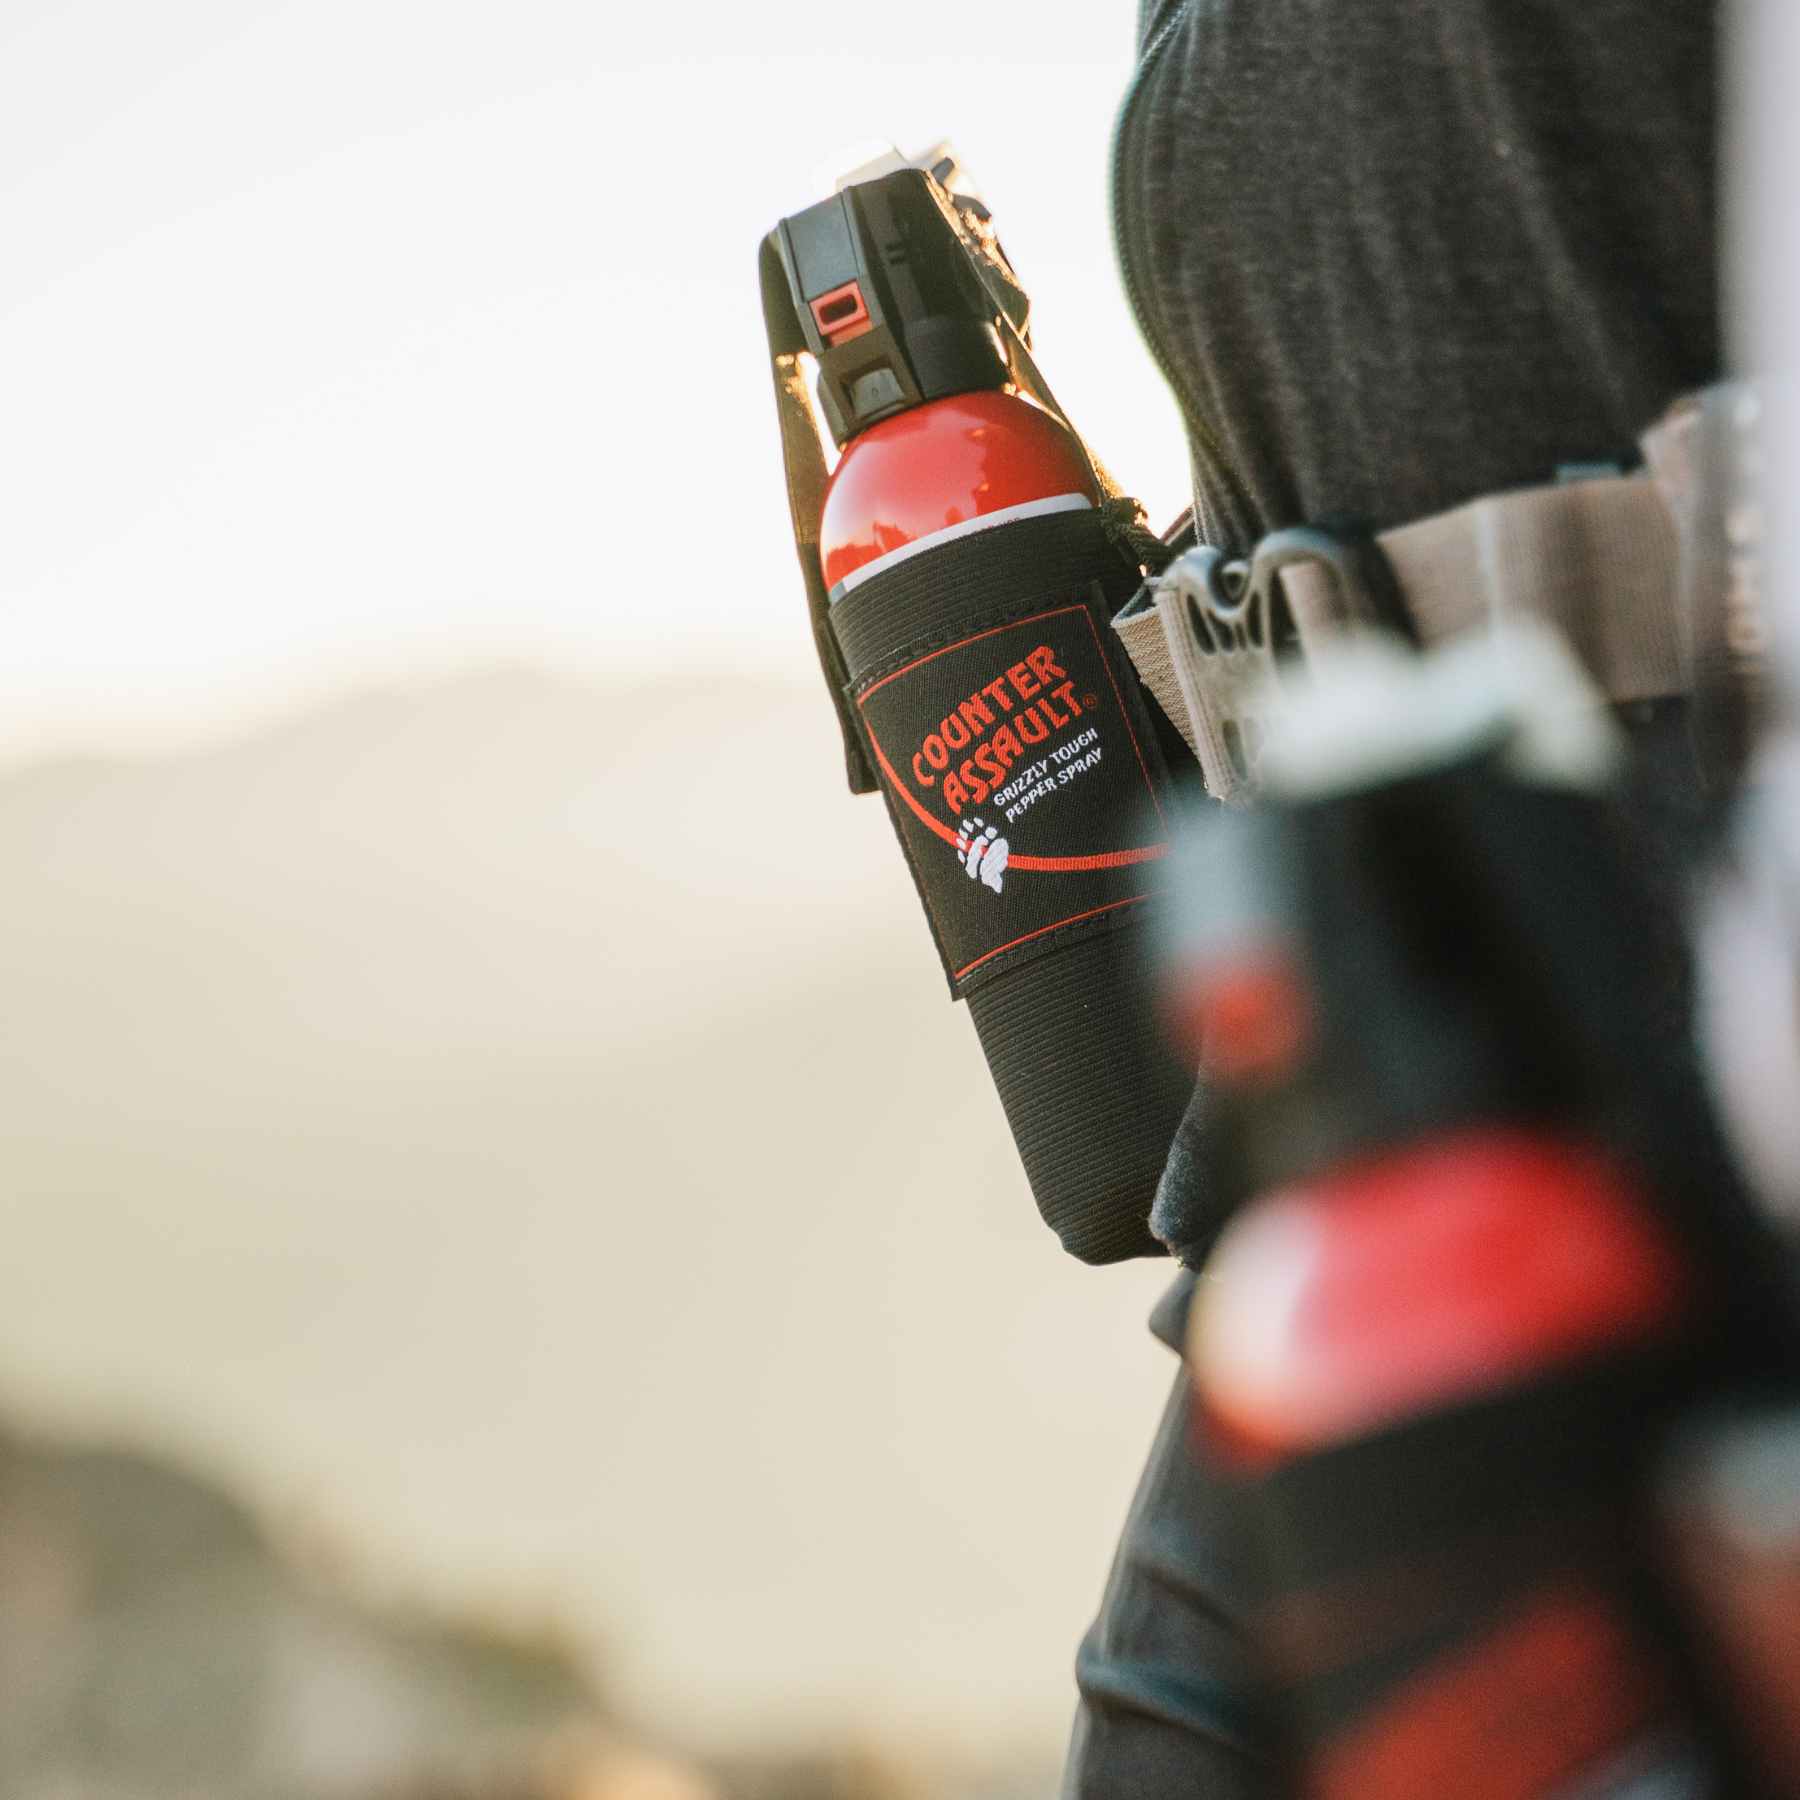
In bear country, carry bear spray where either hand can reach it in seconds. A deterrent clipped to the outside of a pack but blocked by straps, layers, or trekking poles is too slow. If you need a quick refresher on choosing and carrying it correctly, this bear spray selection and carry guide covers the details.
This pillar is about decision-making as much as gear. Different routes call for different priorities. A popular day trail near town may push navigation lower and first aid higher. Dense brush in bear habitat shifts wildlife deterrence to the front of the line. River corridors and cold rain raise the shelter pillar immediately. Good kits are built around the scenario, not around a generic packing list.
Wildlife Deterrents A Deep Dive on Bear Spray
In close-range bear encounters, people usually get only seconds to act. That is why deterrent choice is less about brand preference and more about access, range, and whether the tool is built for bears at all.
Near the start of any gear discussion, it helps to look at the actual tool in question.

Bear spray is the primary non-lethal deterrent in bear country because it creates time and space without requiring perfect shot placement under stress. That matters on brushy trails, salmon streams, game corridors, and camps where visibility is poor and an encounter can start at bad distance.
What matters in a deterrent
Start with the label. Bear spray should be EPA-registered, marked for use on bears, and sold as bear spray rather than as personal defense spray. Those are not interchangeable products. A canister marketed for people may be smaller, weaker in practical field use, or built around a spray pattern that does not give enough stopping distance.
Then check field function. Capacity, spray duration, and range matter because they change your margin for error. A larger canister is heavier on the belt or chest strap, but it usually gives a longer burst and better reach. That trade-off is worth it on routes with thick cover or limited sightlines. On a short front-country walk, some hikers accept a smaller unit for comfort. In country with repeated sign, cub activity, carcasses, or dense alder, I would rather carry the extra weight.
Carry method decides whether the tool is usable at all. A deterrent buried in a pack is dead weight in an emergency. It needs to ride where either hand can reach it fast, without fighting shoulder straps, rain shells, or trekking poles. That is why chest and belt holsters are standard among guides, anglers, and field crews.
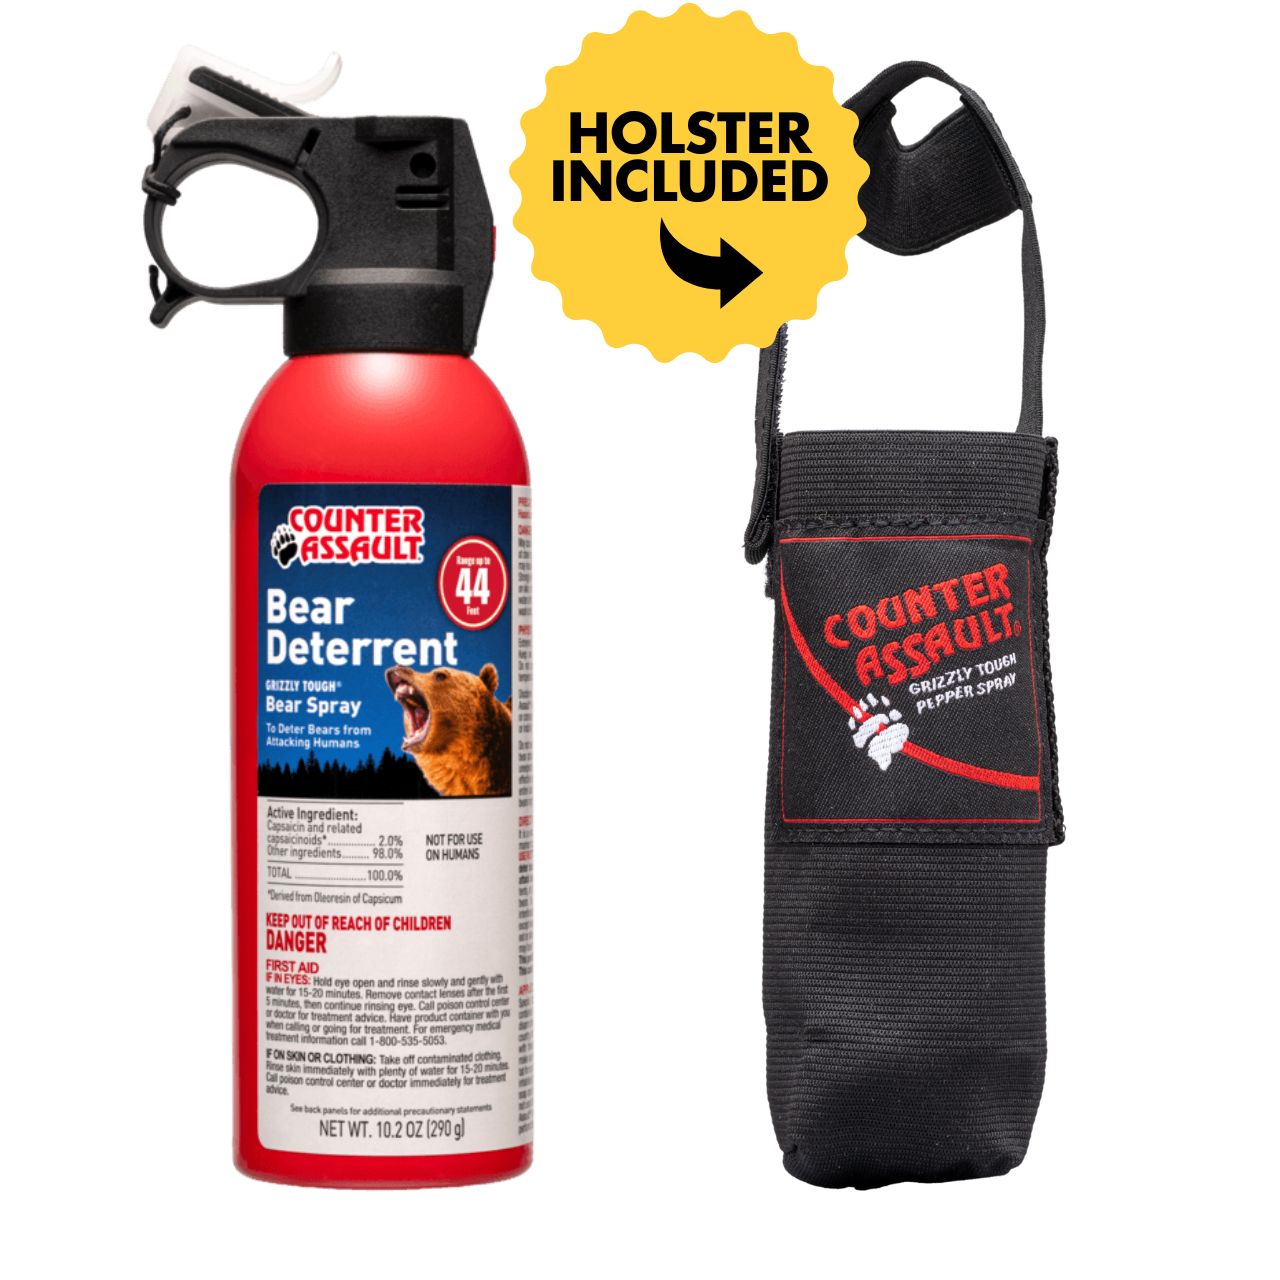
One practical option is the 10.2 oz bear spray with holster. The included holster addresses one of the most common failures in the field, which is carrying spray somewhere that looks organized but cannot be drawn under pressure.
For readers who want a manufacturer-specific refresher on sizing, carry position, and deployment basics, what you need to know about bear spray covers those fundamentals.
What bear spray is for and what it is not for
Bear spray is for a close, aggressive encounter or a charge that appears likely. It is not a comfort item and it is not a perimeter treatment. Do not spray it on tents, packs, clothing, dogs, or skin. That does not create a protective bubble. It contaminates your gear and can turn a manageable camp into a miserable one.
It also does not replace judgment. If a bear is far off and unaware, the right move is usually to back out, widen distance, and avoid escalation. If the bear is closing, focused, or charging, the decision window shrinks fast. In that moment, quick access matters more than any feature on the can.
The same scenario-based thinking applies across your kit. Footwear, for example, changes how well you can retreat on wet roots, sidehills, and creek banks. Swift Running's trail running shoe advice is useful if you are weighing traction and weather protection for routes where fast, controlled movement may matter.
A camp setup should support the deterrent. Keep the spray accessible at night, know where it is before you zip the tent, and make sure every adult in camp can use it. Good lighting helps with orientation after dark, as noted earlier, but light does not deter a charging bear.
A short visual walkthrough helps reinforce those principles:
Bear country habits that prevent trouble
The safest deterrent plan starts before the encounter. Use habits that lower the chance of needing the spray, then carry the spray as the backup for the time prevention fails.
- Travel in ways that reduce surprise: Call out in thick brush, near rushing water, and around blind corners.
- Adjust to the terrain: Dense creek bottoms, berry patches, carcass areas, and game trails deserve slower movement and more spacing awareness.
- Manage distance early: If you spot a bear before it spots you, leave room and change your line instead of pressing ahead.
- Keep camps disciplined: Store attractants properly, cook away from sleeping areas, and avoid clutter that slows your response at night.
- Brief the group before the trail starts: Everyone should know who carries the spray, where it rides, and what to do if the bear appears close.
Distance, access, and decision speed drive the outcome. The can matters, but the user and the scenario matter more.
Building Your Kit Adventure-Specific Checklists
People get into trouble with the wrong gear more often than with no gear at all. A heavy kit buried in the wrong place, a day-hike setup stretched into an overnight problem, or a bear spray can left in camp all create the same result. Slow decisions when time is short.
Build the kit around the trip, the terrain, and the consequences of being delayed. A family on a signed loop trail, a car camper cooking near dusk, and a solo hiker crossing remote drainages do not need the same loadout. They need gear that matches the failure points they are most likely to face.
Footwear belongs in that planning process. Wet feet, poor traction, and cold socks change pace and judgment fast. For readers comparing trade-offs in grip, drainage, and weather protection, Swift Running's trail running shoe advice gives a useful breakdown of when waterproof shoes help and when they create their own problems.
Use the checklist below as a starting point, then adjust for distance, weather, terrain, group age, and wildlife activity.
Family day hike
Day hikes look forgiving right up until a simple delay turns into a cold, hungry walk out in low light. Children magnify small errors. So do adults who assume the trailhead map means they can leave half the safety gear in the car.
Priority problems here are wrong turns, minor injuries, weather shifts, and running out of water or daylight. Keep the kit light, but keep it complete.
Weekend camping trip
Camping changes the job. The issue is less about mileage and more about camp discipline, burn risk, food storage, lighting, and finding gear quickly after dark.
A safe campsite is organized on purpose. Put medical gear where any adult can reach it. Keep lights consistent. Separate cooking, sleeping, and food storage areas so nobody wastes time sorting out a mess during an animal visit or a midnight injury.
Multi-day backcountry trek
Backcountry travel raises the price of small mistakes. A hot spot becomes a blister. A blister slows the group. A slower group reaches camp late, cooks late, and makes poorer decisions in bad weather.
That is why remote kits need more than extra items. They need backup options for water treatment, light, insulation, and communication. Check expiration dates before the trip, especially on deterrents and medical items. This matters for aerosol products in particular, so review how long pepper spray remains usable before packing an older canister.
| Gear Item | Day Hike | Weekend Camping | Backcountry Trek |
|---|---|---|---|
| Map and compass | Carry both on any unfamiliar route | Keep both available at camp and on side hikes | Carry both as primary navigation backup |
| Charged phone or communication device | Useful for route checks and emergencies | Important for camp coordination and emergency contact | Carry protected from weather and battery loss |
| First aid kit | Small kit for cuts, blisters, and minor strains | Broader kit for burns, kitchen cuts, and common camp injuries | Field kit with wound care, blister treatment, wrap, and medications you know how to use |
| Water and treatment plan | Carry enough for route, heat, and delays | Bring a camp water system and a backup purification method | Carry treatment as standard gear on every leg of the trip |
| Insulating layer and rain protection | Pack both even on short outings | Keep spare dry clothing in camp | Carry a reliable layering system every day |
| Light source | One headlamp minimum | Camp lighting plus a personal light for each adult | Carry a primary light and a backup light |
| Emergency shelter | Compact shelter or bivy is a smart addition | Tent or vehicle shelter at site | Include a backup shelter option in case the primary setup fails |
| Insect protection | Apply before bugs become a distraction | Important around water and evening camp time | Carry enough for repeated use over several days |
| After-bite care | Useful for comfort after stings or bites | Helpful around camp with kids | Worth packing in bug-heavy terrain, such as After Bite relief products |
| Wildlife deterrent in bear country | Carry accessible, not inside the pack | Keep accessible during walks, cooking, and food storage tasks | Carry on body at all times in active habitat |
A few field rules improve any checklist.
- Pack for delay, not for plan: The route may be four miles. The problem is what happens if it becomes eight hours.
- Keep response gear on the body or at the top of the pack: Lights, first aid, rain gear, water treatment, and deterrents do no good buried under camp clothes.
- Match the kit to the least capable person in the group: Children, new hikers, and tired partners change pace and risk.
- Add redundancy where failure creates a rescue problem: Water treatment, light, and fire-starting tools deserve backup on remote trips.
- Cut duplicates that add weight without adding function: Three knives do not help if nobody packed blister care or a repair wrap.
A good checklist is not a shopping list. It is a decision tool. Pack for the problem you are most likely to face first, then for the problem that will hurt you most if the trip goes bad.
How to Use and Maintain Your Safety Equipment
Gear failure usually shows up at the worst possible moment. A dead headlamp at dusk, an empty first aid kit after the first real injury, or a bear spray canister you have never practiced drawing can turn a manageable problem into an emergency. Safe outcomes depend on two things. The gear has to work, and the user has to know exactly what to do with it under stress.

Bear spray deployment under stress
Bear spray is a decision tool, not just an item on a packing list. If a bear is aware of you but not closing distance, back out, group up, and get the spray in hand. If the animal is approaching with intent, deployment has to be fast, controlled, and deliberate.
The Alaska Department of Fish and Game advises using bear spray when a bear is within 20 to 30 feet, with 1 to 2 second bursts, and notes that a canister only provides about 7 to 9 seconds of total spray time (Alaska bear spray guidance).
That short spray window changes how you use it. Long panic bursts waste deterrent and leave nothing for a second pass if the bear pushes through the first cloud. Wind matters too. Crosswind can move the fog off target. A headwind can blow it back into your face.
Use this field sequence:
- Carry it where one hand can reach it immediately: Belt holster, chest harness, or pack strap.
- Draw as soon as the encounter shifts from alert to dangerous: Waiting too long is a common failure point.
- Remove the safety clip before the bear is on top of you: That step gets clumsy once adrenaline spikes.
- Aim slightly downward and in front of the animal: Put the cloud in its path.
- Fire short bursts: Adjust based on distance, movement, and wind.
- Move out once the bear breaks off: Create space and leave the area without running.
Do not spray tents, boots, packs, or clothing as a preventive measure. That is misuse, and it can create more problems around camp.
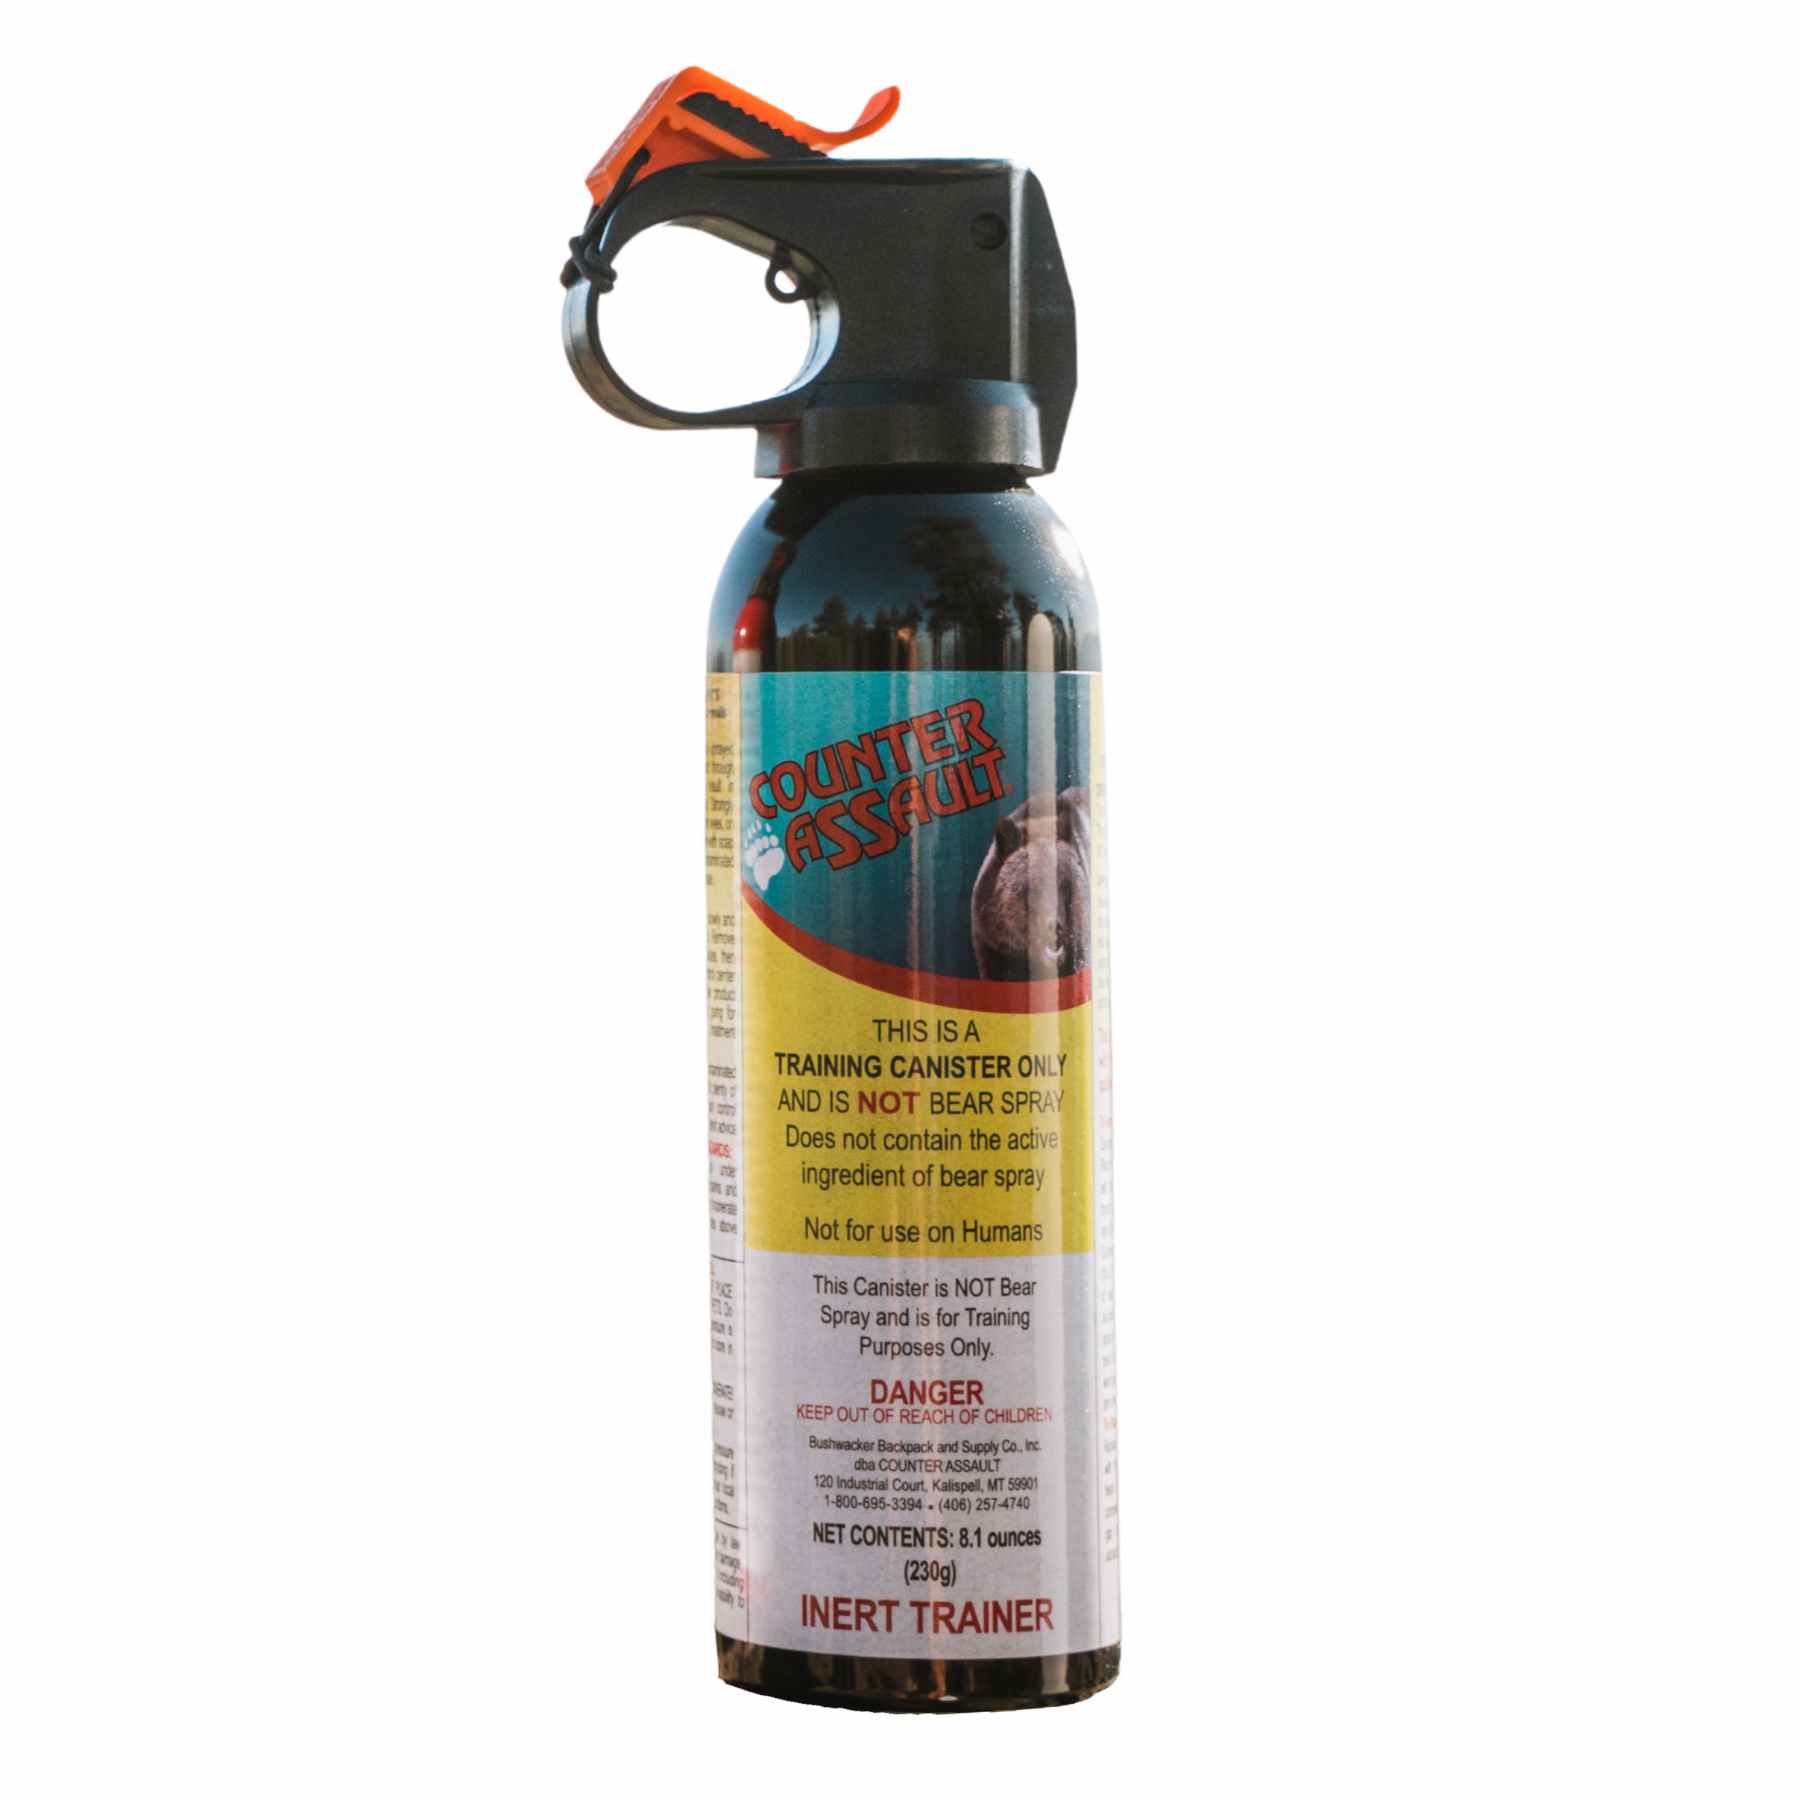
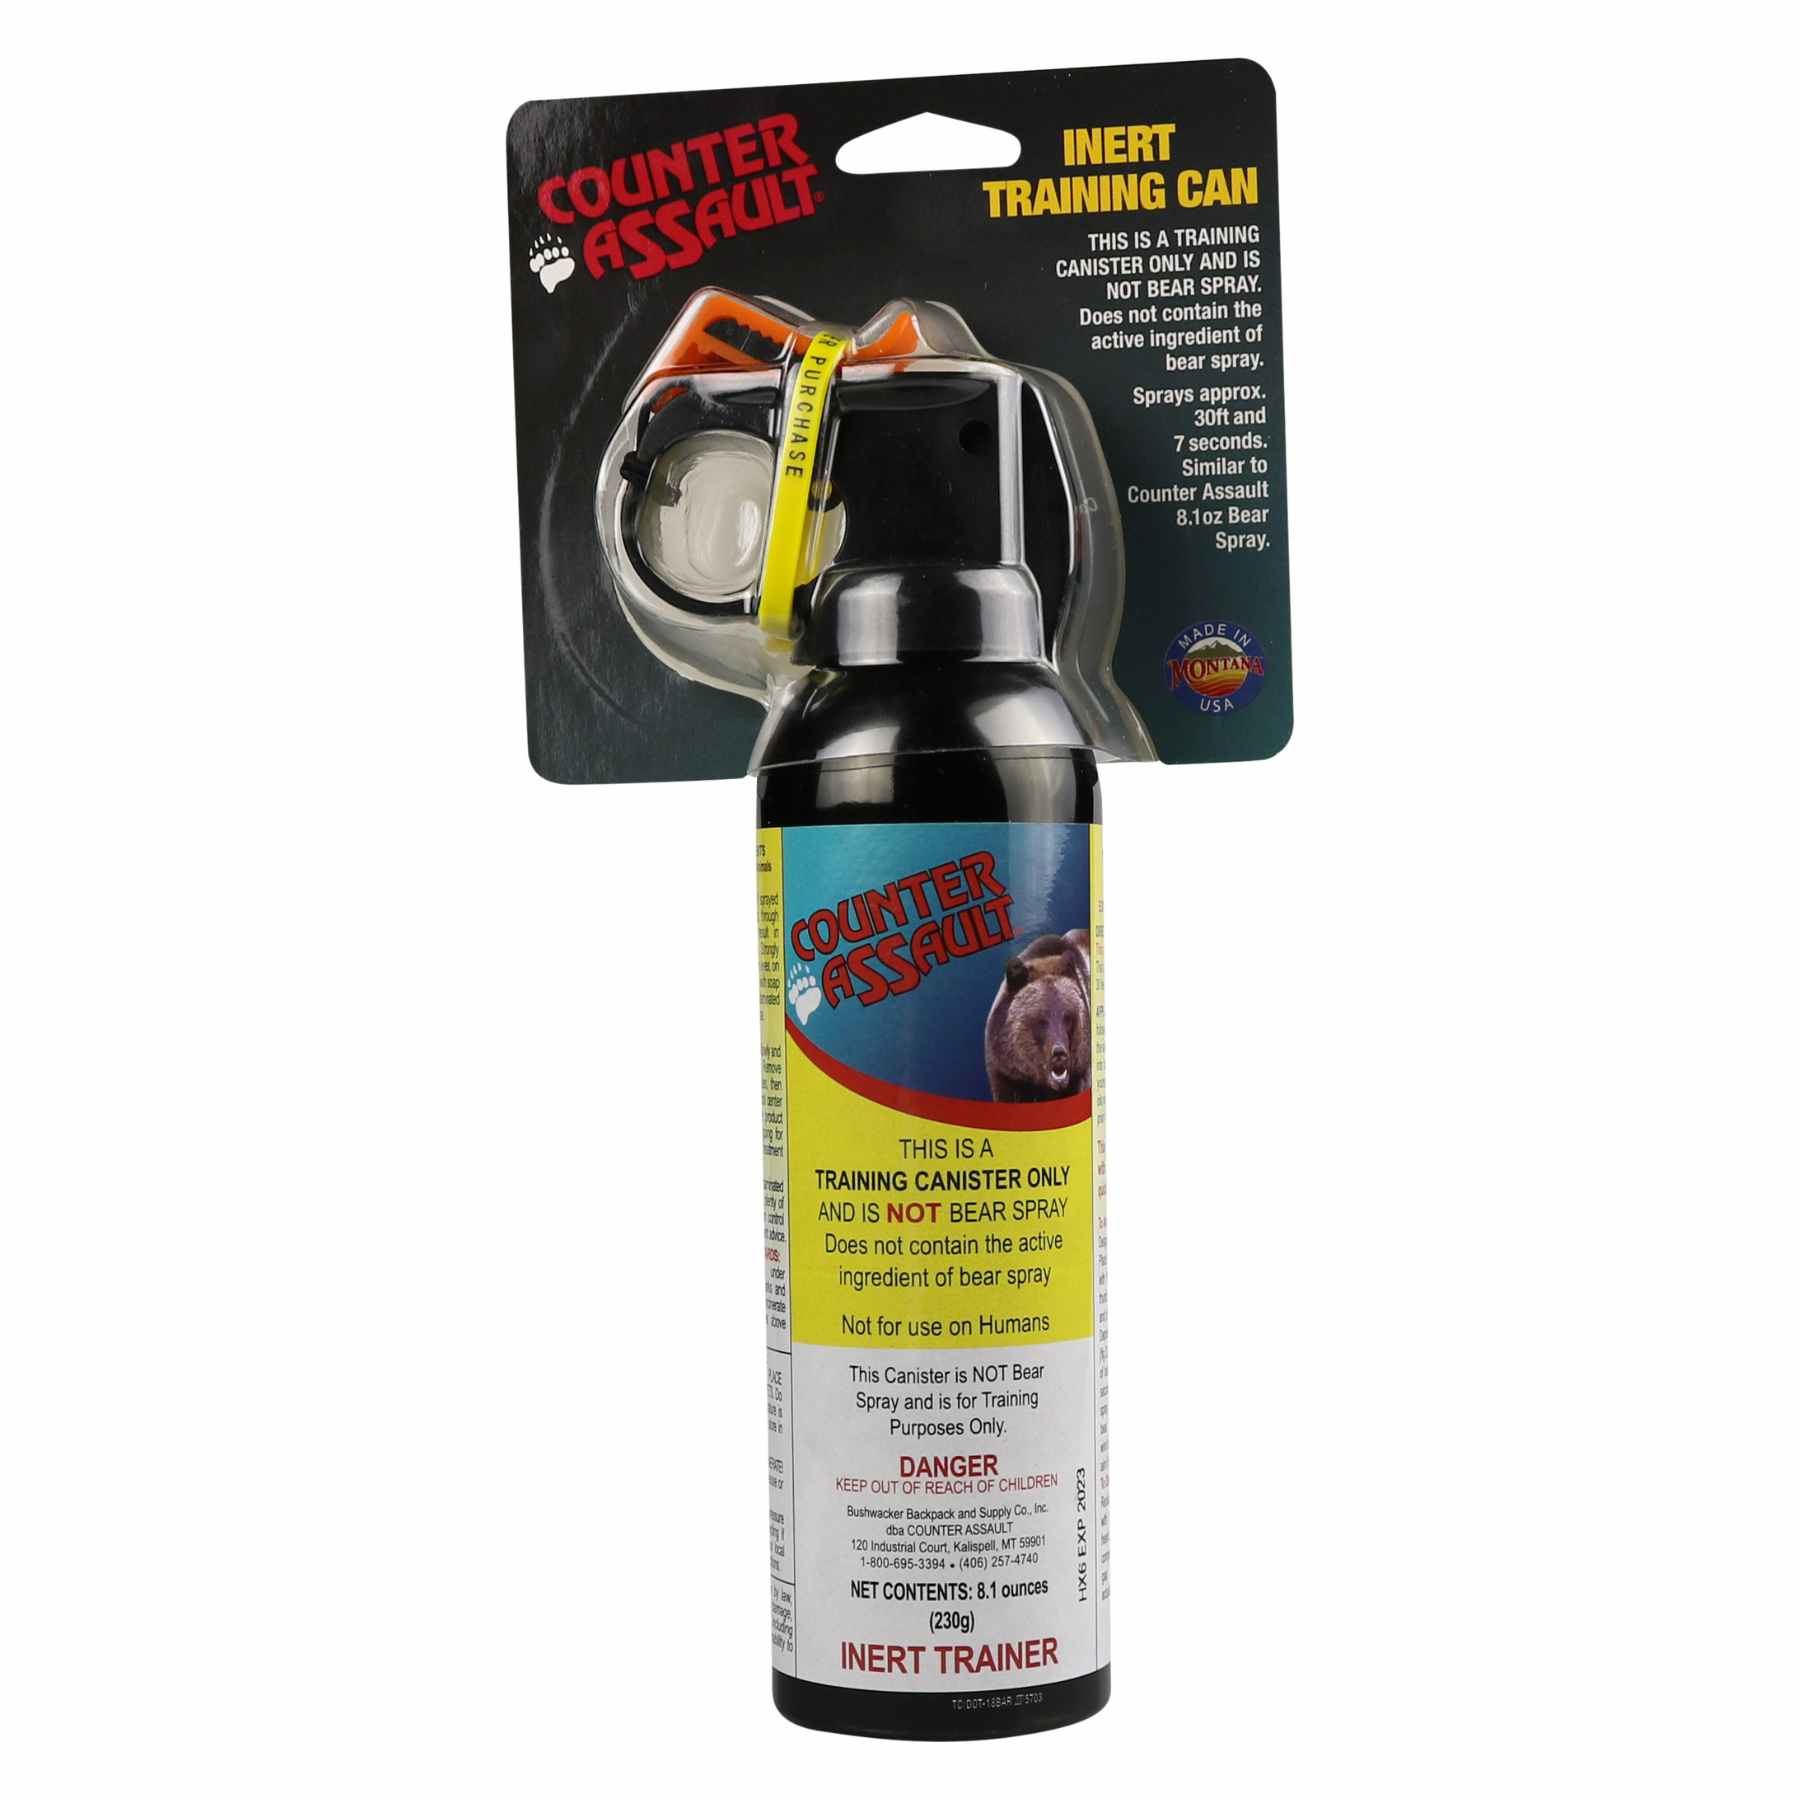
Practice with the canister you carry. Rehearse the draw, grip, safety removal, and firing stance before the trip. Check the expiration date and canister condition before every season. If you need a refresher on shelf life, review how long bear spray remains usable in storage.
Under stress, people do what they have practiced. If you have never drawn your bear spray with a pack on, the trail is not the place to learn.
Maintenance that keeps gear ready
Maintenance is less about gear care than failure prevention. Every item in a safety kit should answer one question before you leave the trailhead. Will it work, and can I get to it fast enough to matter?
Run a short inspection before each trip and a fuller check at the start of each season.
- First aid kits: Replace anything used, wet, crushed, or expired. Open the kit and verify the contents instead of assuming the last trip left it ready.
- Lights and electronics: Test headlamps, satellite messengers, lanterns, and battery banks. Pack fresh batteries or a charged backup power source.
- Insect protection: Carry a repellent you will use, such as Ben's insect repellent or Natrapel outdoor bug defense. Store it so leaks cannot contaminate food, water containers, or spare clothing.
- Emergency shelter and weather gear: Inspect bivies, tarps, rain shells, and ponchos for torn fabric, failed zippers, and missing cords.
- Straps, buckles, and holsters: Check the parts that hold safety gear in place. A deterrent or light that falls off the pack is gone when you need it.
One final rule from field work. Do not treat maintenance as a cleanup chore after the trip. Reset the kit before you put it away. That habit keeps the next outing from starting with missing supplies, dead batteries, and gear you only discover is damaged after conditions turn bad.
Debunking Common Myths About Bear Safety
A bad bear decision can unfold in seconds. Most myths about bear safety survive because they offer simple answers to a problem that is fast, noisy, and highly situational.

The useful question is never, “What do people say works?” It is, “What gives me the highest margin for error in this specific encounter?” Distance, vegetation, wind, whether the bear is defensive or predatory, and whether your deterrent is in your hand all matter more than campfire bravado.
Myth one guns work better
Firearms are often treated as the tougher option. In real encounters, they are harder to use well than people admit. A charging bear closes distance fast, and accuracy under stress breaks down even for practiced shooters.
Bear spray gives a wider error margin. It creates a cloud in the bear's path instead of requiring a precise hit on a fast-moving target. That difference matters when footing is bad, visibility is limited, or the encounter starts at close range.
There is also a field reality people skip. Many hikers, anglers, and roadside campers carry other heavy gear, and that changes how quickly they can react. Anyone hauling equipment in camp vehicles or trailers should think through stopping and storage logistics too. The same practical mindset behind a guide to RV brake controllers applies here. Control under pressure beats confidence without preparation.
Myth two bear spray does not work
This claim usually comes from misuse, not from the tool itself.
Bear spray fails for predictable reasons. It is buried in a pack, clipped somewhere you cannot reach with one hand, expired, or fired too early. I have seen people carry a canister like a decoration on the back of a hip belt where it would be useless in a surprise encounter.
The decision process is straightforward. If you are in bear country, carry the spray where you can draw it immediately. If visibility is tight or sign is fresh, loosen the safety plan before the encounter happens. Hand near holster. Safety clip understood. No guessing.
Myth three wind makes spray useless
Wind changes how you deploy spray. It does not cancel the tool.
In timber, drainages, brushy creek bottoms, and broken terrain, airflow is rarely as simple as people assume. The right response is to adjust angle and timing. Aim low and slightly in front of the bear's line of travel so it runs into the cloud. Do not fire high into open air and hope the mist drifts where you need it.
Use this quick field check:
- Close enough matters: Spraying too early wastes propellant and leaves a gap the bear can cross.
- Low is better than high: A low barrier holds together better than a cloud thrown upward.
- Terrain changes airflow: Trees, slopes, and rock walls can block or redirect drift.
- Your feet matter too: If wind is pushing spray back, sidestep if terrain allows, then deploy.
The safest approach is to drop the myths and train for scenarios. A bluff charge at 25 feet, a food-conditioned bear entering camp, and a surprise encounter on a brushy trail do not call for the same timing. Good bear safety starts with choosing equipment that matches the job, then practicing until deployment is automatic.
Navigating Rules for Transport and Storage
A bear spray canister is safety equipment, but it is also a regulated product. Treat it like both. Sloppy transport or careless storage can leave you with a can that is illegal to carry, damaged by heat, or too buried to reach when you need it.
What to check before carrying
Start with the label. The canister should be EPA-registered, clearly marked for deterring bear attacks, and sold as bear spray rather than personal defense spray. That distinction matters in the field. Products made for people are not the same tool, and carrying the wrong one can create legal problems and bad outcomes in a wildlife encounter.
Check rules before every trip, not just when you buy the canister. Airline policies, ferry rules, park regulations, and local restrictions do not always match. A canister that is fine in your truck may be prohibited in checked baggage or barred from a specific facility. If you are driving a long distance with camping gear, sort out the whole transport plan ahead of time. RV travelers towing extra weight should also review stopping setup and brake response. This practical guide to RV brake controllers is worth a look before a mountain trip.
One more field rule. If you cannot confirm what the product is from the label in a few seconds, do not pack it.
Storage at home, camp, and in vehicles
Storage is about pressure, temperature, and access. At home, keep bear spray out of reach of children and away from heaters, direct sun, and places that swing hard between hot and cold. A garage shelf near a furnace, a windowsill, or a glove box in summer are poor choices.
At camp, store it where the user can reach it fast and where it will not be crushed, punctured, or handled casually by someone who does not know the safety clip. In vehicles, heat is the main hazard. A sealed car in warm weather can push a pressurized canister well past the kind of conditions you want for reliable function.
Use a simple decision process. Ask three questions. Is it legal where this trip starts and ends? Can I identify it instantly as bear spray? Can I reach it fast without exposing it to abuse or extreme heat? If the answer to any of those is no, fix that problem before you leave the trailhead.
For hikers, campers, hunters, anglers, and property owners who need a non-lethal wildlife deterrent, Counter Assault is a practical place to compare bear safety tools built for field use.