
The trip is over, the cooler is half unpacked, and the back of the vehicle still smells like wet nylon, campfire smoke, and trail mud. That moment decides a lot more than most campers think. Bad storage turns a good tent clammy, ruins insulation, attracts pests, and leaves critical safety gear unreliable when the next trip starts.
That's why camping gear storage has to be treated as maintenance, not housekeeping. The gear that keeps people dry, warm, fed, and safe in bear country needs a system that works the day they get home, the months it sits unused, and the hour they pack again.
Table of Contents
- Your Post-Trip Plan Starts Now
- The Pre-Storage Ritual Clean Dry and Inspect
- Mastering Home Storage From Closet to Climate Control
- Storing Scented Items and Safety Gear
- Mobile Storage in Your Car RV and at the Campsite
- Your Quick Prep Storage and Packing Checklists
Your Post-Trip Plan Starts Now
The first two days after a trip matter more than the off-season. Gear rarely gets ruined in a single dramatic moment. It usually gets ruined because damp fabric stayed packed, food residue stayed in cookware, batteries sat inside electronics, or a bin got shoved into a garage corner without airflow.

There's a practical reason so many households struggle with this. 52% of homeowners globally use self-storage to manage bulky travel and sports equipment, including camping gear, according to Travel Tweaks on storing travel and sports equipment. Camping equipment takes space, but space isn't the only problem. Moisture, heat, sunlight, pests, and disorganization inflict the damage.
Practical rule: If gear comes home dirty or damp, it shouldn't go anywhere near its long-term storage spot.
A reliable post-trip routine does three things at once:
- Protects expensive equipment: Tents, sleeping bags, pads, stoves, and packs last longer when they're stored correctly.
- Preserves safety gear: Headlamps, navigation tools, first aid supplies, and wildlife deterrents need to work without excuses.
- Makes the next trip faster: Good organization means less scavenger hunting and fewer missing parts.
The best systems aren't complicated. They're repeatable. Boots go in one place to dry. Cookware gets cleaned before anything else. Soft goods get aired out fully. Safety equipment gets checked before it disappears into a closet or tote. That rhythm is what keeps camping gear storage from turning into a pile of half-sorted problems before the next departure.
The Pre-Storage Ritual Clean Dry and Inspect
A wet tent stuffed into a tote on Sunday can become a moldy, mouse-scented problem by Friday. I have seen campers pull out gear at the next trailhead and discover rotten webbing, seized stove parts, dead headlamp batteries, and bear spray they assumed was fine but had expired months earlier. Good storage starts before anything reaches the shelf.
Start with contamination, not clutter
Handle every item that came home dirty, damp, or scented. Mud traps moisture against fabric. Food residue pulls in insects and rodents. Sweat and body oils break down liners, straps, and technical fabrics over time.
Tents, packs, camp chairs, and hard goods do well with mild soap, water, and a soft cloth or sponge. Follow the care label on base layers, rainwear, and insulation. Stoves and cookware need extra discipline, given the overlap between proper storage and wildlife safety. Any grease, spilled drink mix, coffee grounds, bait, wrappers, or fuel-soaked rag left in the kit teaches you the wrong lesson. At home it attracts pests. In camp, the same sloppy habits create scent problems that belong nowhere near your sleeping area.

Clean cookware down to the handles, hinges, and lids. Dry metal parts fully. Cast iron and bare steel need a light protective coat after cleaning. Empty coolers, wash bins, and camp kitchens deserve the same treatment because old spills are pest magnets.
Dry every layer all the way through
Campers cut corners here more than anywhere else. Vail Airport Storage's guide to storing camping and outdoor gear advises cleaning gear with mild soap and air drying it for 24 to 48 hours before storage. That timeline is a baseline, not a guarantee. Thick foam, folded tent floors, sleeping bag footboxes, boot liners, and padded hip belts often hold moisture longer than they look.
Use moving air and shade. Open every pocket. Loosen straps. Hang sleeping bags and rainflies where air can reach both sides. Skip direct heat from radiators, fireplaces, truck dashboards, or space heaters. Excess heat can warp coatings, dry out leather, weaken adhesives, and shorten the life of insulation.
Inspect with your next trip in mind
Inspection works best after gear is clean because dirt hides damage. Run your hands over pole sleeves, guyline attachment points, shoulder straps, buckles, and zipper tracks. Inflate sleeping pads and let them sit. Set up the stove and check threads, O-rings, igniters, and hose connections. If something would fail in cold, dark, or rain, find it now.
Use a short but strict inspection pass:
- Shelter: Check tent seams, poles, guylines, stakes, zippers, and rainfly coatings. Repair pinholes and small seam issues before they spread.
- Sleep system: Look for pad leaks, torn baffles, wet-stored insulation, and compression damage from being left stuffed too long.
- Kitchen kit: Confirm every pot, mug, utensil, and stove part is clean, odor-free, dry, and packed as a complete system.
- Electronics: Remove batteries from headlamps, flashlights, GPS units, and other devices if they will sit for a while. Store batteries where they stay dry and can be checked easily.
- Medical supplies: Refill trauma, blister, and medication items in a dependable kit such as Adventure Medical Kits.
- Lighting and emergency gear: Recharge lanterns and inspect backup items such as a LuminAID solar lantern if that is part of the setup.
- Bear safety gear: Check the canister body, safety clip, and holster on bear spray. Confirm the expiration date and replace it if needed. Counter Assault explains how long pepper spray is good for. Do not bury bear spray in a random bin where it can be damaged, forgotten, or grabbed too slowly when you need it.
One more practical point. If home storage is cramped and gear stays piled in a damp garage corner, off-site space can be worth considering. A Medford storage unit comparison can help sort out access and size options for bulky seasonal equipment.
The routine is simple because it has to be repeatable. Clean off the trip. Dry out the hidden moisture. Inspect every failure point, especially anything tied to scent control and bear safety. That is how gear stays ready, and how bad habits stay out of camp.
Mastering Home Storage From Closet to Climate Control
A tent that survived wind, rain, and a rough trail can still be ruined at home. I see that all the time. Gear gets shoved into a hot garage, stacked on concrete, or buried under holiday boxes, then fails on the next trip when conditions turn bad.
Storage is part of trip safety. In bear country, it also sets the tone for how people handle attractants and safety equipment later. A sloppy home system leads to sloppy field habits.
Choose the right environment first
Pick the most stable space available. Cool, dry, dark, and ventilated beats hot attics, damp basements, backyard sheds, and garages with big temperature swings. Sunlight breaks down fabric coatings. Humidity feeds mildew. Repeated heat swings shorten the life of adhesives, foam, and some plastics.
Climate control is worth paying for when the alternative is a damp garage or an oven-hot shed. Down bags, insulated clothing, electronics, repair adhesives, and water filters all last longer when they are not baking or pulling moisture from the air. If the house is tight on space, a local option like this Medford storage unit comparison can help sort out size, access, and climate trade-offs before gear ends up in the wrong environment.
Keep gear off concrete floors. Concrete holds and transfers moisture even when it looks dry. Shelving, pallets, or sealed bins on a rack solve that problem fast.
Store soft goods loose and hard gear by failure risk
Campers often store gear in the same configuration they use for travel. That saves space, but it costs performance. Sleeping bags, quilts, and insulated jackets should be stored loose in breathable bags or hung where they can keep loft. Pads do better unrolled or loosely stored if space allows. Tents should be clean, fully dry, and packed without hard compression.
Hard gear needs a different system. Group it by what fails and how badly that failure affects a trip.
| Item | Best long-term storage | Common mistake |
|---|---|---|
| Tent | Dry, loosely folded, out of sunlight | Left compressed and damp in a tote |
| Sleeping bag | Uncompressed in a breathable sack | Stored in a small stuff sack all season |
| Sleeping pad | Flat or loosely rolled in a dry space | Crushed tight with moisture trapped inside folds |
| Stove and cookware | Clean, dry, separated from food residue | Stored with grease, soot, or fuel smell |
| Headlamps and GPS | Batteries removed, organized for quick checks | Forgotten with old batteries installed |
I also separate gear by urgency. Shelter and sleep systems go where they are protected best because failure there creates real exposure problems. Nice-to-have camp items can take the less convenient shelf.
Build a system you can check in under a minute
Good storage should let you spot missing parts fast. Clear bins help, but labeling matters more than the bin itself. “Two-person tent, fly, poles, stakes, repair sleeve” is useful. “Camping gear” is not.
A practical setup usually includes:
- Shelter bin: tent, fly, footprint, stakes, guylines, pole splint
- Sleep bin: pads, pump sack, pillows, liners, storage sacks
- Kitchen bin: stove, cook set, utensils, water treatment, lighter, scrubber
- Repair and safety shelf: patch kits, cordage, multitool, first-aid resupply, navigation tools
- Quick-grab area: headlamps, permits, maps, gloves, small essentials needed on departure day
Store safety gear where it is protected but still visible. Bear spray should not disappear into the back of a mixed hardware bin or sit for years without a date check. If that canister is part of your bear country kit, treat it like emergency equipment and review how long pepper spray is good for before the next season starts.
The best home setup reduces mistakes before the driveway even sees a packed car. That matters for every trip, and it matters even more for trips where poor storage habits can carry scent, damage safety gear, or slow your response in bear country.
Storing Scented Items and Safety Gear
A lot of gear can be stored badly and still function for a while. Scented items and wildlife safety gear don't offer that margin. In bear country, poor storage habits don't just ruin equipment. They create attractants, train animals to investigate human spaces, and turn a routine camp into a hazard.
Treat attractants like a separate category
Food is obvious. Toiletries should be obvious, but many campers still forget them. Dish sponges, lip balm, trash, drink mixes, fish residue, sunscreen, pet food, and unwashed cookware all belong in the same mental category. They smell. That makes them attractants.
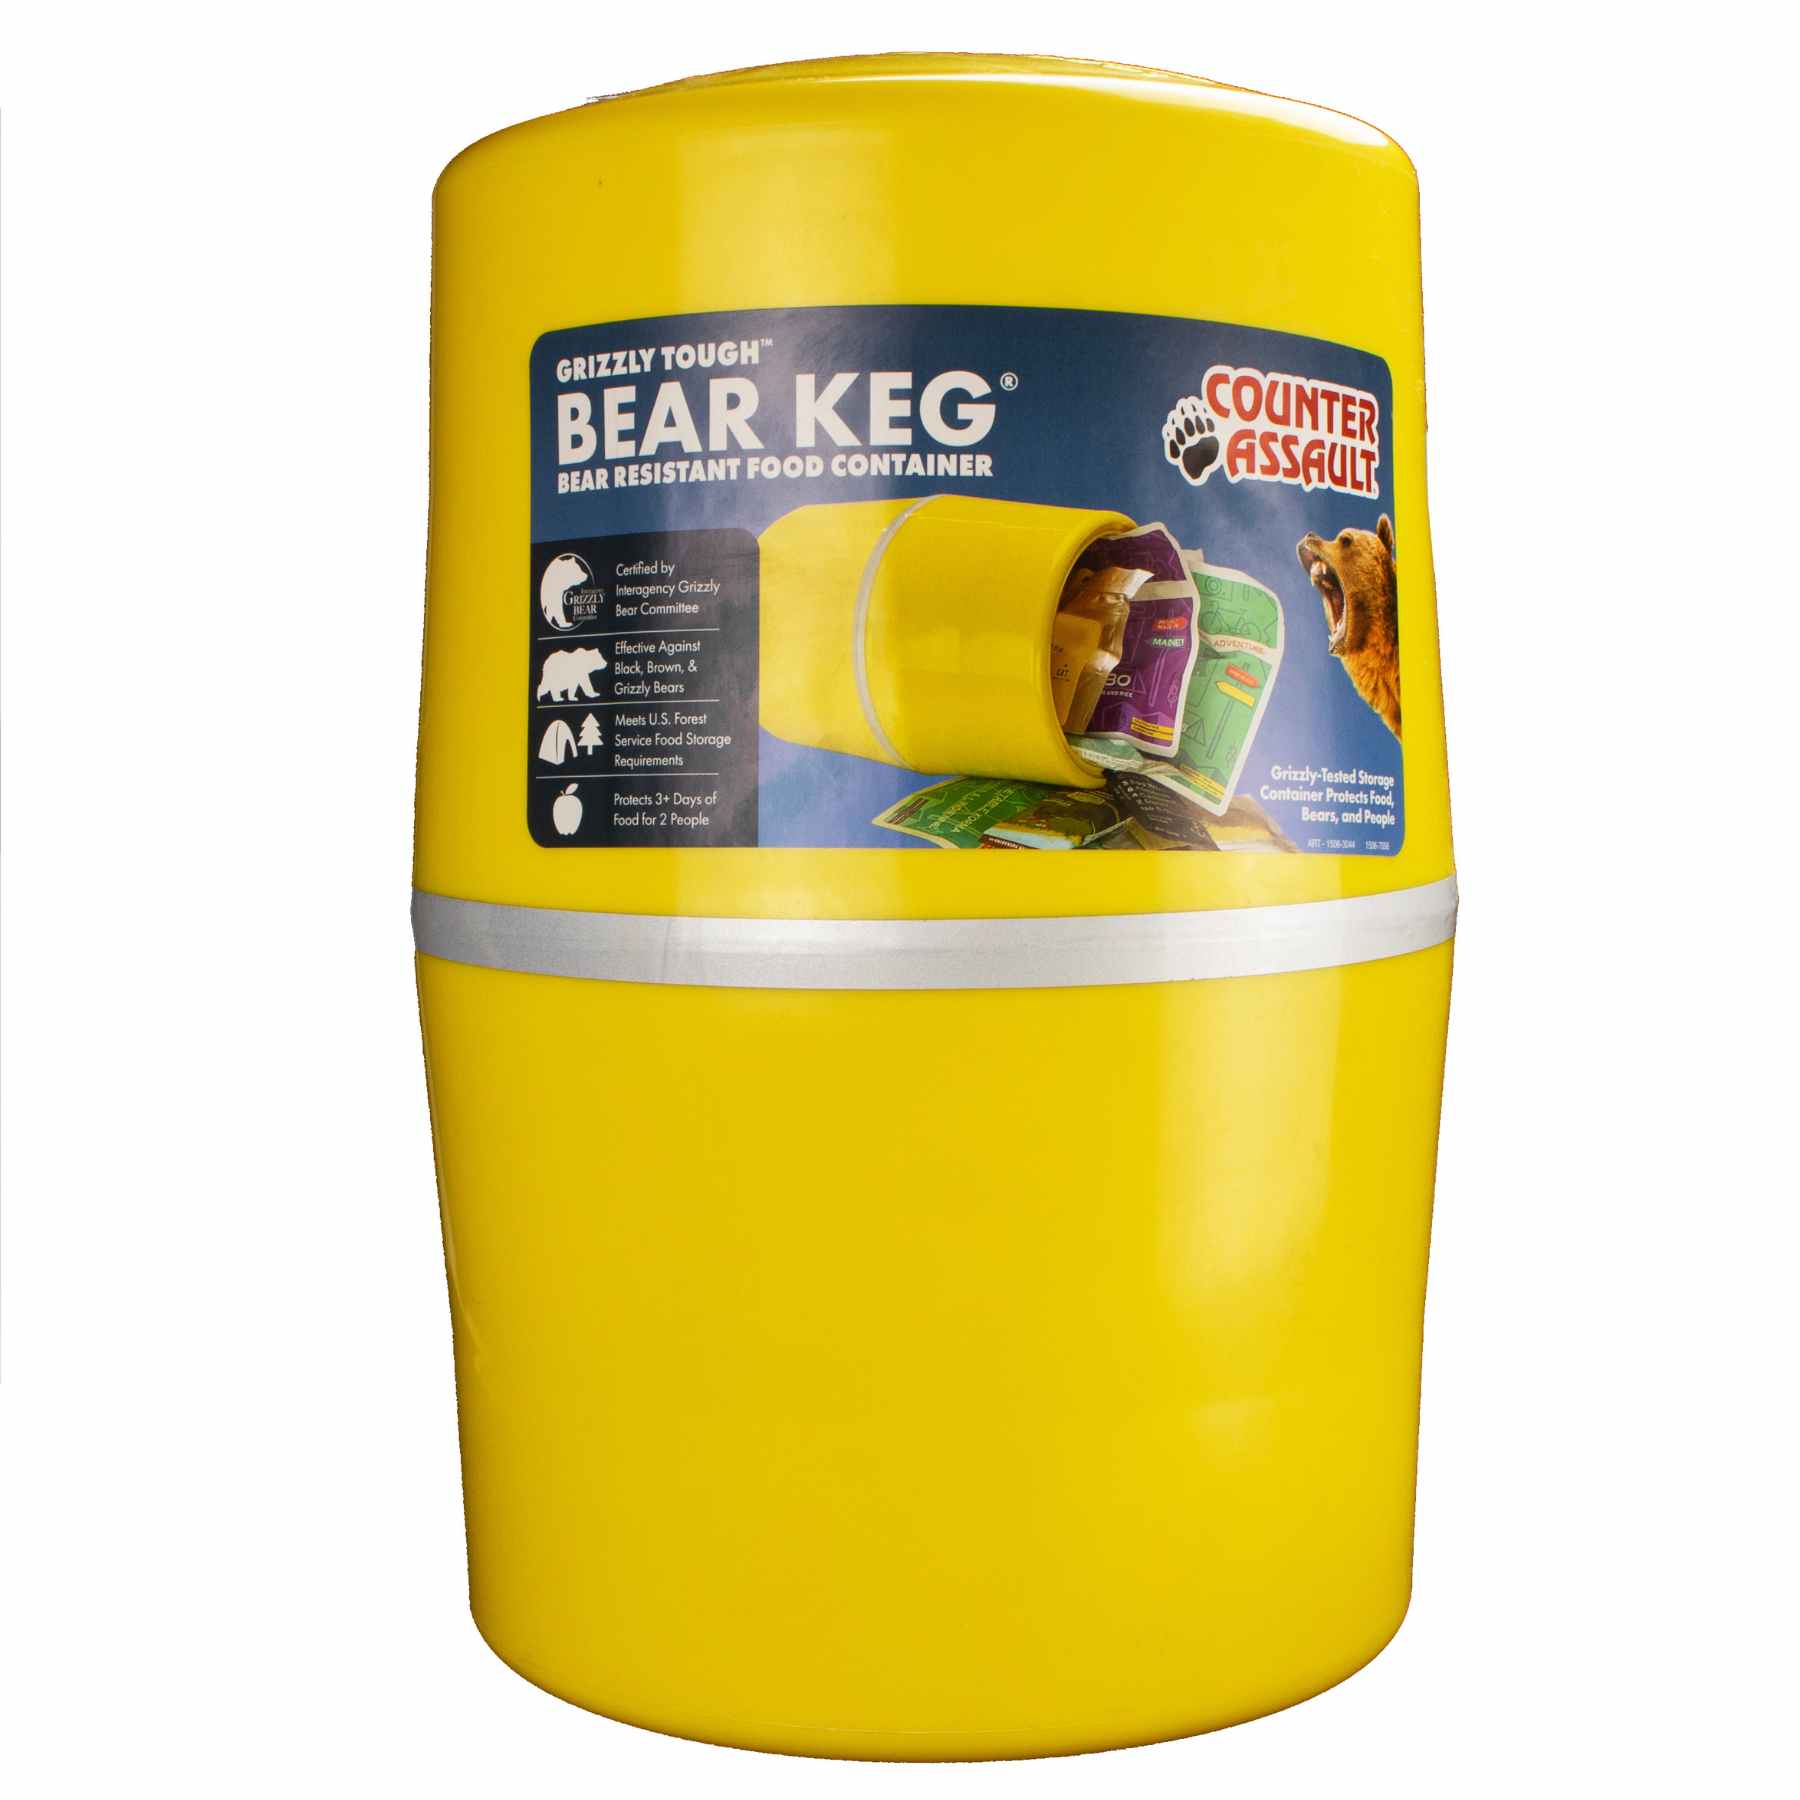
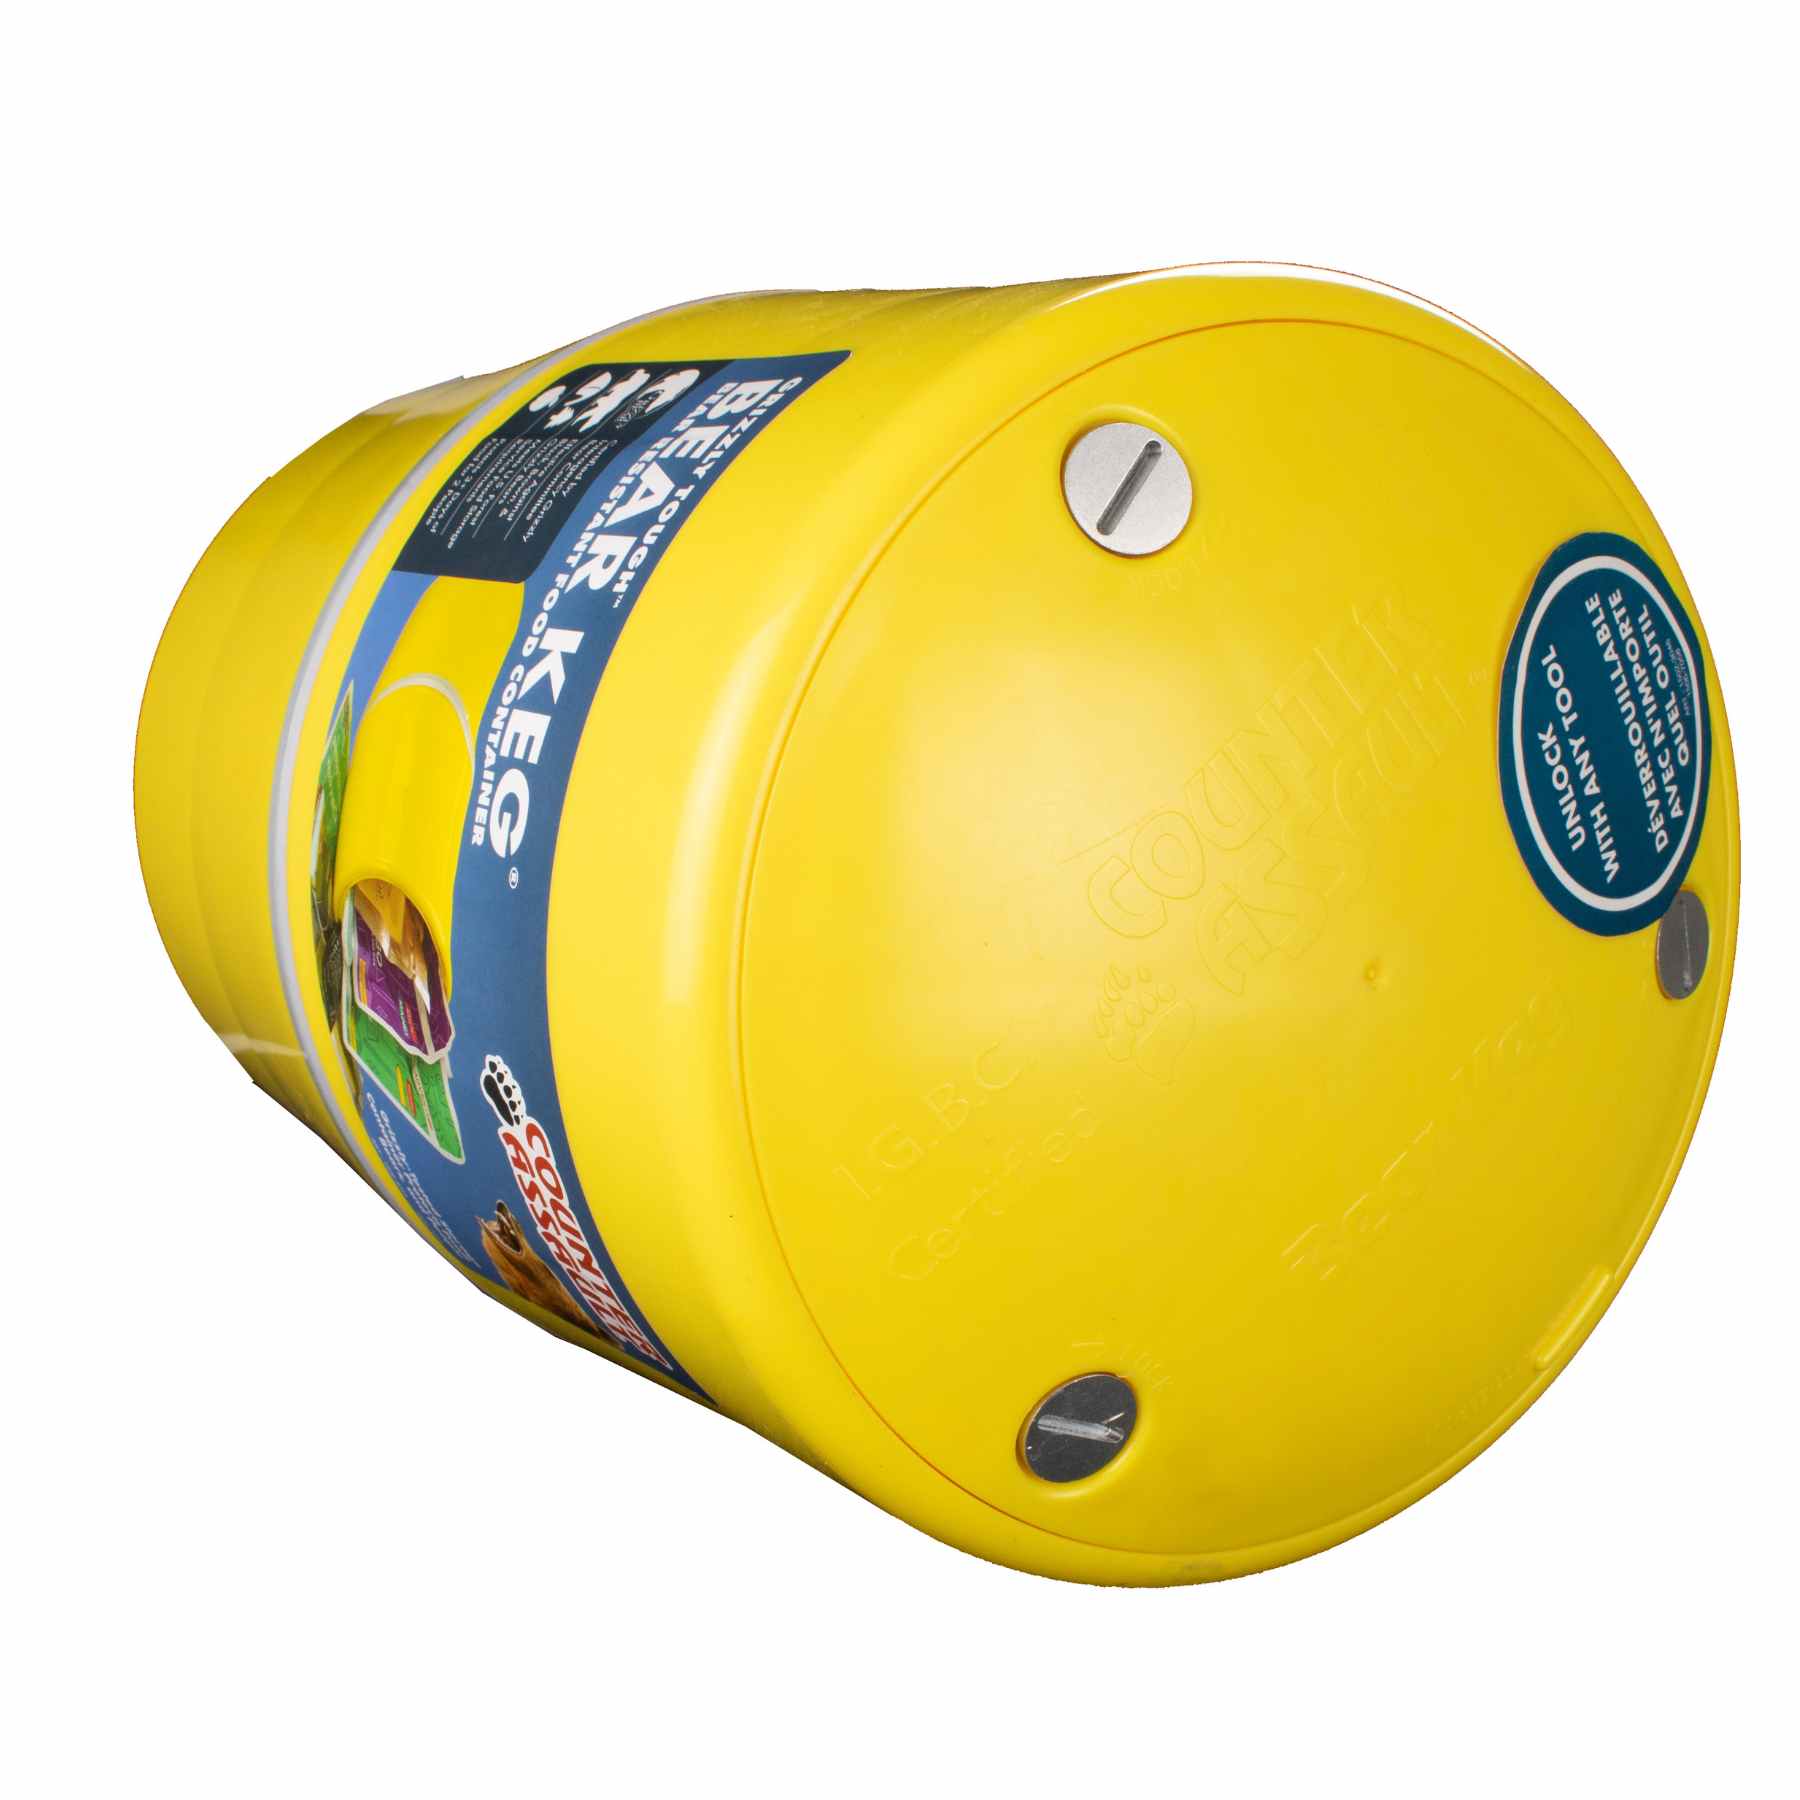
A clean camp starts at home. If a garage, mudroom, shed, RV bay, or gear room sits in bear country, scented items shouldn't be mixed into general camping gear storage. They need their own sealed system and should stay separate from sleeping gear, clothing, and emergency equipment. Counter Assault's article on camping food storage is a strong reference for building that separation into trip prep.
One of the biggest mistakes is treating smell contamination as harmless. A tote that once held snacks can make other gear smell like food. A dirty cook pot stored with a tent can transfer odor to soft goods. Once that happens, the problem moves from storage to the field.
Store food, toiletries, and anything with odor as if a bear will eventually check your setup. In many places, that's a realistic assumption.
Bear spray storage has different rules
Bear spray is not a general-purpose defensive spray. It is legally labeled for aggressive bears, mountain lions, or coyotes that are attacking or about to attack people, and product labeling states it is not to be used against domestic animals or human beings, as reflected in the EPA-regulated product label record from Health Canada's label database. That legal and ethical boundary matters.

Storage rules for bear spray are straightforward, but they're often ignored. Keep it in a cool, dry place. Don't leave it in prolonged extreme heat or freezing conditions. Don't bury it in a random tote under sleeping bags and camp chairs. Don't store it where children can access it. Give it a consistent home so it can be found instantly.
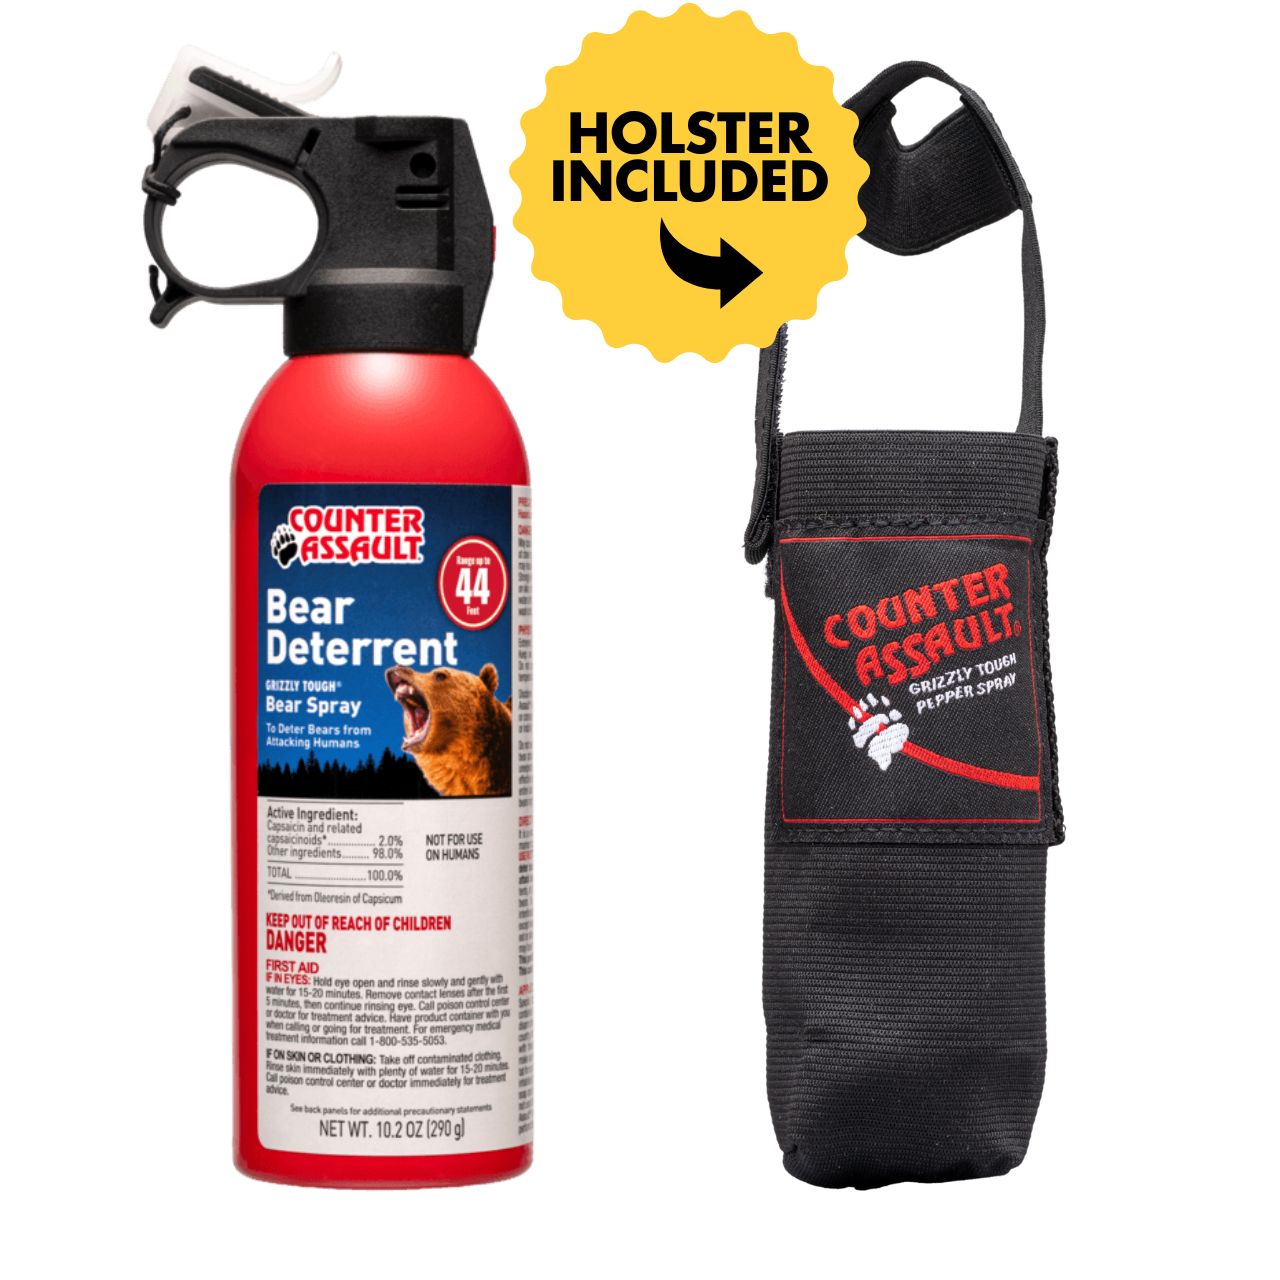
For actual field performance, the most effective EPA-registered bear spray, including the 10.2 oz Counter Assault canister, delivers a 2% capsaicin and related capsaicinoids formulation with a maximum spray range of 40 to 44 feet and an 8 to 10 second continuous discharge duration, according to Bike Hike Safari's bear spray review. Those details matter because storage should support deployment. A canister that's inaccessible, damaged, or forgotten is functionally useless.
Bear spray also isn't a substitute for prevention. Good bear-country practice still means hiking in groups, making noise around blind corners, avoiding close approaches, keeping a clean camp, and not leaving attractants available. Storage is part of that safety system, not a separate chore.
Mobile Storage in Your Car RV and at the Campsite
A bad packing job shows up fast. You pull onto a muddy turnout in fading light, somebody needs a headlamp, somebody else needs rain gear, and the bear spray is buried under chairs and a cooler. I have seen camps start behind schedule and stay sloppy from that first mistake. In bear country, sloppy storage is not just inconvenient. It teaches animals that people mean food.
Pack vehicles for fast retrieval and clean separation
Load the vehicle so the first five minutes at a stop are controlled. The items you may need on the road or the moment you step out should be reachable without unloading half the cargo area. That means first aid, navigation, weather layers, water, and bear spray all get assigned locations before the trip starts.

Good mobile storage depends on clear categories:
- Cab access kit: first aid, headlamp, map or GPS, rain shell, water, emergency food, and other items you may need during a roadside stop
- Kitchen bin: stove, cookware, cleaning kit, and food prep tools, packed together so the whole cooking system moves as one
- Sleep bin: tent, stakes, footprint, pads, and sleep layers only, kept separate from food smells and greasy camp items
- Repair box: cordage, tape, multitool, spare batteries, patch materials, and small field fixes
- Dirty gear container: a dedicated spot for wet boots, used dish cloths, and smoke-filled clothing so odors do not spread through the rest of the load
That separation saves time, but it also controls scent. A sleeping bag stored next to a fry pan or snack tote can carry odors into the tent area. In black bear and grizzly country, that is a preventable mistake.
For RV travelers and anyone comparing temporary gear access options during longer moves or transitions, this guide for Sydney moves with mobile storage is a helpful example of how mobile storage setups can reduce clutter and improve retrieval logic.
One more rule matters in vehicles. Do not treat the passenger cabin like overflow pantry space. Wrappers in the door pocket, drink mix in the console, and dog food under the seat all count as attractants.
Set camp so people, food, and attractants stay apart
The campsite should be organized the same way. Sleeping area, cooking area, and food storage area each need their own space. People get into trouble when camp grows organically and everything ends up mixed together by dark.
Keep the tent area clean and boring. No snacks. No toothpaste. No sunscreen, lip balm, trash, or cookware. If it has an odor, it stays out.
Use one defined food zone for cooking, dishwashing, and cleanup. Store food and scented items immediately after use, every time, whether that means a bear-resistant container, a campground food locker, or a closed vehicle where local rules allow it. Do not leave a cooler, trash bag, or dirty pan out while you “deal with it later.” Later is when wildlife finds it.
Light helps, but organization matters more. Keep lanterns or headlamps where they can be grabbed quickly so evening chores happen cleanly and gear does not get scattered across camp.
If you are building or updating your loadout, a detailed camping gear list for organized packing helps assign each item to the vehicle, the camp kitchen, or the tent system before the trip.
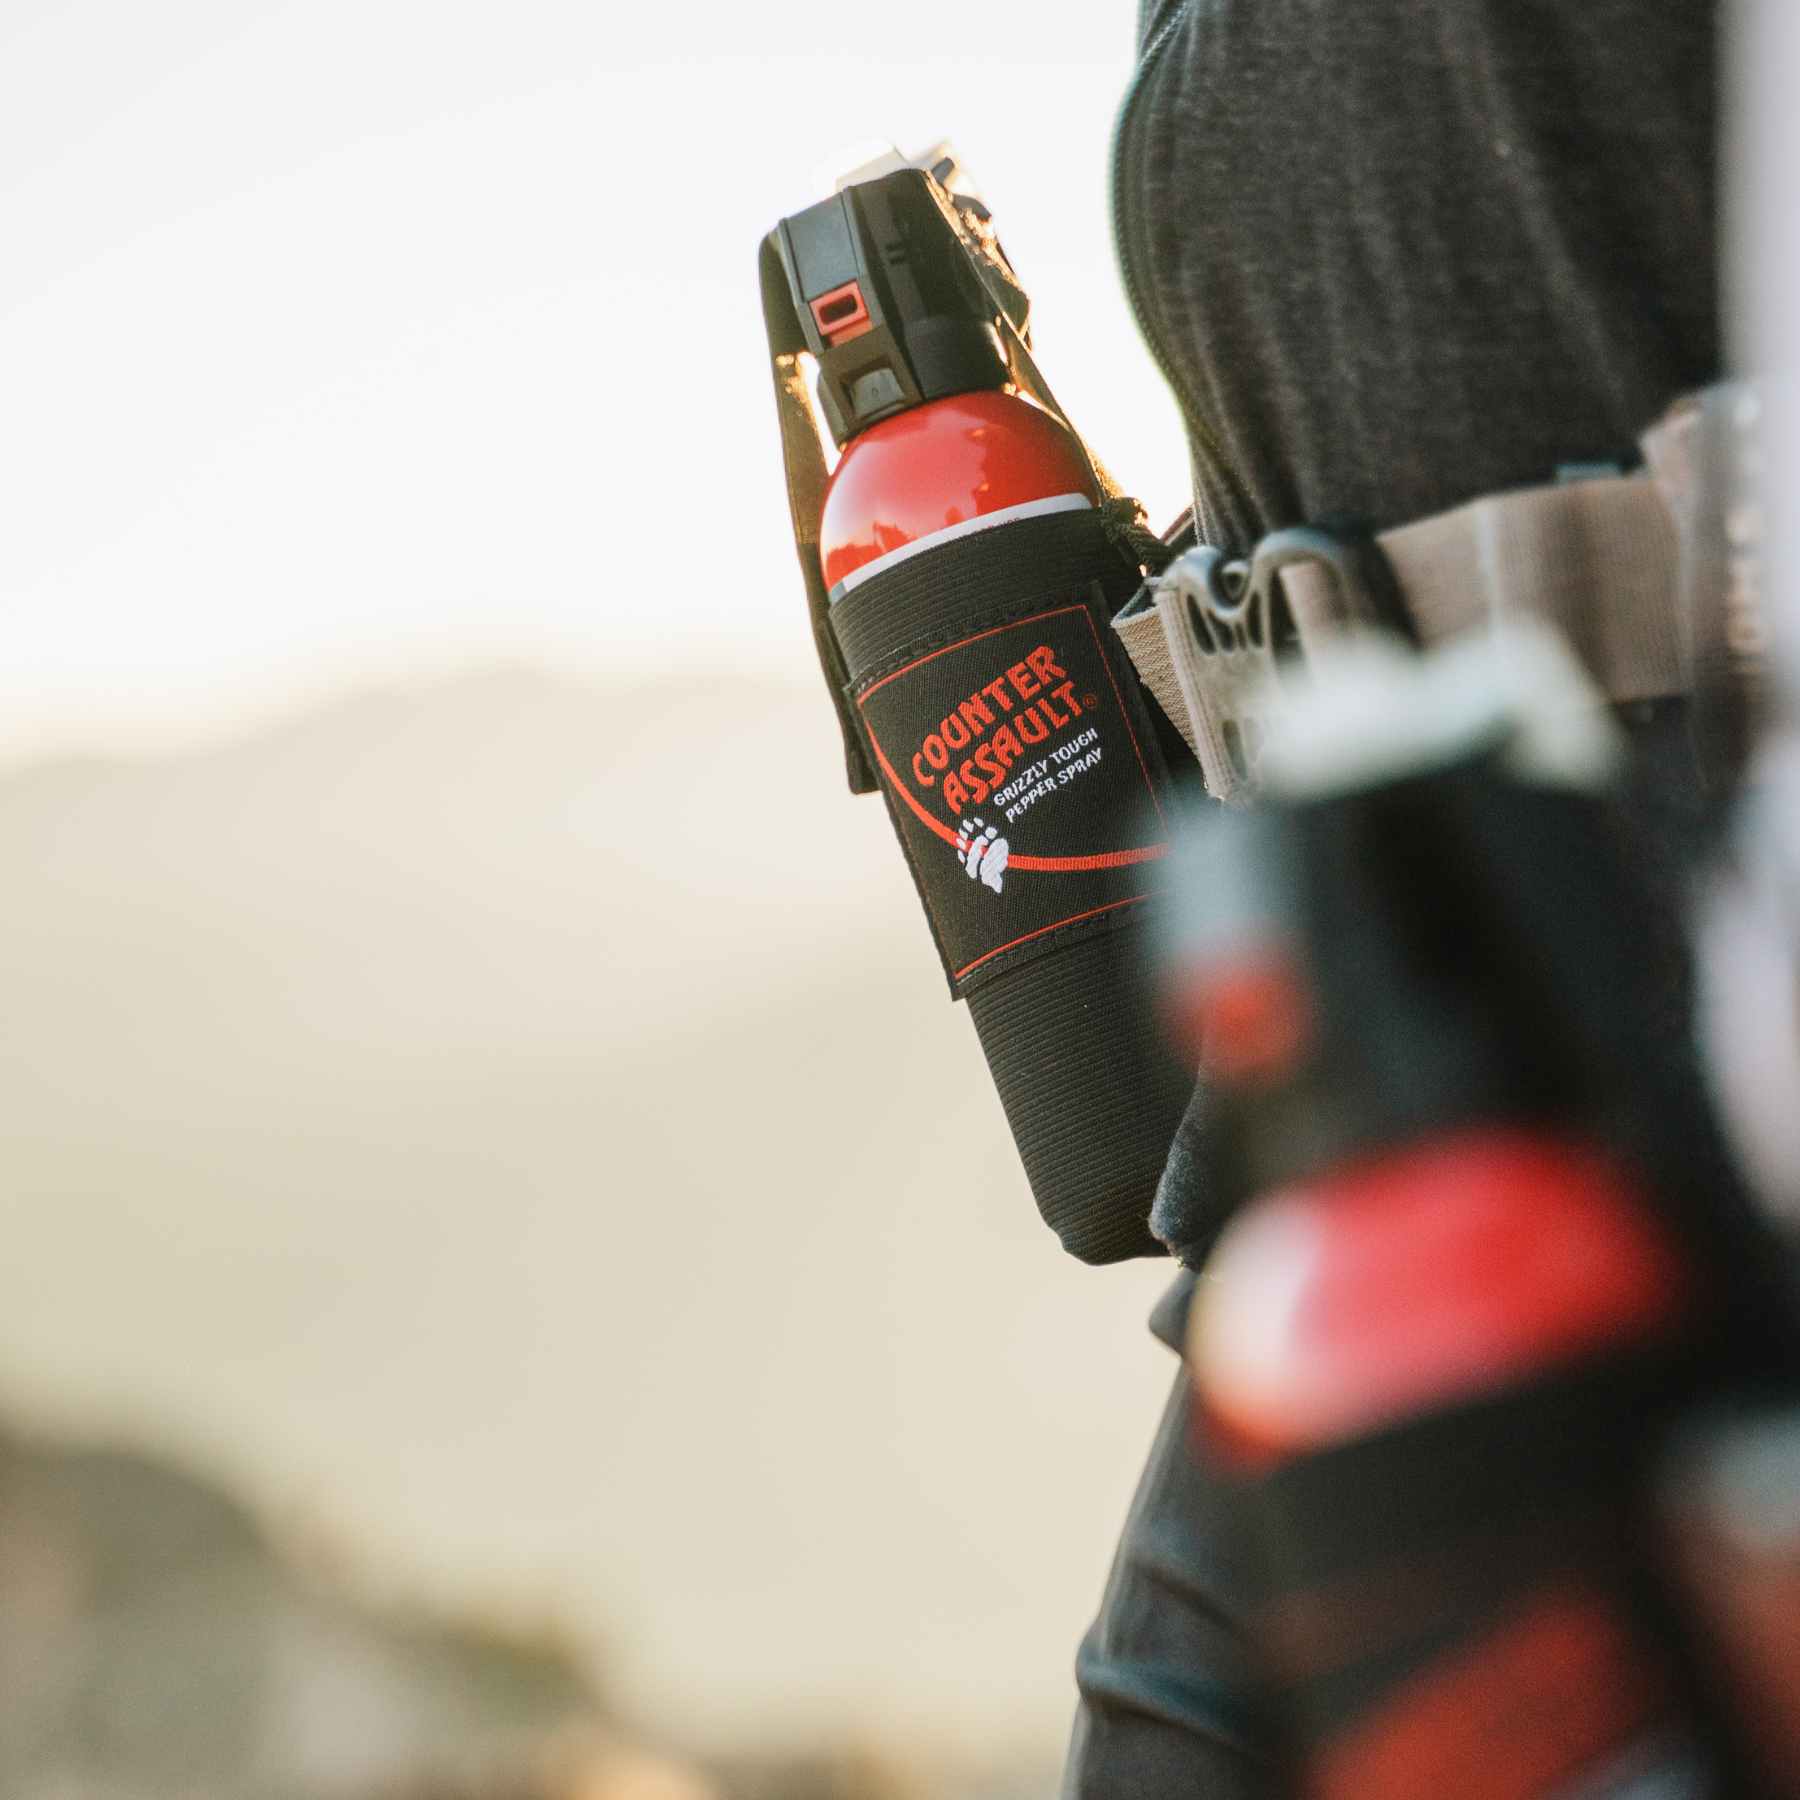
Bear spray belongs on a belt, chest harness, or another place you can reach in one motion while hiking or working around camp. It does not belong in the trunk, in an overhead RV cabinet, or tossed into a general tote. Counter Assault's bear spray use instructions explain the deployment basics. Remove the safety clip, aim slightly downward when the bear closes distance, and fire short bursts to build a fog barrier.
Keep attractants secured, keep bear spray accessible, and keep the sleeping area scent-free. That three-part system prevents a lot of bad nights.
Your Quick Prep Storage and Packing Checklists
Good habits remove guesswork. A checklist keeps one rushed evening from undoing all the work that protects expensive gear and critical safety equipment. The point isn't perfection. The point is consistency.
Post-trip storage protocol
- Unload immediately: Pull out soft goods, cookware, food, trash, and electronics as soon as the trip ends.
- Separate by condition: Make one pile for wet gear, one for dirty hard goods, and one for items ready for inspection.
- Clean before stowing: Wash off dirt, grease, ash, and food traces.
- Dry fully: Give fabric and insulation proper airflow before anything goes into a bin or closet.
- Inspect for wear: Repair small issues before they become trip-ending failures.
- Reset core kits: Refill medical, hygiene, and repair supplies.
- Return gear to assigned storage spots: Don't create a “temporary” pile that sits for weeks.
Pre-trip gear check
- Pull the standard list: Use a stable master checklist instead of rebuilding one from memory. Counter Assault's camping gear list is a solid starting point.
- Confirm shelter completeness: Tent body, fly, poles, stakes, footprint, guylines.
- Check sleep gear condition: Loft, pad function, storage sacks, dry status.
- Review kitchen and water gear: Stove parts, utensils, fuel accessories, treatment tools.
- Verify safety items: First aid, headlamp, batteries, map, weather layers, and wildlife deterrent.
- Audit scent control: Keep food and toiletries in the correct storage system from the start.
The best camping gear storage system is the one that makes the next departure calm. Gear is where it belongs. Nothing smells wrong. Nothing is missing. Nothing critical has been buried, crushed, or left to corrode.
Counter Assault builds bear safety tools for people who spend real time in bear country. For proven non-lethal protection that's made in Montana and designed for aggressive bears, mountain lions, and coyotes, explore Counter Assault, including the 10.2 oz bear spray with included holster.