
Most parents don't lose control on the trail because they're careless. They lose control because they picked a hike that looked easy on a map, then watched the group slow down after the first climb, the first snack stop, and the first wrong turn. That's where hiking safety for kids really starts, with the adult's choices before anyone laces up boots.
A family that plans well can still end up in trouble if the route, weather, and timing are wrong. The safer approach is simple: choose the hike, set the turnaround clock, and carry the safety gear before the car leaves the driveway. If another family is also trying to make the day easier with a dog, a useful side read is trail prep for dogs, because the same habit, matching the outing to the weakest member of the group, applies on every trail.
Table of Contents
- Why Family Hike Safety Starts With the Adult
- Planning the Right Hike for Your Child's Age
- Packing and Gear That Keeps Kids Safe
- Teaching Kids the Trail Skills That Prevent Emergencies
- Handling Bears, Mountain Lions, and Coyotes With Kids Present
- First Aid and Emergency Response on the Trail
- Your Family Hike Safety Checklist
Why Family Hike Safety Starts With the Adult
A common family-trail mistake looks harmless at the trailhead. The parent picks the route by distance, the kids start strong, and nobody notices the slow drift from easy walking to tired shuffling until the light starts to fade. At that point, the problem is no longer the trail, it's the adult's earlier decision to ignore pace, weather, and turnaround time.
Practical rule: the child does not manage the hike. The adult manages the system.
That system matters because children don't regulate risk well on their own. A classic pediatric study of 40 wilderness-related deaths in western Washington found that 83% of victims were ages 13 to 19, hiking was the most common activity at 33% of cases, and children younger than 10 died even when an adult was present (PubMed). The message for trail parents is blunt. Supervision helps, but it doesn't erase age, peer behavior, or poor preparation.
The adult also sets the pace for the weather window. If a family starts too late, the hike becomes a fatigue problem, then a visibility problem, then a cold-or-dark problem. On family outings, the parent has to think like the trip planner and the safety officer at the same time.
The Three Jobs That Matter Most
- Choose the trail: Match the route to the slowest hiker, not the strongest adult.
- Set the turnaround clock: Leave enough time for the return leg, because the hike isn't over when the midpoint feels comfortable.
- Carry the safety gear: Water, first aid, navigation, and wildlife deterrence belong with the adult, not buried in a child's pack.
The broader risk picture supports that mindset. Hiking is low-fatality, but it isn't risk-free. British Columbia's coroner recorded 143 hiking and climbing-related deaths from 2016 to 2025, with 17 deaths in 2025 alone, and most deaths clustered from May to September, peaking in July (BC Coroners Service report). For parents, that means summer weekends deserve discipline, not optimism.
Planning the Right Hike for Your Child's Age
Route choice decides most of the outcome before the first step. Parents should think in terms of terrain, timing, and escape routes, not just mileage, because a short steep trail can drain a child faster than a longer gentle one. That's why easy terrain and a clear turnaround clock matter more than an impressive trail name.

Start With the Youngest Hiker
A practical rule of thumb says children can hike roughly one mile per year of age on easy terrain, but that only works when the grade is mild and the conditions are friendly. The second the route adds long climbs, slippery rock, or repeated stopping, that estimate gets less useful. For families, age is a starting point, not a promise.
Altitude changes the equation even more. In mountain settings, a sleeping elevation below 2,500 m is considered desirable for overnight trips with infants and toddlers, and children can show altitude sickness through headache, nausea, dizziness, vomiting, lethargy, or confusion (Seattle Children's wilderness safety tips). If those signs appear, ascent stops. The family descends.
Read the Weather Window Like a Hard Limit
Early starts beat afternoon starts because they buy time and reduce exposure to heat and storms. Forecasts that call for afternoon thunderstorms should push the parent toward a shorter route or a different day. If the family is already sleep-deprived, the hike should be cut back again or skipped entirely.
A simple pre-trip filter helps:
- Match difficulty to the youngest hiker. If the youngest child is struggling on stairs, don't choose a steep out-and-back.
- Inspect the route for hazards. Water crossings, drop-offs, and exposed ridges should raise the bar.
- Set a bailout plan. Cell coverage is helpful, but a written escape route is better than hope.
- Lock the turnaround time. Turn back when the clock says so, even if the destination feels close.
If the turnaround time feels “too early,” it's probably right.
The National Park Service says the slowest hiker sets the pace and the total hike time has to include the return leg (CHLA hiking safety tips). That's the adult mindset. The parent plans for the hike to feel easy on the way back, not heroic on the way out.
Packing and Gear That Keeps Kids Safe
Packing for a family hike works best when each item has a clear owner. The adult carries the safety gear, older kids carry only what they can handle, and younger kids carry almost nothing that affects the group's ability to keep moving. That setup keeps a delay, a sudden storm, or a scraped knee from turning into a bigger problem.
Assign the Load by Role
The adult should carry navigation, first aid, extra water, and wildlife deterrence. Older kids can carry their own water, a snack, a whistle, and an extra layer. Younger kids should have a tiny daypack, if any, with water and a comfort item, not a load that slows them down or pulls them off balance.
For hydration, one hiking-with-kids source recommends about one-half liter, or 16 ounces, of water per hour per person (Travel Bravely). Children also under-report thirst, so water has to be planned, not negotiated after the first complaint. The better habit is to hand out scheduled sips before kids say they're thirsty.
Don't Skip the Boring Safety Items
The forgettable items are usually the ones that matter most. A full tick check after the hike belongs in the routine, not as an optional extra. One pediatric guide recommends 20 to 30% DEET, long sleeves, long pants, hats, staying in the center of the trail, avoiding dawn and dusk when mosquito biting peaks, and checking the armpits, ears, belly button, and scalp after exposure (CHLA hiking safety tips).
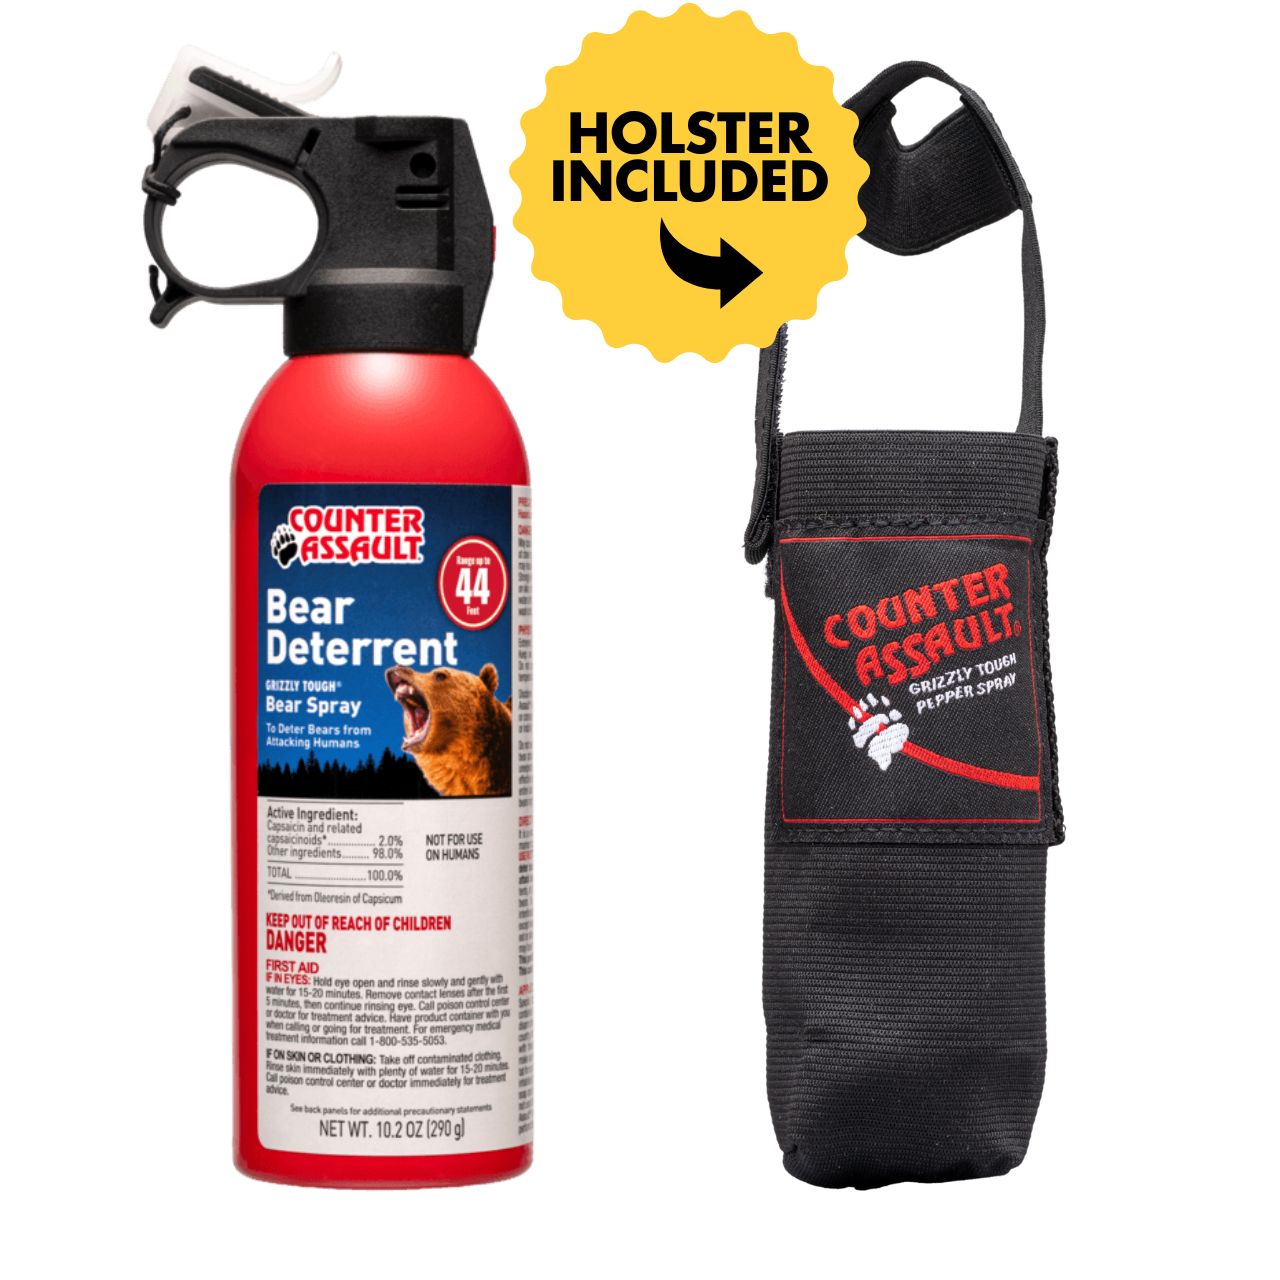
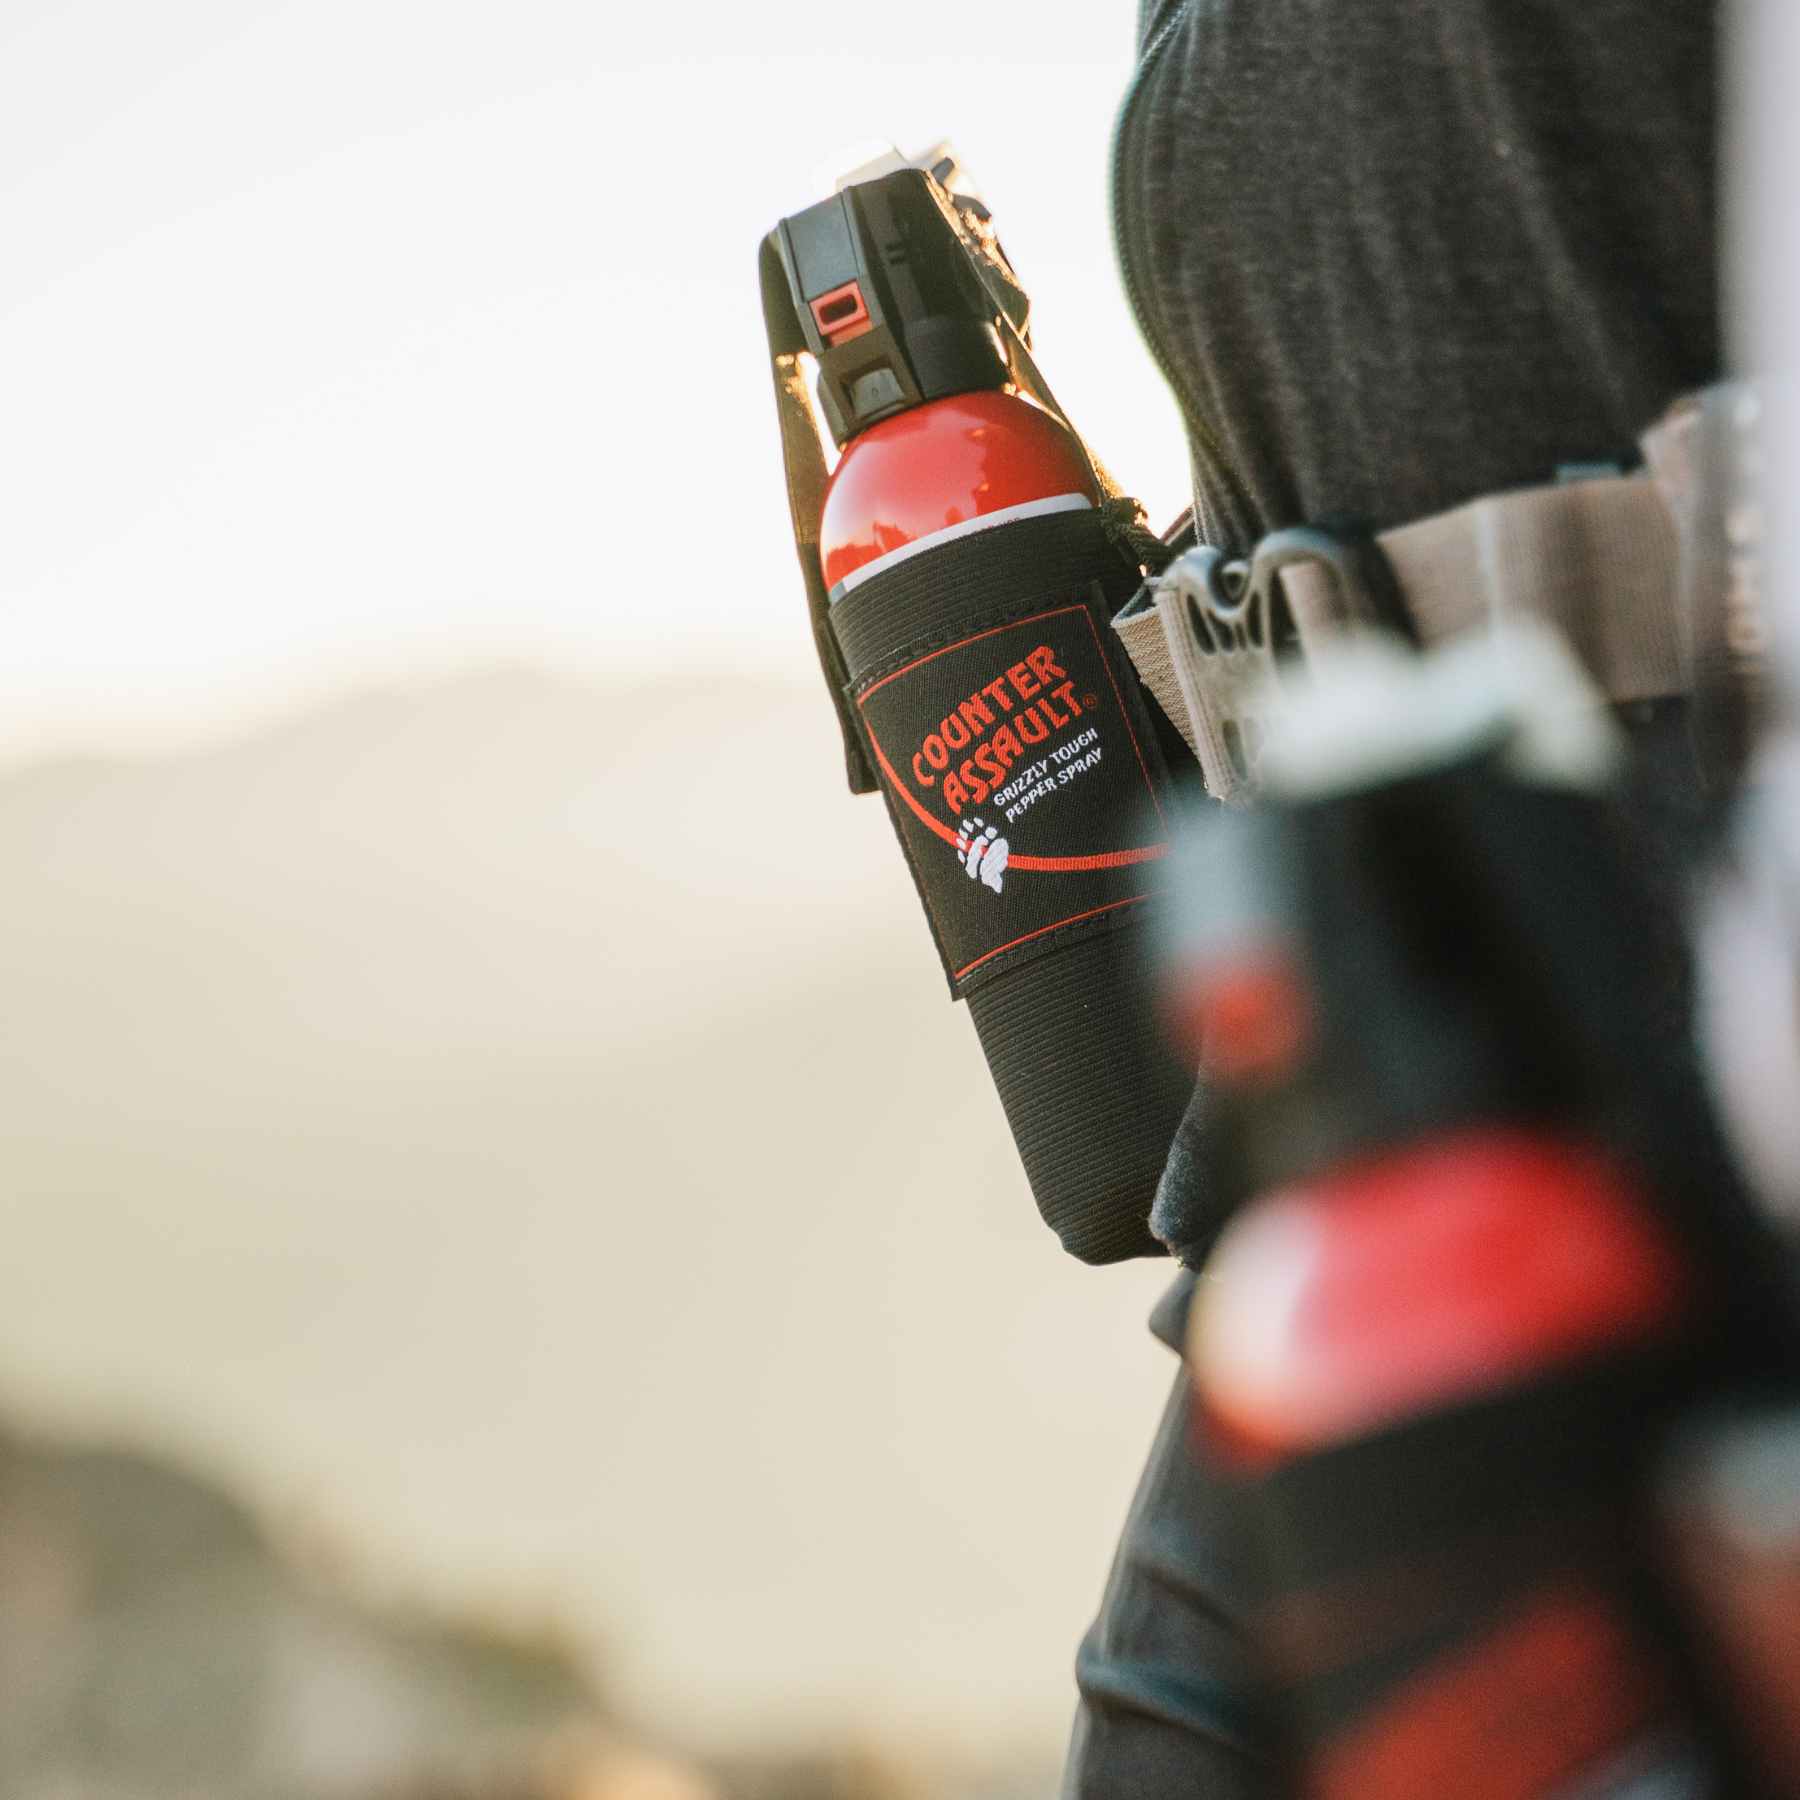
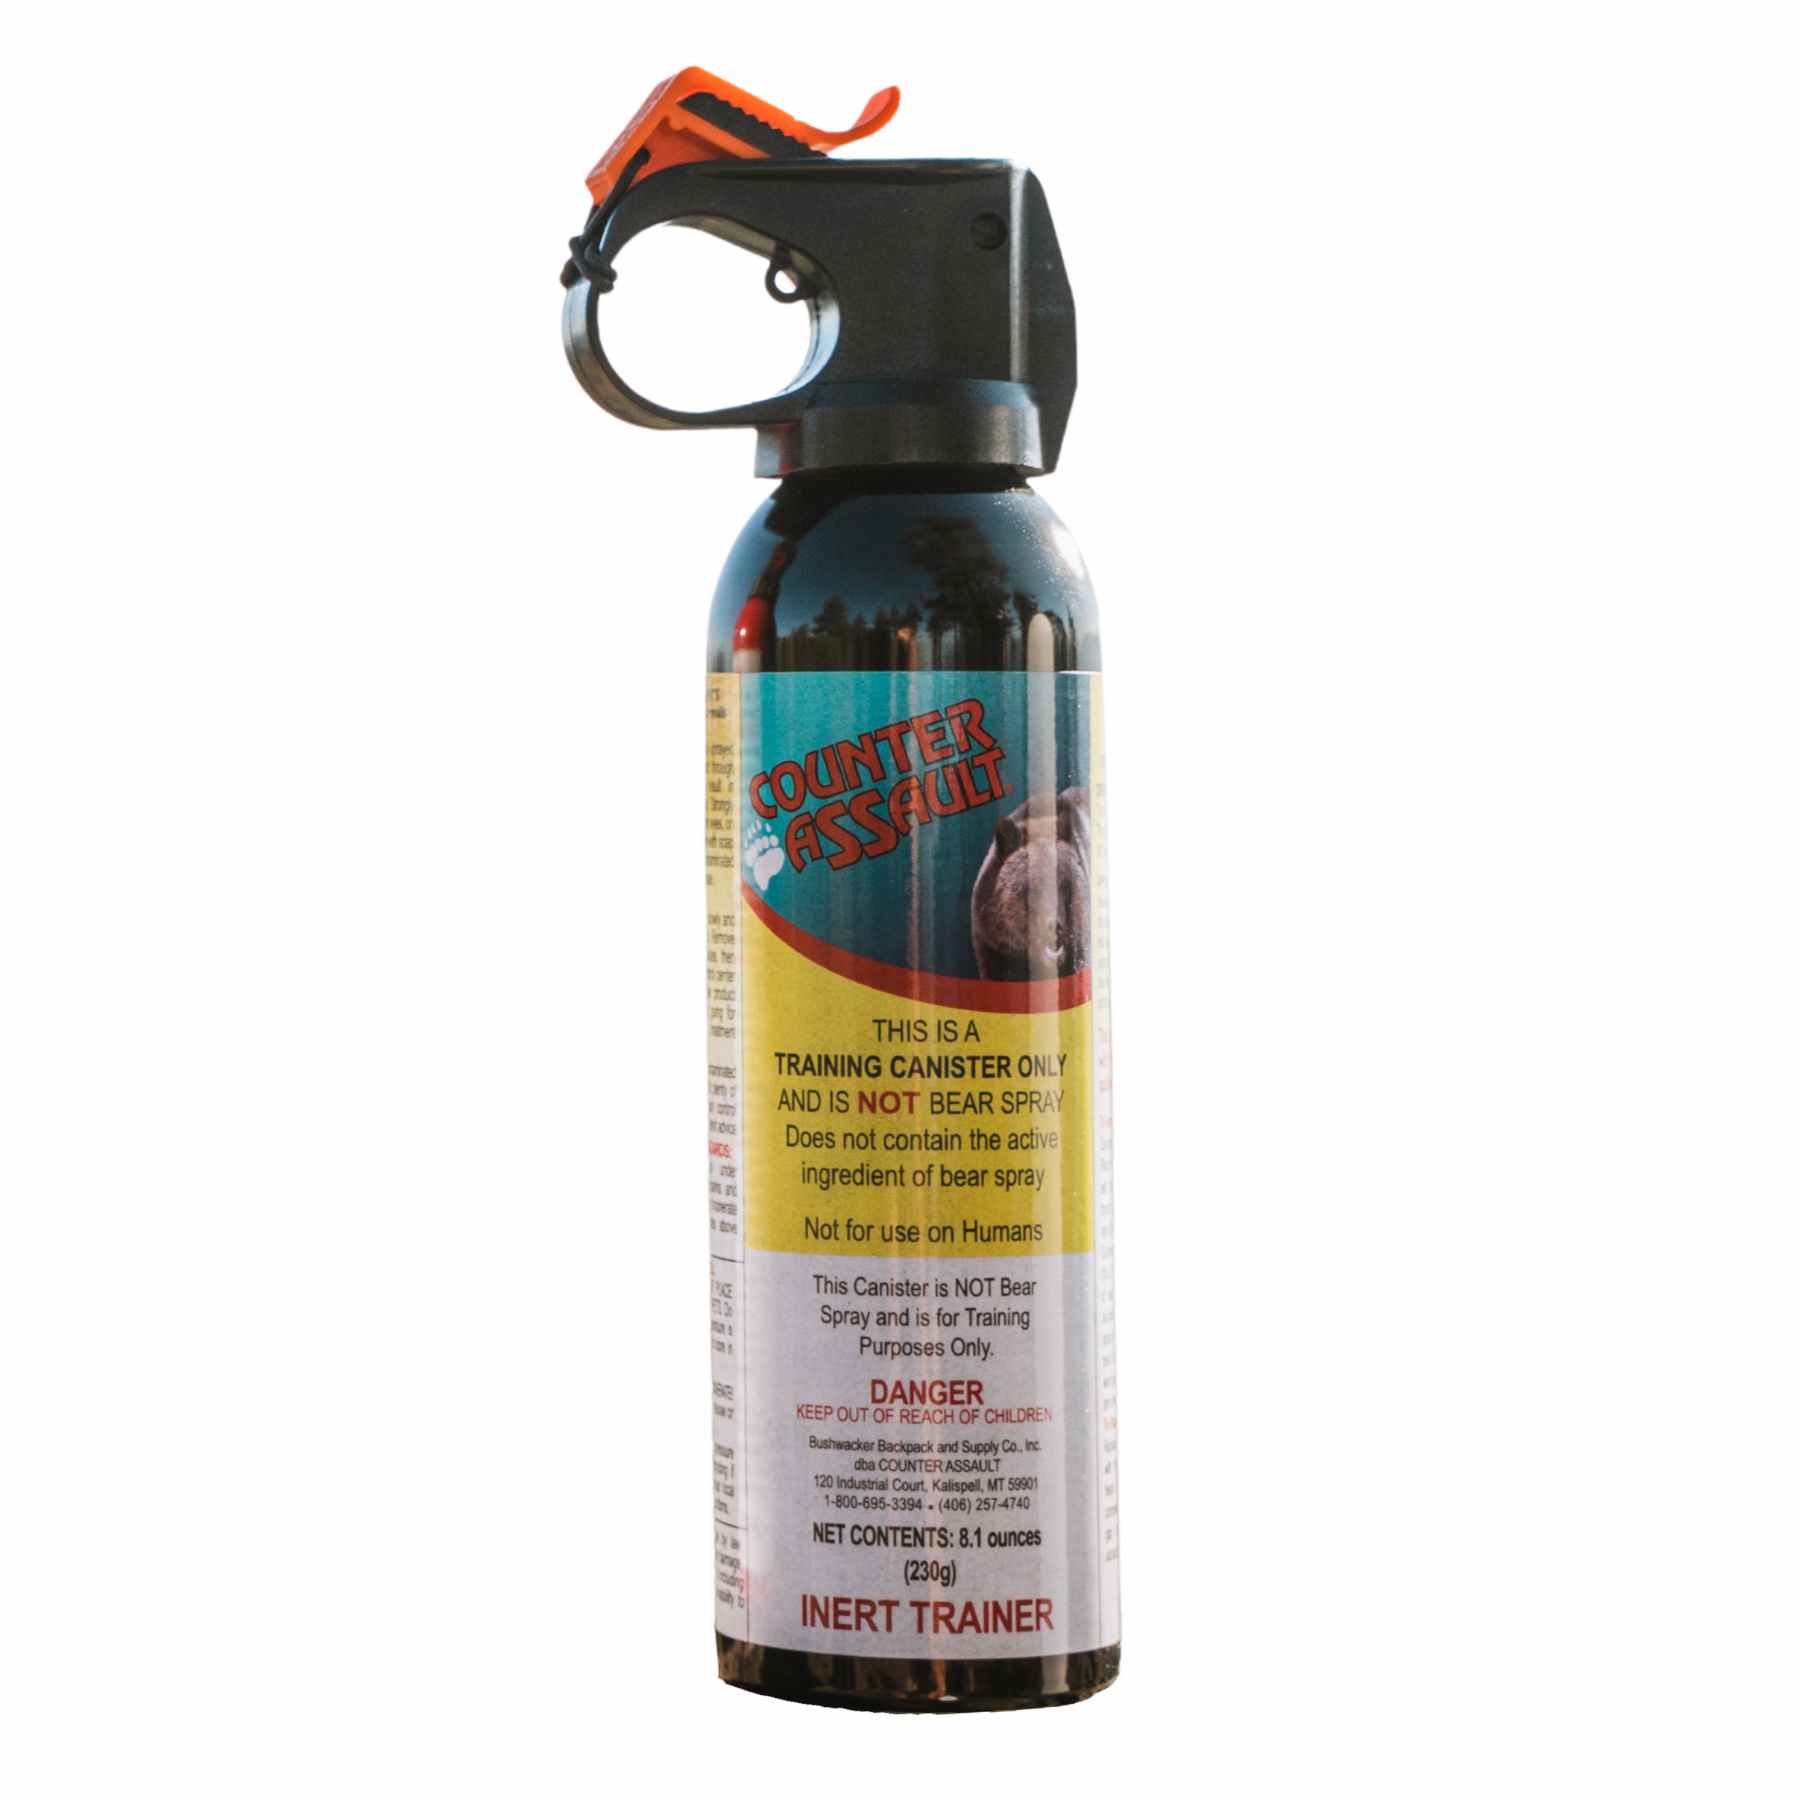
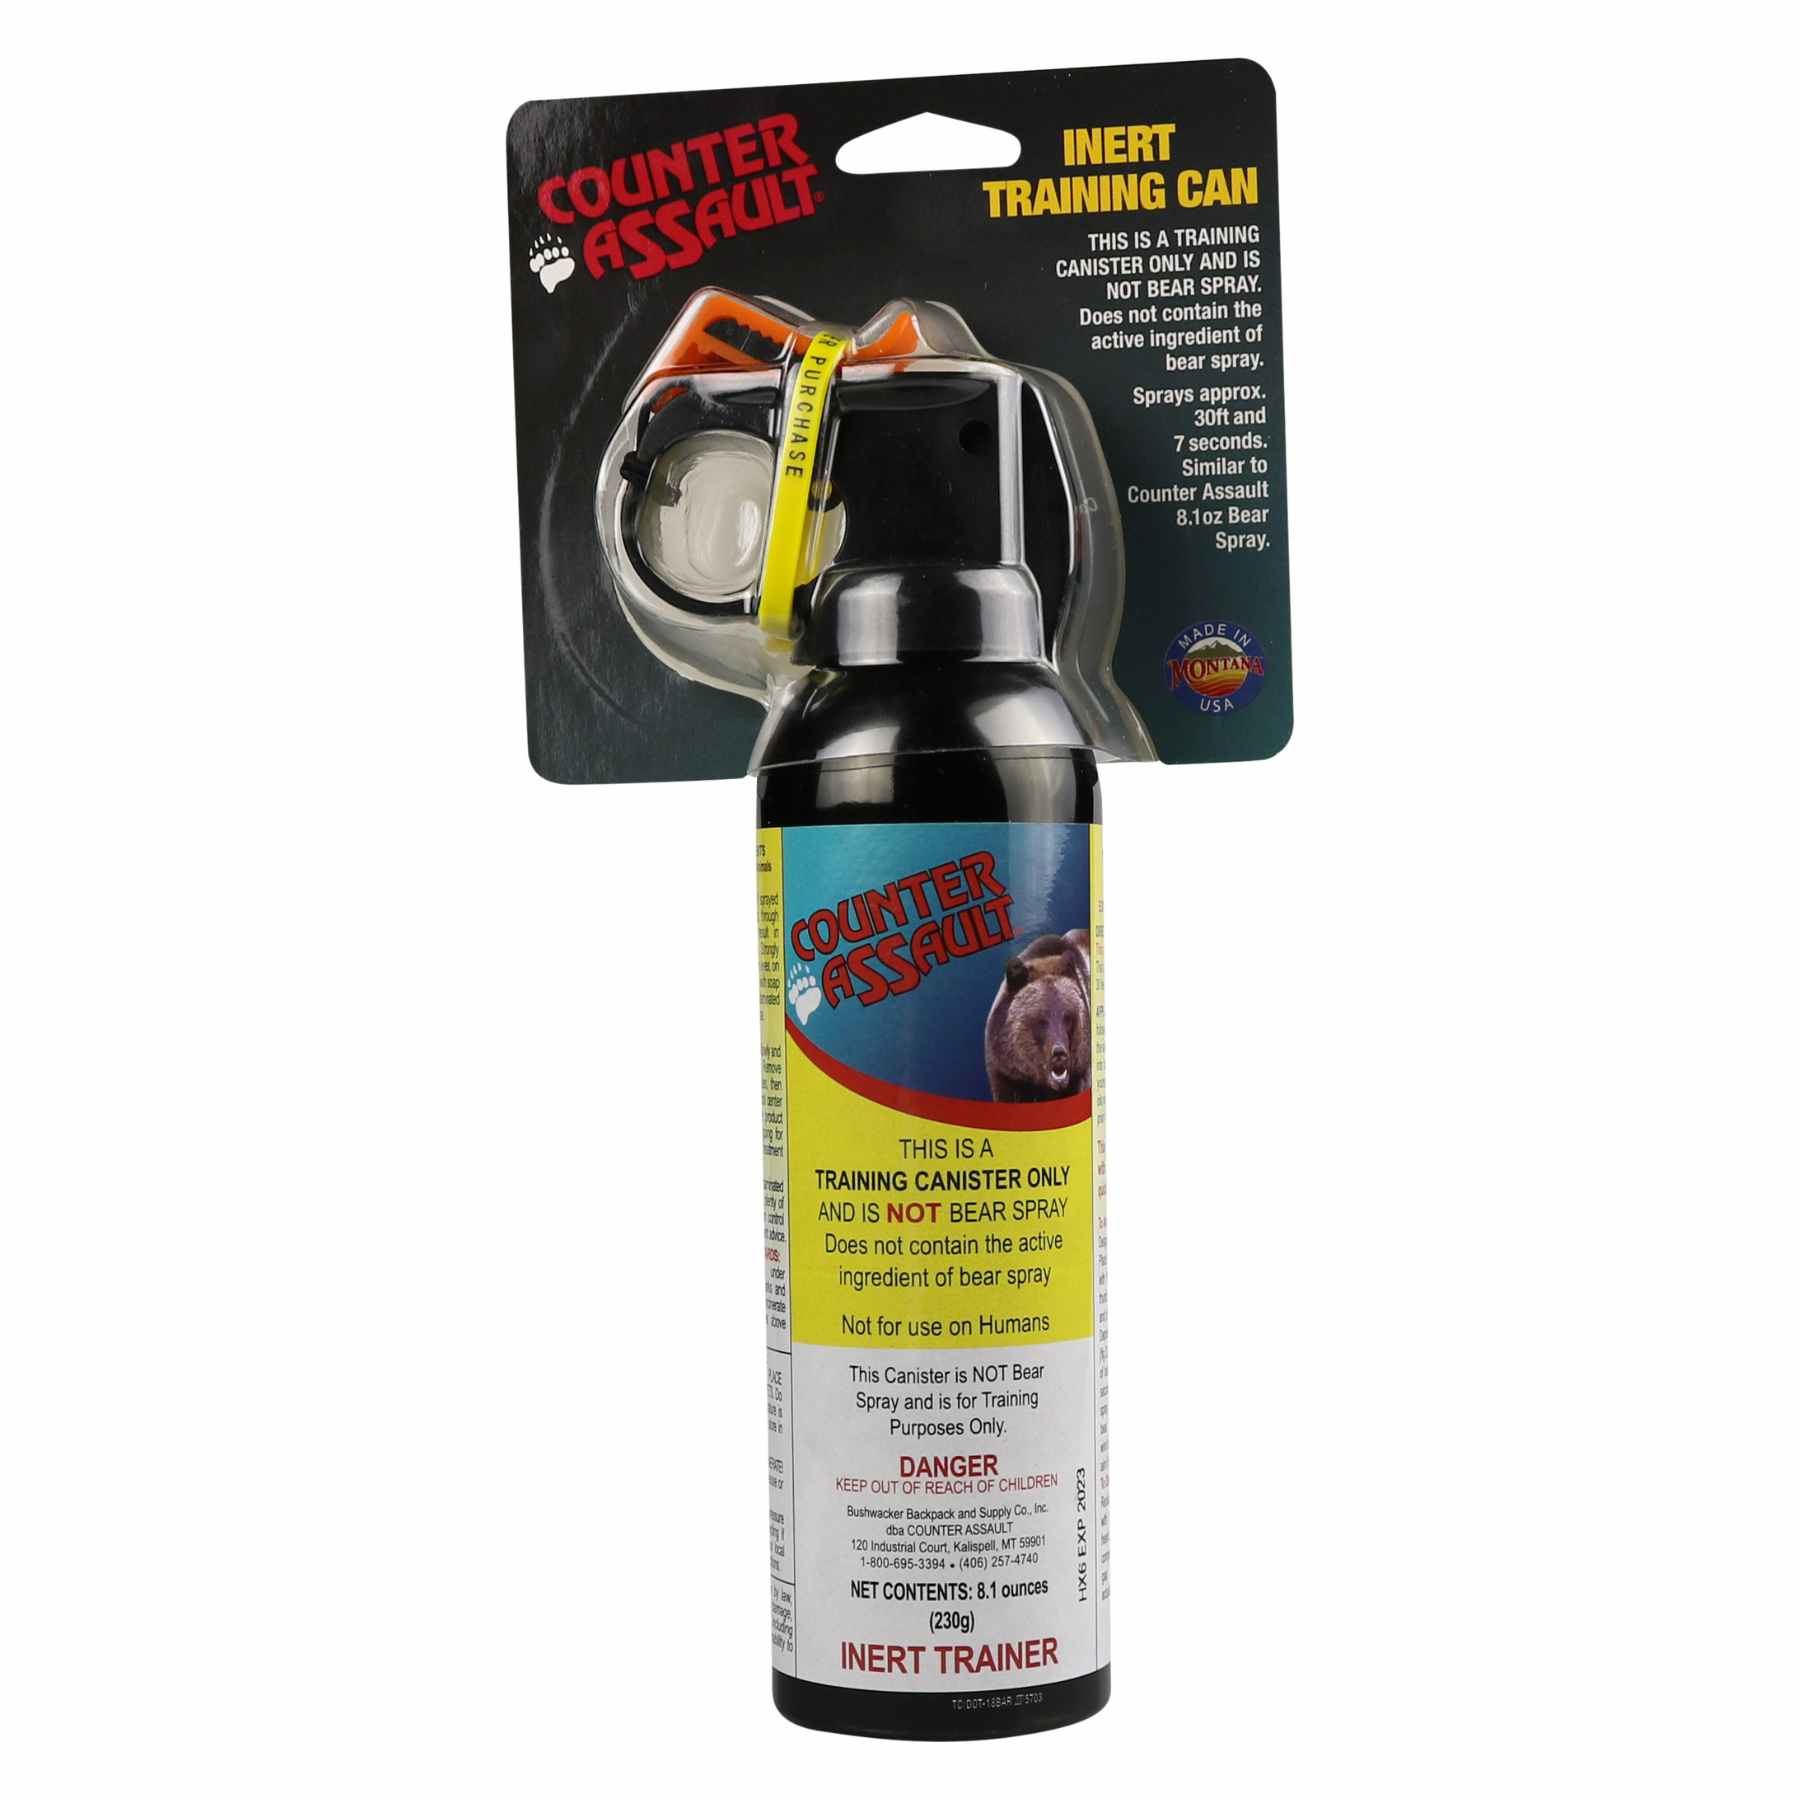
Sun protection still matters, and so does wildlife readiness. In bear, mountain lion, or coyote country, an EPA-registered deterrent should ride on the adult's belt, not sit buried in a pack. One practical option is Counter Assault's 10.2 oz bear spray with holster, which is made for wildlife encounters, not for use on people.
For a fuller packing breakdown, the internal guide on hiking safety gear is worth reading before the season starts.
A clean packing list for trail parents looks like this:
- Adult pack: map, phone, first aid kit, water backup, wildlife deterrent, emergency layer.
- Older child pack: water, snack, whistle, light layer, one small comfort item.
- Younger child setup: small water bottle, snack, and nothing heavy enough to slow the walk.
If you want the adult side of the trail to hold up under pressure, build it around evidence-based fall prevention. That means your own footing, pacing, and route choices stay tight when a child gets tired or distracted.
The best gear is the gear you can reach fast. If a child cannot get to the whistle or the adult cannot get to the deterrent, the item is not helping when it counts.
Teaching Kids the Trail Skills That Prevent Emergencies
Kids don't need a lecture before every hike. They need a few habits that stick under stress. The three most useful are stopping when separated, using the whistle correctly, and waiting at trail forks instead of drifting ahead.

Rehearse the Lost-Child Script
The clearest protocol is the simplest one. Stop. Stay put. Blow three sharp whistle bursts. The American Hiking Society and REI both recommend the whistle-based lost-child response, and Washington Trails Association adds that younger children should stay within eyesight while older kids should stay within earshot (American Hiking Society hiking with kids; WTA safe trail guidance).
A backyard practice run makes this stick. The adult can call, “If you can't see the group, what do you do?” The child should answer, “Stop, stay put, whistle three times.” That's the whole script. No wandering. No guessing.
Make Junctions a Rule, Not a Reminder
Trail forks are separation points. WTA says kids should stop at every fork, and REI says children should not run ahead beyond short, supervised stretches (WTA safe trail guidance; American Hiking Society hiking with kids). The adult should treat every junction like a checkpoint, not a casual moment.
Trail rule: no one passes a fork until the adult counts heads and names the direction.
That also means children should be told what not to do if they hear searchers. They shouldn't hide, keep moving, or try to “find the group” on their own. They should answer calmly and stay visible.
For families that want extra movement prep before a trip, evidence-based fall prevention is a sensible complement, because balance and controlled movement matter on uneven ground.
The goal is procedural memory. When a child already knows the response, the adult doesn't have to improvise under pressure.
Handling Bears, Mountain Lions, and Coyotes With Kids Present
A kid on the trail changes the whole risk picture. Adults need to stay calm, make the decisions early, and set the pace before wildlife ever shows up. If you want kids to stay safe, you run the system.
Prevention Starts Before the Encounter
Choose the route with wildlife in mind, not just scenery. Hike in a group, make noise around blind corners, avoid dusk and dawn, keep food and trash sealed, and never let anyone approach an animal for a photo. That lowers the odds of a surprise, and surprise is usually the problem.
Parents also need to stop rewarding chasing behavior. A child who runs after movement is training the wrong habit for the trail.
The British Columbia numbers point in the same direction. In the same 2016 to 2025 period, 81% of hiking and climbing deaths were accidental and 73% involved males (BC Coroners Service report). Wildlife is only one part of trail risk, but human choices clearly drive a lot of the danger.
What to Do If an Animal Is Close
If a bear, mountain lion, or coyote is nearby, keep the response simple. Do not run. Avoid direct eye contact. Speak in a steady voice. Back away slowly and sideways if the animal is not charging. Make yourself look larger by raising your arms or standing on higher ground. Then get the spray ready.
Bear spray is not insect repellent, and it should never be used on people or gear. It is for a charging bear or an aggressively approaching mountain lion or coyote. That matters because the adult may be holding a child, and the response has to work fast under pressure.
Counter Assault's guide on coyote vs mountain lion helps parents separate those encounters without guessing.
Why Spray Beats the Gun Conversation
The better evidence points to spray. A 2008 study found bear spray was 90% effective with 98% unharmed by the bear, while firearms were 84% effective in stopping the bear from attacking, and injury rates on the person were the same whether they had a firearm or not. Another Alaska analysis found bear spray stopped aggressive bears more than 90% of the time, with only three people harmed in 72 incidents involving 175 people, and none seriously.
That is why the adult should pack deterrent, not bravado. The goal is to end the encounter with no one hurt, including the animal. If you also need to protect your baby with CPR, plan that before the hike, not after something goes wrong.

First Aid and Emergency Response on the Trail
A child gets hurt on a trail, and the adult has to move fast. Forget theory. Check the scene first, then decide whether you need help, then treat the problem in front of you. Sitting on the issue until the hike is over is how a manageable problem turns into a bigger one.
Treat the Common Problems in the Right Order
Sprains, cuts, dehydration, heat exhaustion, weather changes, and tick bites are the problems that show up most often on family hikes. A sprain means stop, support the joint, and decide if the child can still walk out safely. A cut means clean it, cover it, and keep an eye on bleeding. Heat trouble means shade, water, fewer layers, and a quick reset of the route.
Pack for those problems before you leave. A child-sized kit should include blister care, antihistamines, electrolyte packets, and a compact emergency blanket. Pre-packed options from Adventure Medical Kits make that easier for parents who do not want to build every kit from scratch, and a family-focused backcountry safety gear guide helps you build a kit that matches real trail needs.
If the child is dizzy, confused, or too tired to stay alert, stop and descend. No parent should try to tough that out on the trail.
Call for Help With the Right Details
Know the trail name, the mile marker, and the clearest way to explain your location to a dispatcher. Weak phone signal changes the plan, so a personal locator beacon or another emergency device may be the right call. Keep children warm, dry, and visible while you wait, because shock and weather can turn one problem into two.
Keep kids in one spot, warm, and visible. Moving them around burns energy you may need later.
For families with infants or very young children, protect your baby with CPR is a smart pre-season step, because parents who know infant emergency care usually react faster under stress.
Use the infographic below as the simple field order, scene assessment, calling for help, then first aid.

Your Family Hike Safety Checklist
A good family hike runs on the same three passes every time. Before the trip, the adult checks the route, weather, turnaround time, and gear. On the trail, the adult handles headcounts, pace, water, and wildlife awareness. After the hike, the adult checks for ticks, reviews the gear, and asks what worked and what didn't.
Pre-Trip
- Route fit: Choose a trail that matches the youngest hiker, not the strongest adult.
- Timing: Start early and lock the turnaround clock before leaving home.
- Weather: Skip or shorten hikes when storms, heat, or poor visibility are likely.
- Gear: Keep water, first aid, layers, whistle, and wildlife deterrence on the adult.
On Trail
- Headcounts: Count at every fork and after every rest stop.
- Pace: Let the slowest hiker set the speed.
- Hydration: Hand out water before kids say they're thirsty.
- Separation protocol: Stop, stay put, and whistle if anyone gets separated.
Post Hike
- Tick check: Check clothing and body, especially the usual hiding spots.
- Gear review: Restock first aid, water, snacks, and layers.
- Family debrief: Keep it short, honest, and useful. What slowed the group down, what helped, and what should change next time?
Parents who want the trail to feel calmer, not chaotic, should build the same system into every outing. Counter Assault makes wildlife deterrents for hikers who need a practical layer of protection in bear, mountain lion, or coyote country, and the company's site has gear that fits that role. Visit Counter Assault before the next family hike and make the adult loadout as solid as the route plan.